
Automations transform standard applications into advanced workflows, bridging the gap between Budibase and your wider tech ecosystem. Today, we’re taking Automations up another level by introducing support for files and attachments.
Whether you’re looking to generate and download reports, send documents to and from platforms like DocuSign or PowerBI, or even attach dynamically filled documents to emails, Budibase has you covered. The door has now opened to a range of powerful new workflows that were previously out of reach.
With this release, you can now:
- Import files directly into your workflow from various APIs.
- Attach files such as images, documents, reports, and more to emails via Automations.
- Save files from external sources to Budibase DB via Automations.
Please note, the attachment feature is currently exclusive to the internal DB of Budibase.
To demonstrate this new functionality, we’ve pulled together two practical workflows that you can implement into your own Budibase app.
Let’s jump into it!
Send an invoice as an email attachment
For our first example, we will use Carbone.io, an open-source report generator, to build an invoice using data pulled from Budibase. We have already set up an invoice template and stored it in Carbone, but this would work with any major PDF generator, such as Adobe Acrobat, PandaDoc, and more.
Here’s what the end result will look like from start-to-finish:

We’ll use the Carbone Cloud API to create a PDF with our order data. This document will dynamically pull our Budibase data into a set template, giving us complete control over the output.
Step 1: Set up templates in the Carbone Studio
The first step is to create a Microsoft Word document that will act as our template. In order for Carbone to merge the data, we will need to use their syntax, which is documented here.

Once you have uploaded your template to Carbone Studio, you will need to grab its template ID and your Carbone API key for the next step.
Step 2: Set up the API endpoints in Budibase
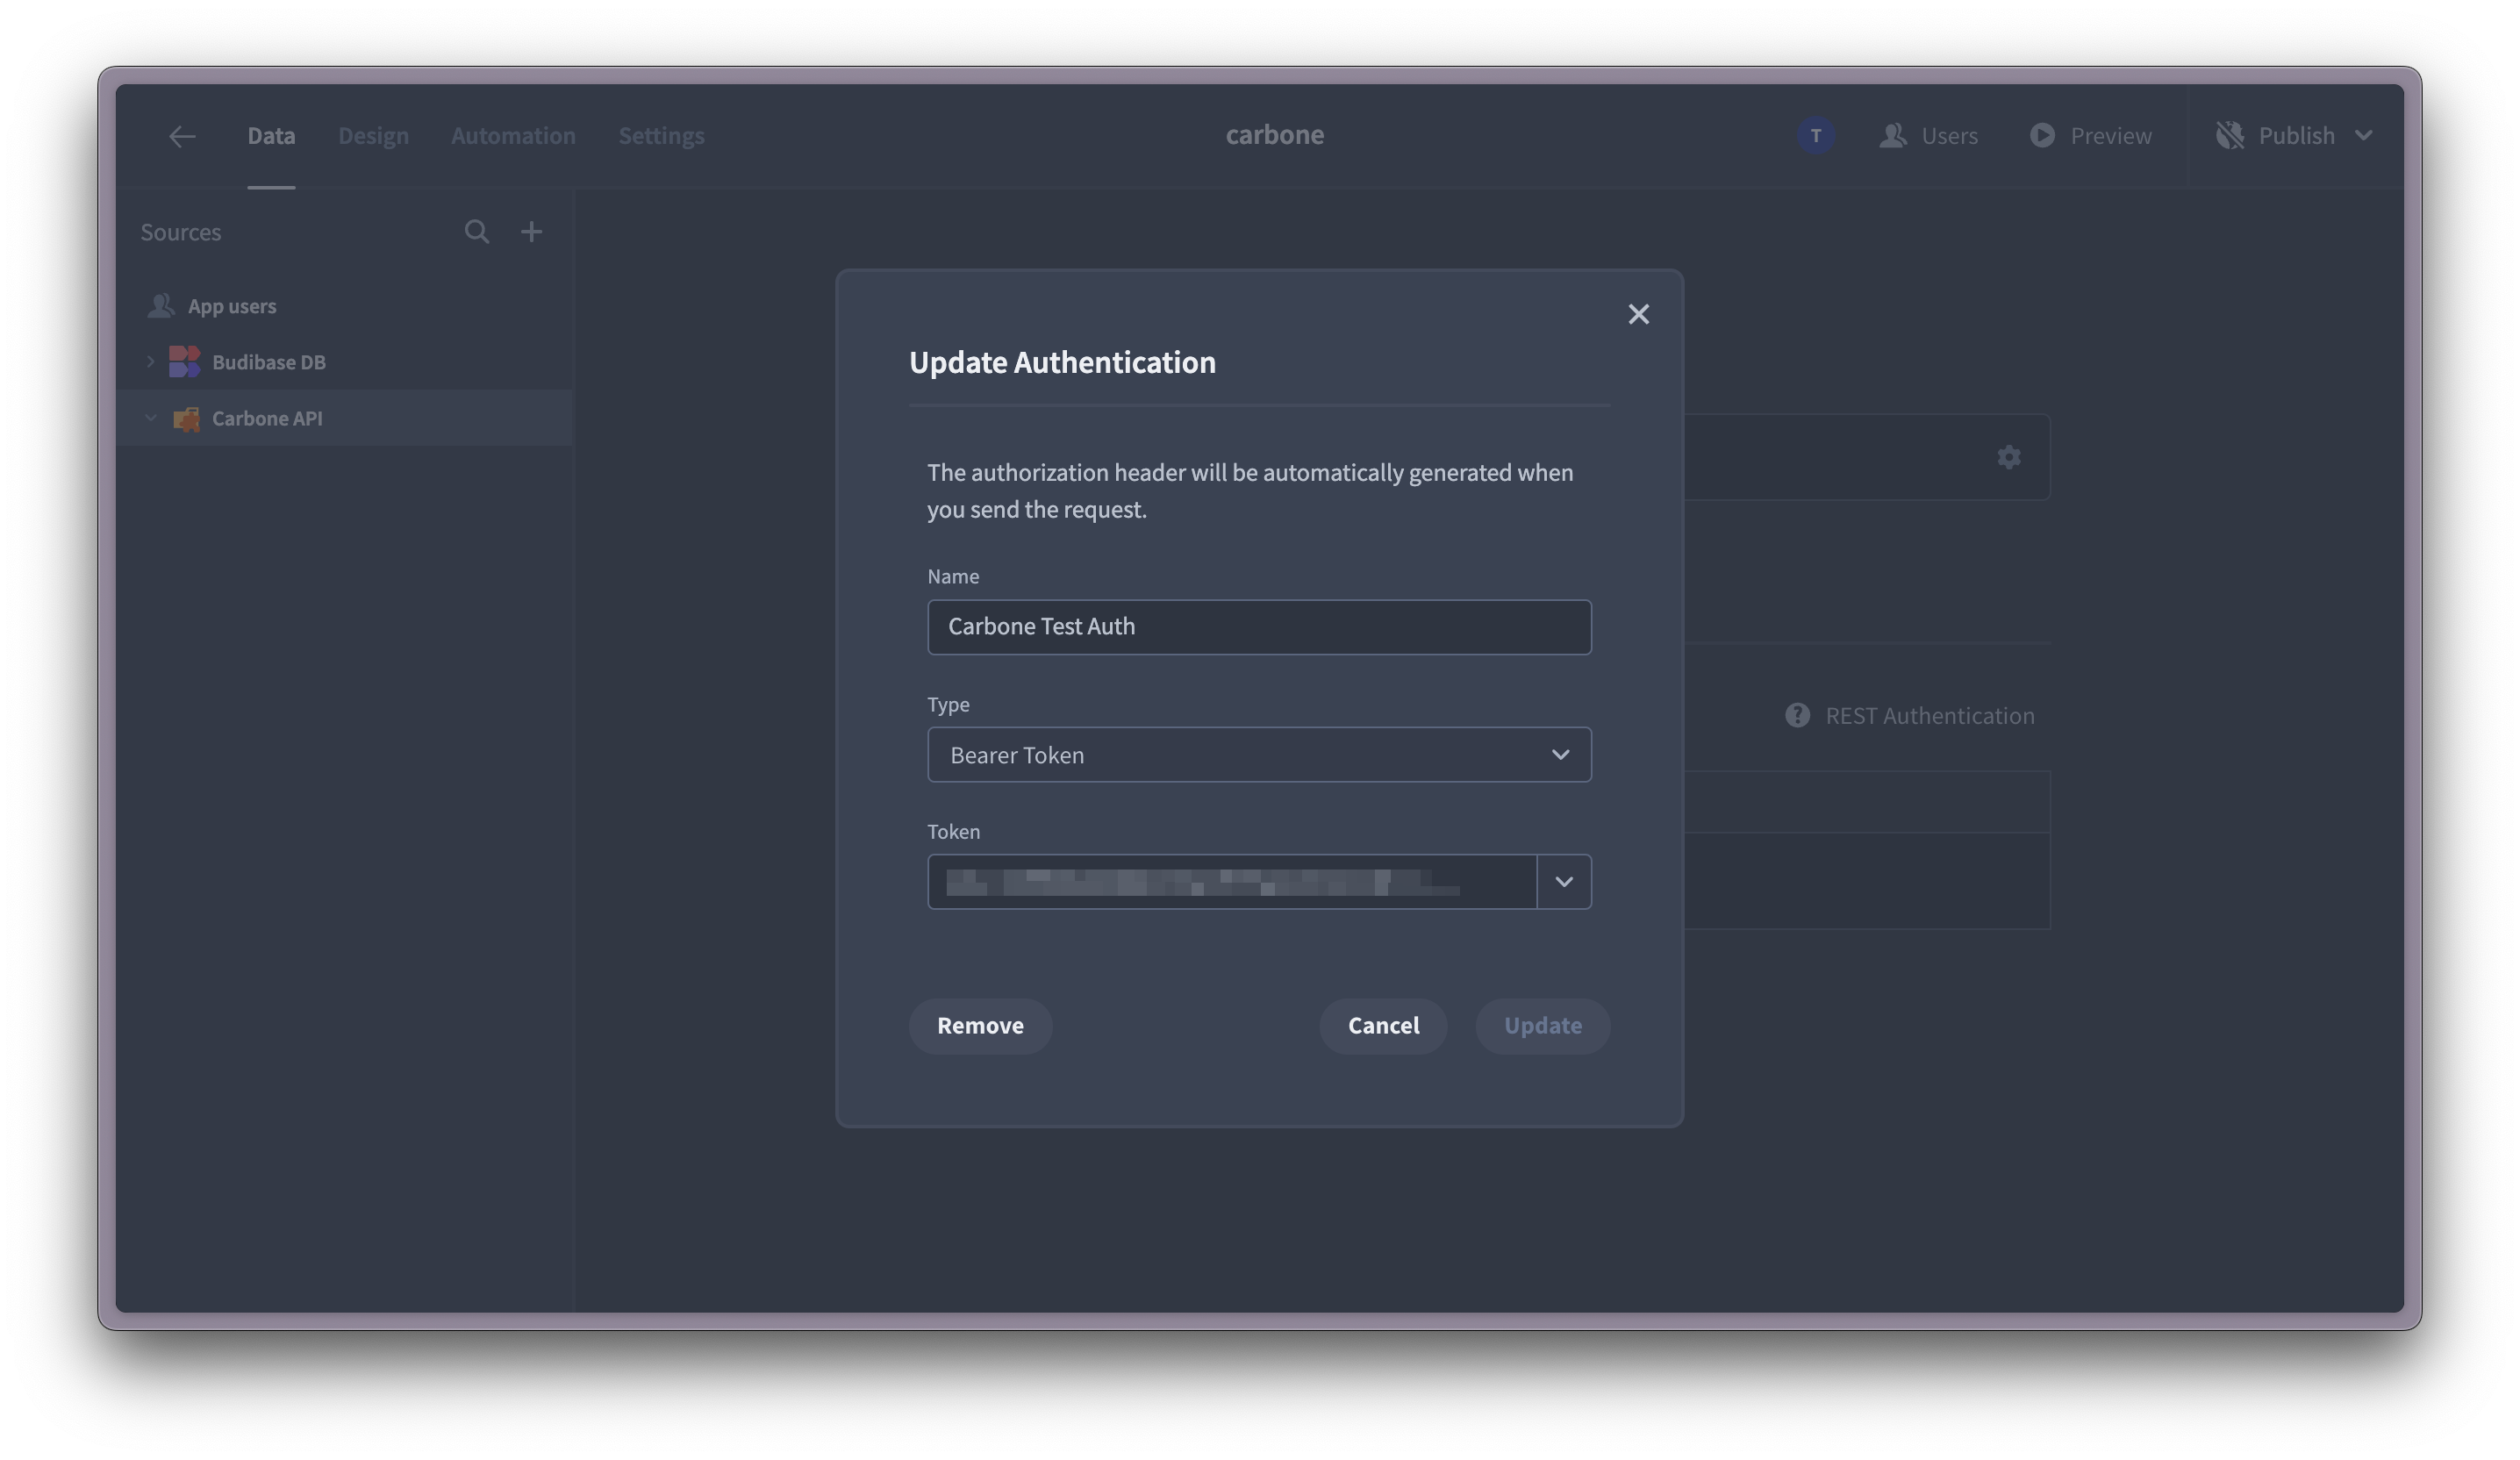
Next, we’ll create a new REST data source in the data section of your Budibase builder. In the Authentication section, you’ll need to add your Carbone API key as a Bearer Token.
Now that our requests have been properly authenticated, let’s add some queries. The Carbone REST API has two endpoints we will need to use: one to render your report with the data you provide for our template, and one to download that rendered file.
For the first one, we’ll add two bindings: data, a JSON blob with the merge data, and templateId, the ID we grabbed from the Carbone Studio.

We’re making use of the templateId binding in the query URL, and data is being sent up in the request body:
{ "data": {{Binding.data}}, "convertTo": "pdf", "currencySource" : "GBP", "currencyTarget": "GBP"}You can see more options for the request body in Carbone’s documentation of the render endpoint here.
This request returns a Render ID as a response and will use a simple transformer to make the query return that specific value. We’ll use this value in the next endpoint to download the PDF with our data merged in.
The second endpoint is a more simple GET request. We need to provide the renderId as a binding and then use that as a URL path parameter.

As mentioned previously, Budibase can now download files from an API - automatically storing the file on a temporary bucket for us to use later. You can see the URL for our PDF file as part of the query response. We’ll use this URL in our automation to send our invoice as an email attachment.
Step 3: Create a form in the Design section
Now that we’ve hooked up the API - let’s get a little creative and design a screen in Budibase. We set up a few simple tables in my Budibase DB for orders, and now we want to give the user the option to create a new one.
In the Design section, I have made a simple screen to create new order records. However for the purpose of this demo, this will work. This can be adapted to whatever you need - the main principle is to set up some action on your screen that can trigger an automation.

In this example, we’ll set an action to email the generated invoice to the customer. Alternatively, if you wanted to return a download link to the front end, you could use an Automation triggered by an App Action and add a Collect Data step to the end.
Step 4: Create the automation to send the email
The final step is to set up the automation that actually sends the email. The key steps for our automation are the External Data Connector requests to fire off the two queries we made above, and the Send Email step to send our email with an attachment.
Once the relevant data is pulled from the DB tables, we pass that data as JSON to the Carbone Render request. That automation step will return the Render ID for my invoice document, which will then be passed to the download request.

We can then take the file URL from the download step response and add it as an attachment URL in the Send Email step.
To summarise, in this Automation, we are generating the PDF in Carbone, pulling in the generated PDF from their servers, and then sending it to our customer as an email attachment.

There we have it - a fully functional Budibase workflow that handles an ordering process end-to-end.
Sending & processing a job offer contract with PandaDoc
In the next example, we’ll create an HR app that uses the PandaDoc API to send a new employee their contract. When the employee is added to the database, they will automatically be emailed with a link to PandaDoc where they can sign their contract. Once the contract is signed, PandaDoc will trigger a Budibase automation which will download the signed contract and save it to the employee’s record.

Step 1: Creating a template & setting up the PandaDoc API endpoints
To begin, we will first need to create a contract template that can be fed to PandaDoc. I did this in Canva, but you can really use any tool you like. This is what will be populated and sent to the new employee once we add them in Budibase. Once you have the template ready, upload it to PandaDoc and choose the areas that need to be signed. For recipients, just add the role ‘Candidate’—we’ll use this in our request later.

Now, it’s time to head over to Budibase. The first step is to set up your authentication with the PandaDoc API. You can see how to get your PandaDoc API key here, which you can then add to your Budibase REST data source as a header.
Once the authentication is set up, we can build our REST queries. The first one to add is Create Document from Template. It takes bindings for our candidate’s name and email address, and then passes those to the PandaDoc API in the body. You will also need to add the ID for the template we created above. When a POST request is sent to this endpoint, a document is rendered asynchronously on PandaDoc’s server with the data relevant to our candidate.

Next, we need to create a query to send the contract document that PandaDoc generated in the last step. We will later use a PandaDoc webhook to tell us when it’s ready to be sent so that we can automatically run this query as soon as possible.
For this, we simply use the Send Document endpoint and pass the relevant Document ID as a path parameter. You can also set the email title and message in the request body.

The third query we need to add is for the Download Document endpoint. In this case, we only need to pass the Document ID as a binding.
When a Budibase REST query runs and has a file to be downloaded as the response, it uploads it to a temporary bucket so that you can use it elsewhere in the system. The most important part of the response object is the URL value. We will later use this value to save the contract document to our employees’ table.

Step 2: Design the ‘new employee’ form in Budibase
First, we have to create a table for your employees - for this example, we’ll use Budibase DB. I have added an Attachment column to the table, which we will later use to store the signed employee contract. Once you set up the table for your employees, you can build a screen to add new employees easily.

Step 3: Use Automations to generate the contract document
The automation for this step will be triggered when a new employee is created using the form we built above. It uses a Row Created trigger and runs the Create Document REST query we built earlier.

To help us later, I’ve also created an additional column in my Employees table to store the Document ID returned by the PandaDoc API. Using this Update Row step, we update the newly created employee record with the Document ID from our query response.
Step 4: Use a webhook automation to send the document to the candidate
As briefly mentioned earlier, the Create Document endpoint generates the document asynchronously, so we need to wait for the document status to update on the PandaDoc side before sending it to the candidate. To wait for this, we can use a PandaDoc webhook, which will trigger a Budibase automation.

When the webhook trigger is hit, it will include the relevant Document ID. This means that we can run the Send Document query we made above and pass the Document ID as a binding.

Step 5: Trigger an automation when the employee signs the contract
For this step, we will use another webhook trigger. When the candidate signs the contract, an event in PandaDoc will trigger the Budibase webhook, causing the automation to run.
Add the Trigger URL from your Budibase webhook as a new Configuration in the PandaDoc Settings. Then, you can select which PandaDoc events will trigger our automation in Budibase.

When this automation is triggered, we want it to get the newly signed contract using the Download Document query and then save that file to the attachment column in our employee row. First, we add an External Data Connector step that runs that query, passing the Document ID from the trigger. This will return a URL for our file, which is stored on a temporary bucket, and we will now save it back to the Budibase DB.
In order to get the relevant Employee ID from our Budibase table, we will add a Query Rows step that gets the employee record with the matching Document ID coming from the webhook trigger. Once we have the Employee ID, we can add an Update Row step for that employee record.
As shown below, we take the URL returned by the first step and add it as an attachment to our employee record.

And there we have it - you now have a fully functional Budibase application that supports sending job offers.
We hope that the two example workflows provided in this blog have painted a vivid picture of what is now possible with files in Automation. If you take some inspiration from this post and create a new automated workflow, please share it with the wider community in the #showcase channel on the Budibase Discord server - we’d love to hear from you and can’t wait to see what you come up with!