Build a Free Google Sheets GUI in 5 Steps
A Google Sheets GUI can help you turn your spreadsheets into real apps.
Google Sheets is one of the most ubiquitous, widely used business tools around today. It allows you to get all the power of spreadsheets, databases, and scripting all at once.
But at the end of the day, it’s still a spreadsheet tool.
So you are limited to the grid design and unfiltered data entry. Users can add data in the wrong format. If you have multiple users, editing files can get confusing. There’s no user access control, advanced filtering, or search options.
In general, it feels like you need to adjust all your workflows to work around the limitations, instead of having an app that adjusts to your needs.
That’s where creating a Google Sheets GUI can come in handy.
With a Graphical User Interface (GUI, you can use Google Sheets as a flexible data source.
At the same time, end users interact with your app using your Google Sheets UI. Thus, you can control data entry, create custom views, add charts and metrics, and create different user levels.
This allows you to get the best of both worlds. A flexible data source , along with a powerful user-facing app.
Today, we’ll show how you can use a free open-source no-code builder to create your Google Sheets GUI in just four steps. By the end, you’ll know how you can create beautiful Google Sheets apps, get data, edit it, trigger automations, and much more.
Let’s get started!
How do I create a dashboard in Google Sheets?
You can use Google Sheets as a dashboard, by using custom styles, charts, and App Script to run functions. But it’s probably better and easier to use a free no-code builder such as Budibase to create a custom Dashboard for Google sheets .
You can follow the tips from this tutorial to build a dashboard in addition to a Google Sheets GUI.
Can Google Sheets be used as a database?
Google Sheets is a great option for a free and simple database. With it, you can add data to your tables and use other apps to access it using the API.
Check out our guide to data entry automation .
What are we building?
Today, we’re building a two-screen app that will manage sheets called Contacts and Messages. Our Contacts screen will be a simple CRUD UI, enabling our internal users to manage the rows in this table in a controlled, streamlined manner.

They can access modal forms to either add new rows or update existing ones.
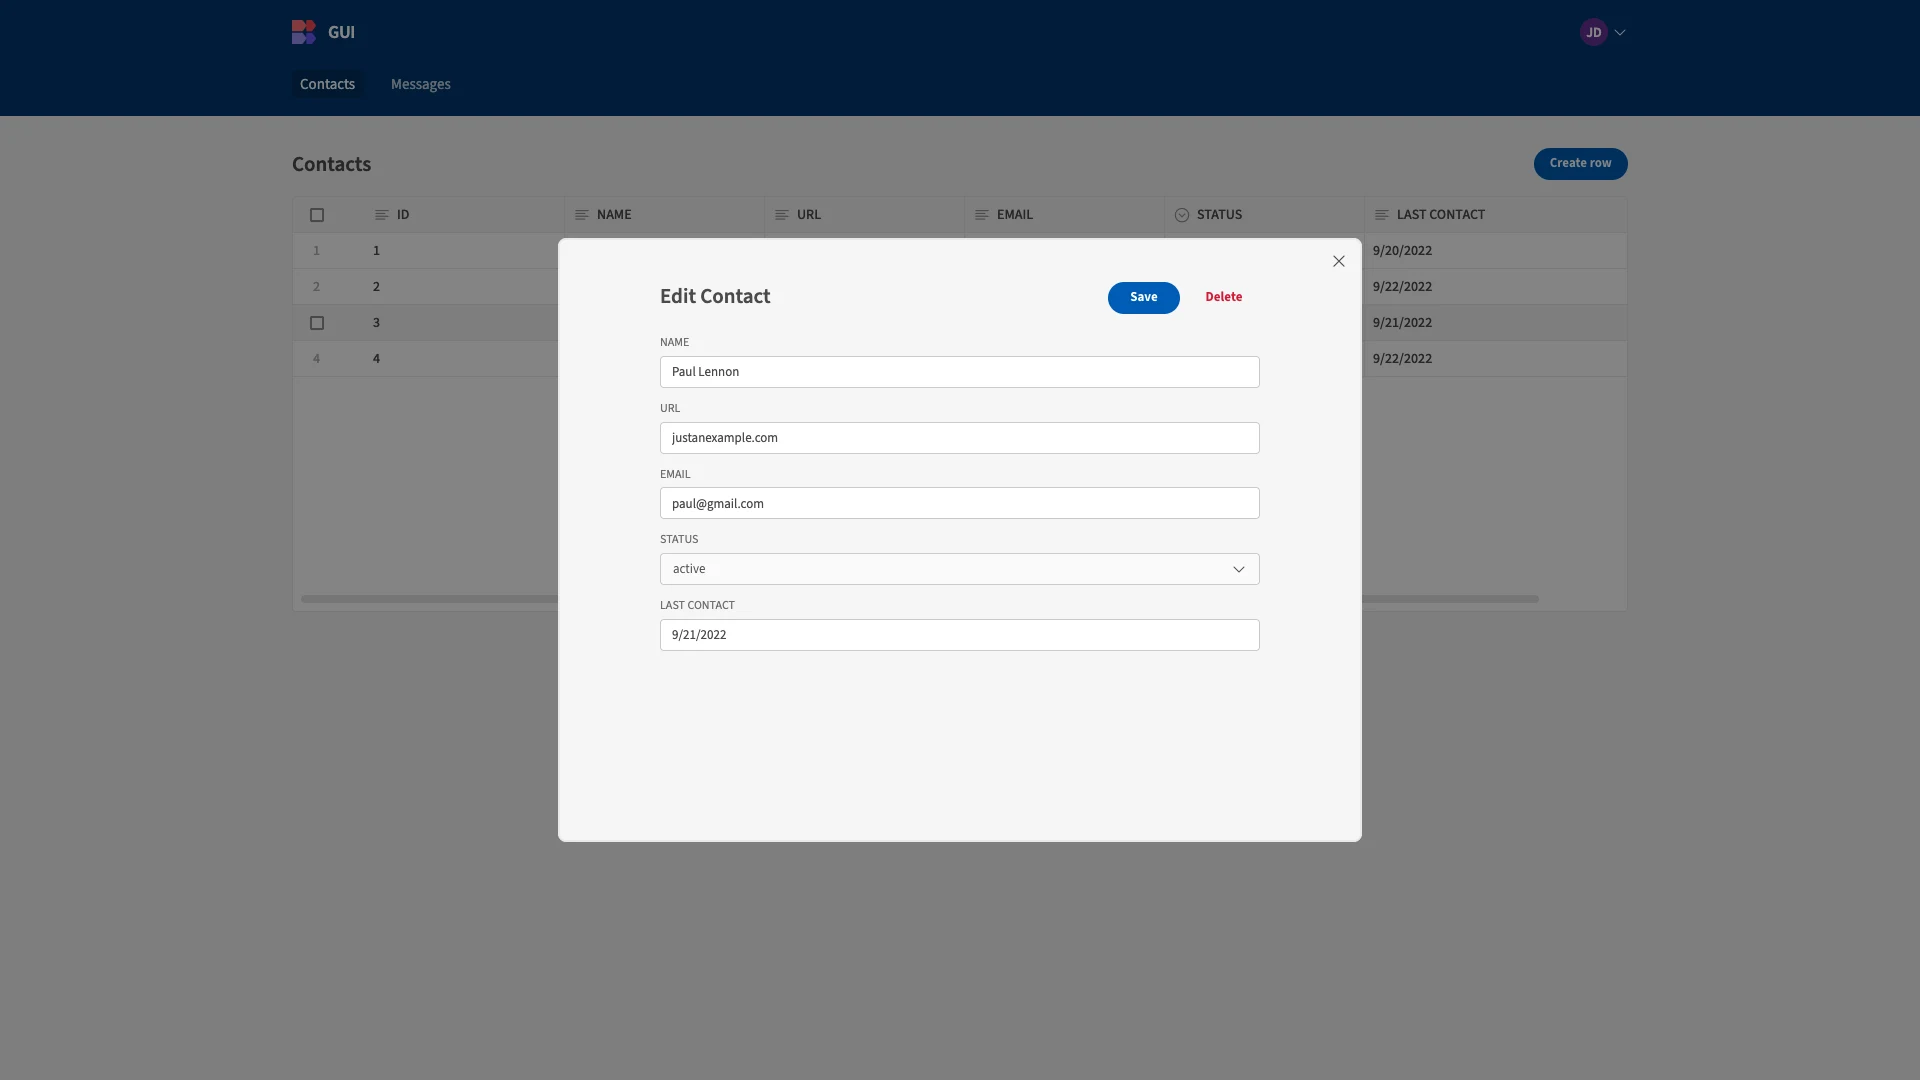
We’ve built a similar screen for users to view incoming Messages.

However, rather than performing full CRUD operations, our modal form simply enables users to expand the message details, as well as submitting a reply.

When a user replies from the front-end of our Google Sheets GUI, an automation is triggered, sending this response to the original submitter, and updating the status attribute of the relevant row.
To learn more about how we can use a form to submit messages, check out our guide to building forms for Google Sheets data entry .
How to build a Google Sheets GUI in 4 steps
Let’s jump right in. If you haven’t already, sign up for a free Budibase account to start building as many applications as you like.
The first thing we need to do is create a new Budibase Workspace. This is a collection of data sources, end-user apps, and automation rules, which can all interact with one another. When we create a new Workspace, we’re first prompted to give it a name.
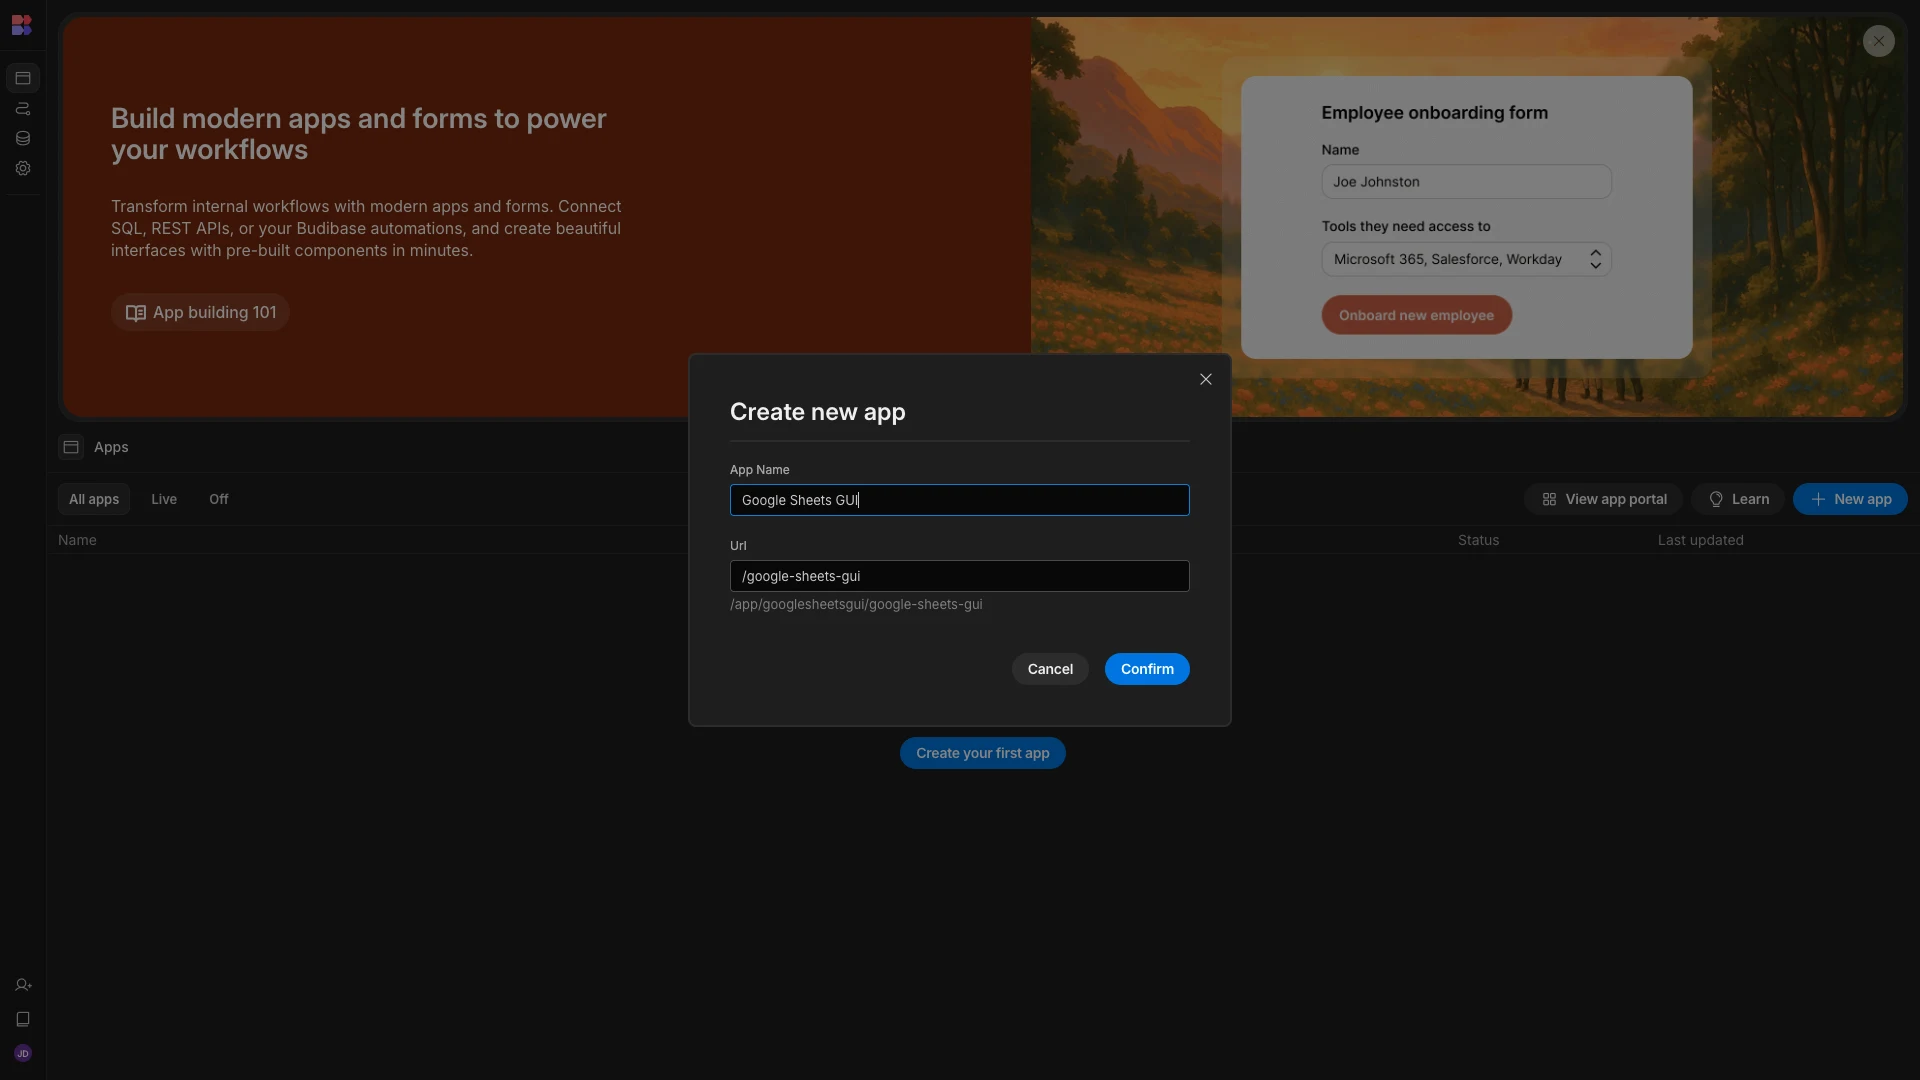
We’ll simply call ours Google Sheets GUI.

1. Setting up our data layer
Once we’ve created our Workspace, we’re offered several options for connection to our first data source.
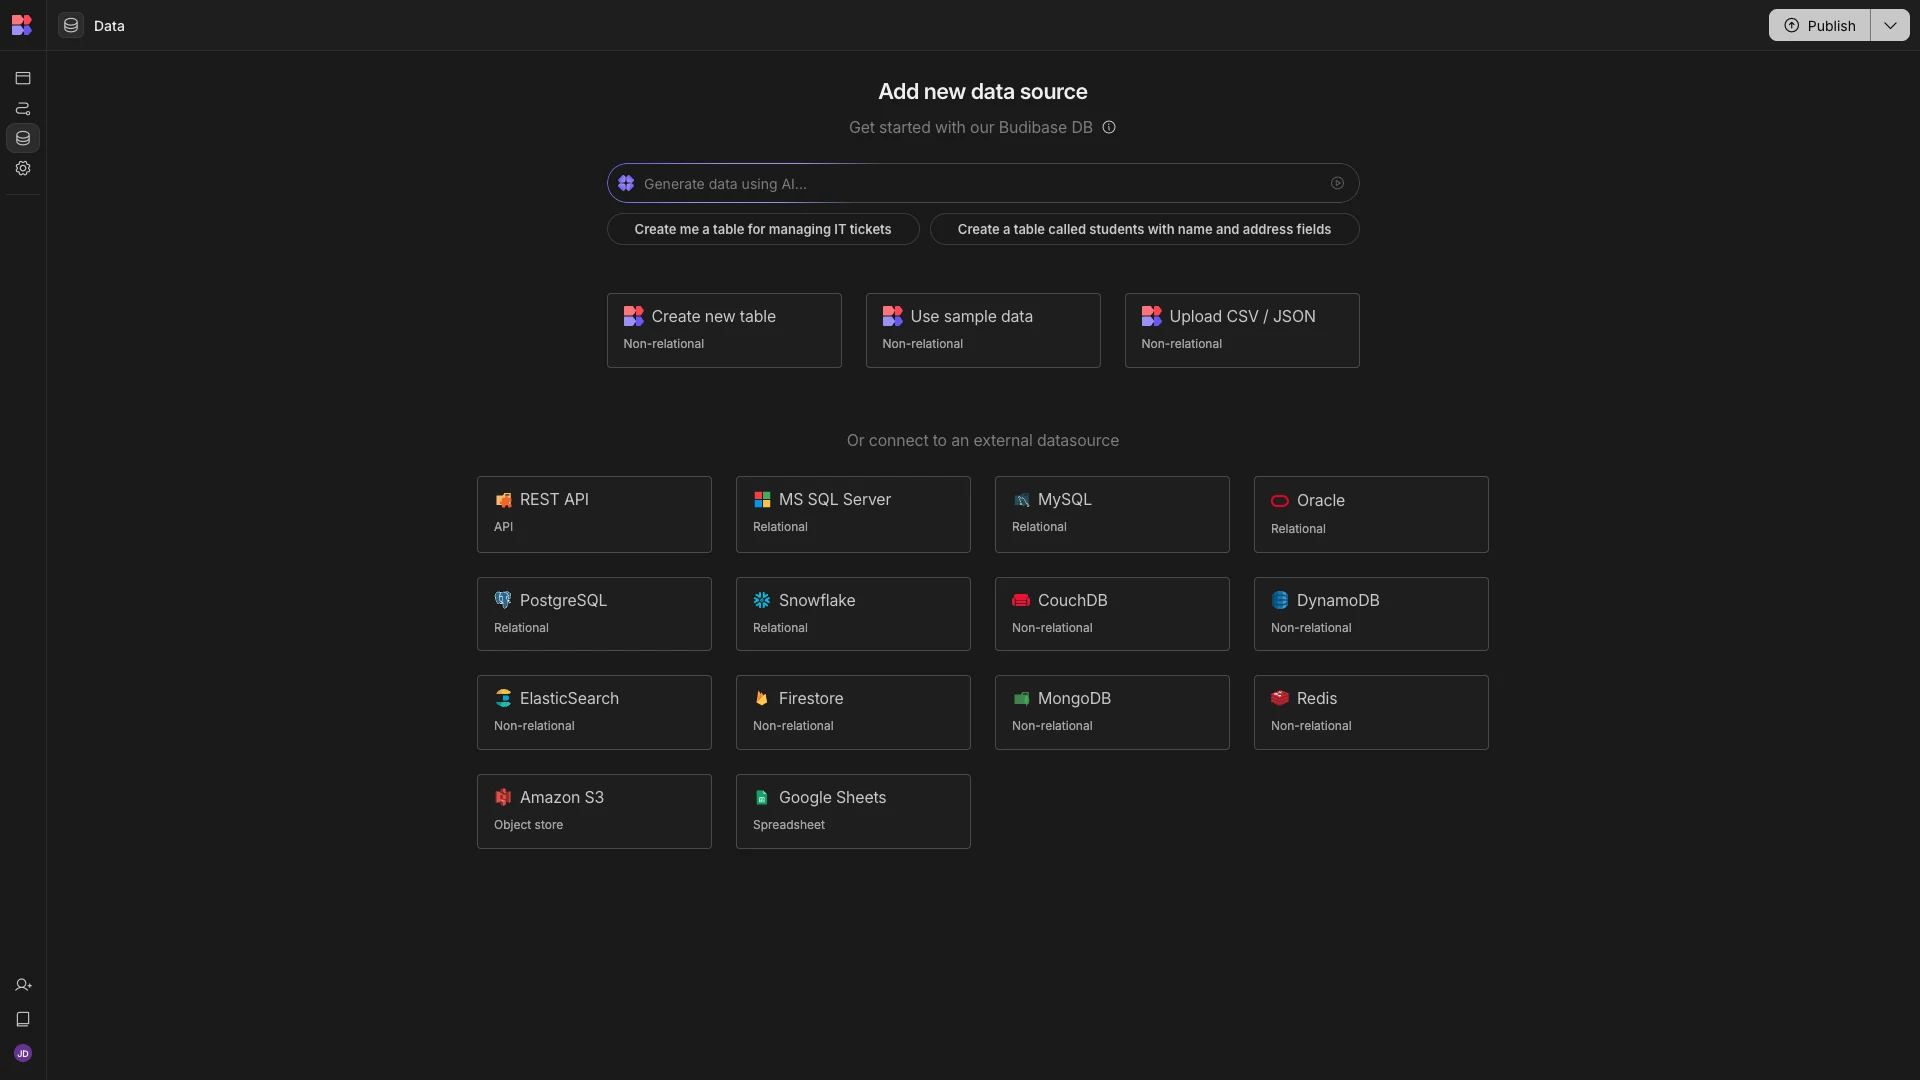
Budibase offers dedicated connectors for a range of RDBMSs, NoSQL tools, and APIs, alongside our built-in low-code database.
Today, however, we’re choosing Google Sheets.
When we choose this option, we’ll be prompted to complete Google’s SSO flow.
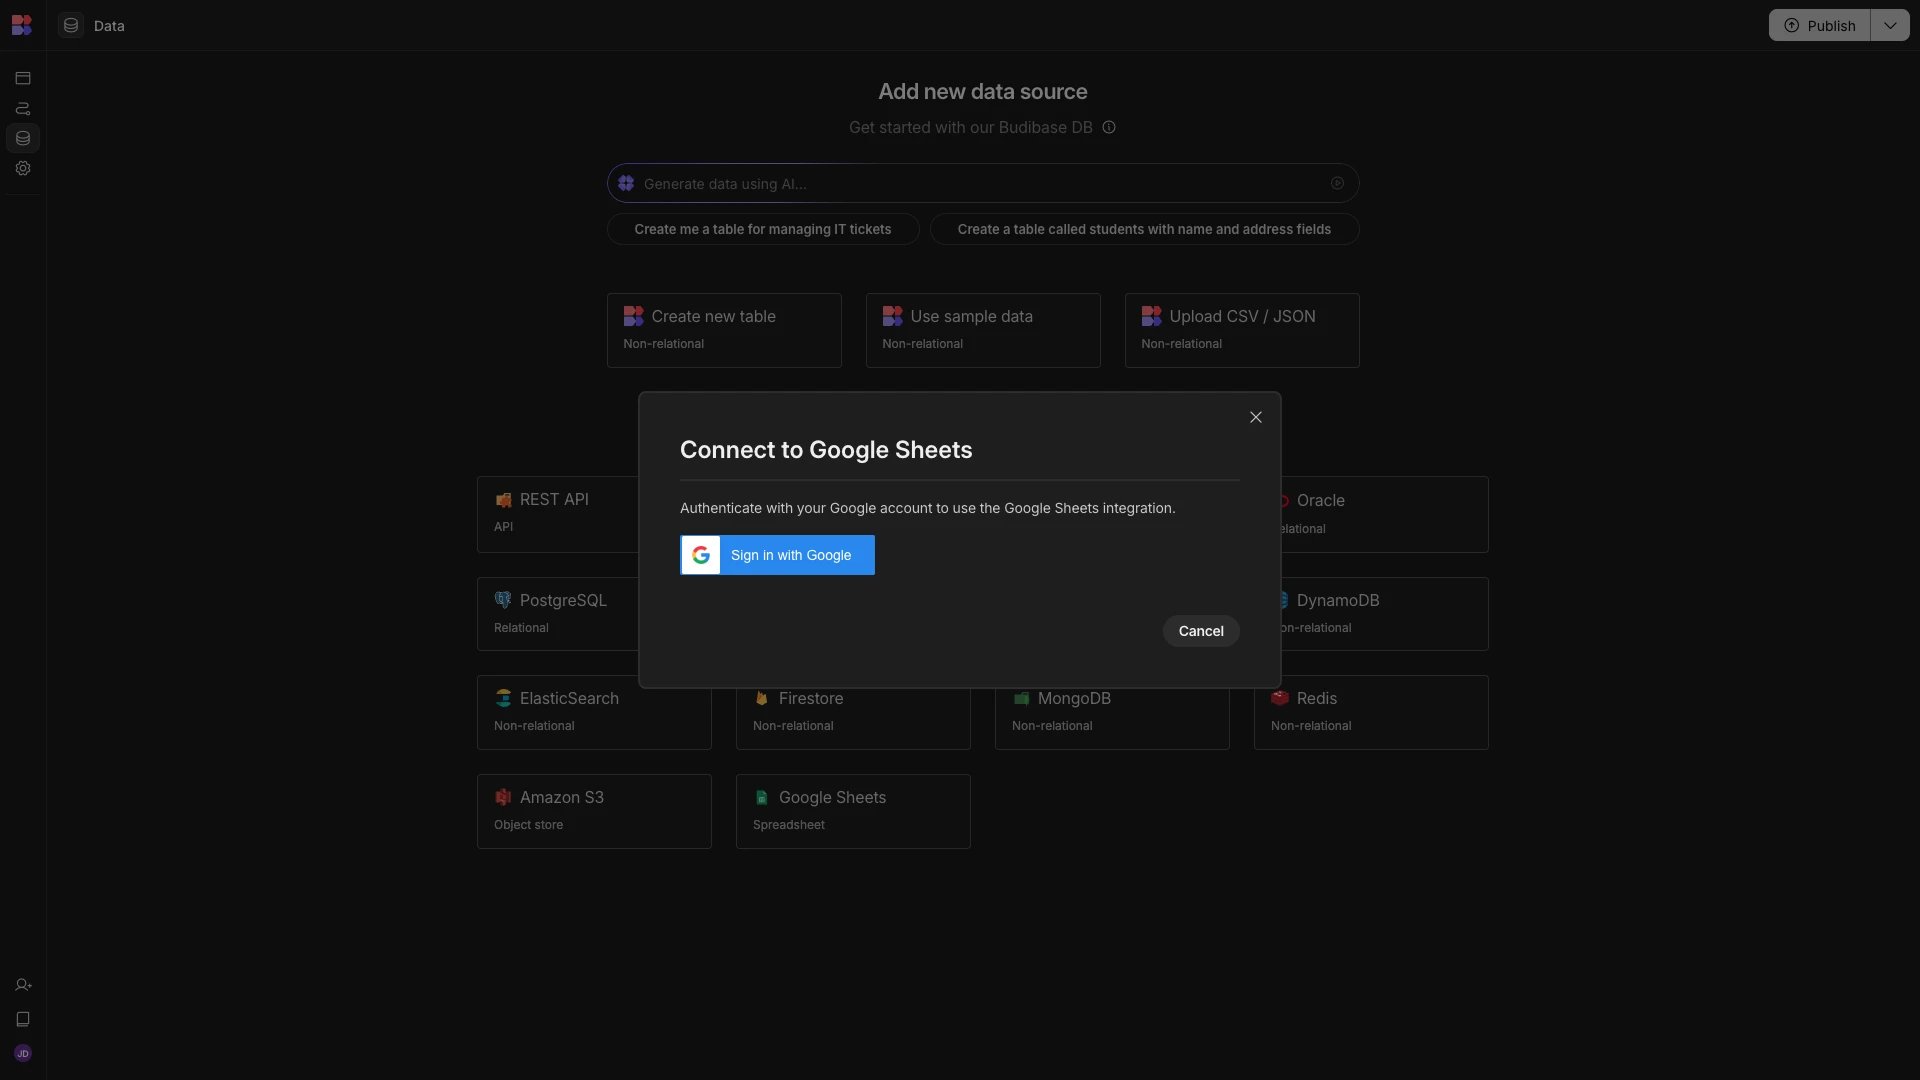
Simply follow the steps to sign in. Then, we’ll be shown the following dialog, where we can input the URL for our target spreadsheet.
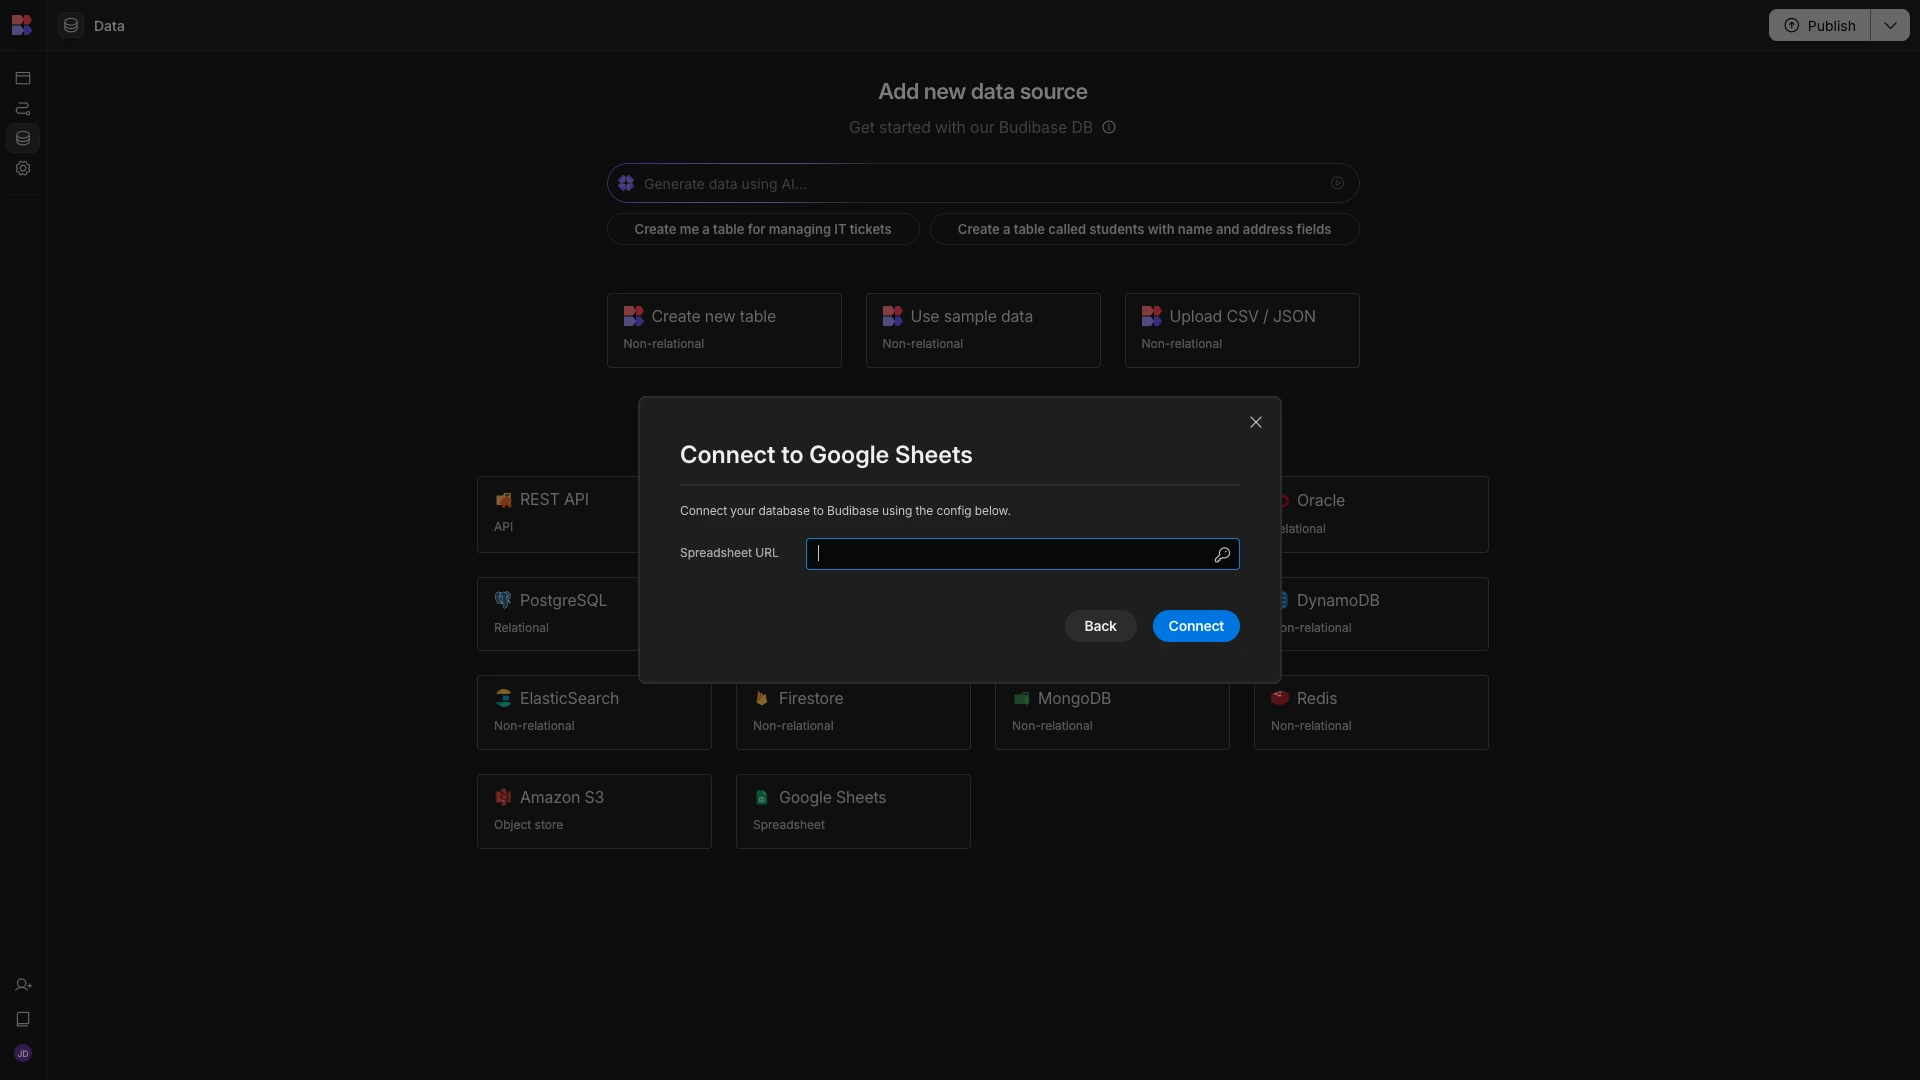
We’re then asked which of the sheets within our spreadsheet we’d like to Fetch, making them usable within Budibase. As we said earlier, our spreadsheet has two tables, called Contacts and Messages.
We’re fetching both.
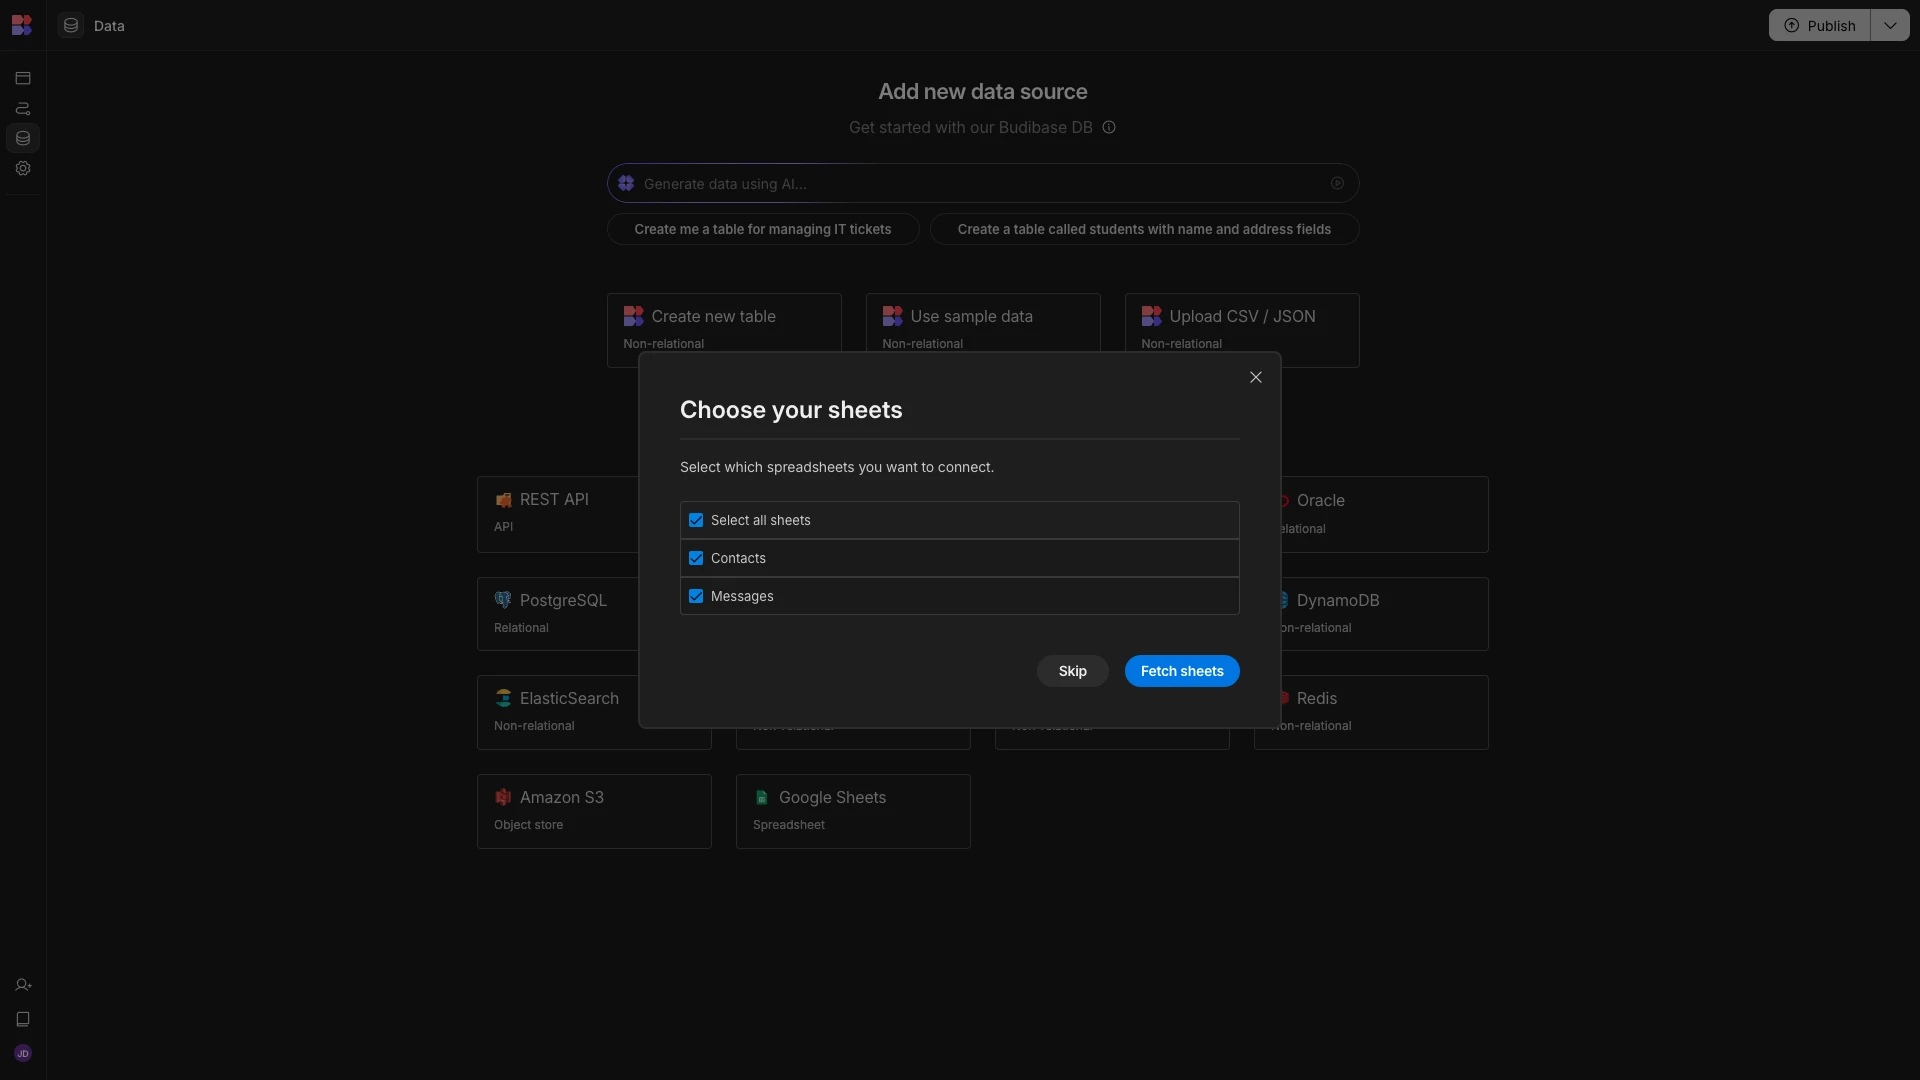
Here’s how these will look in Budibase’s Data section.
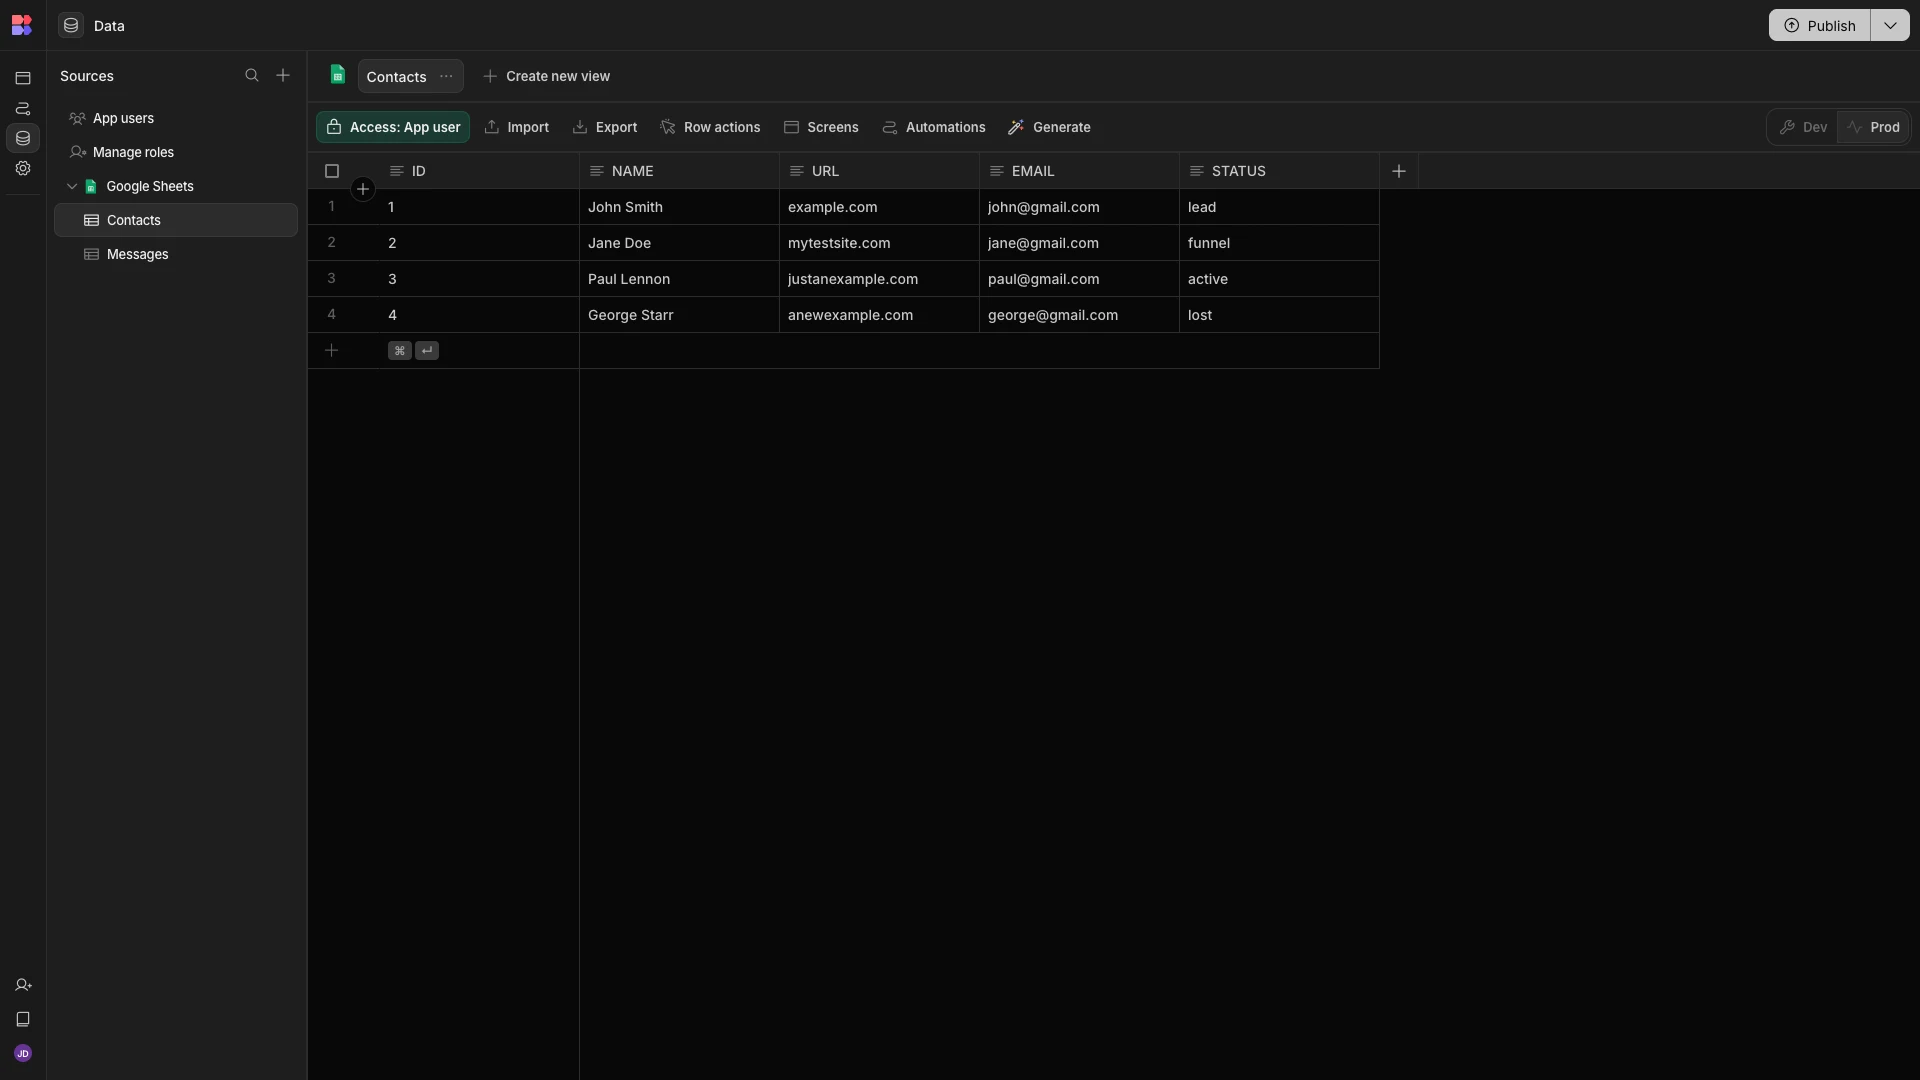
Already, we can edit our data, add rows, or update the schema of our table, using Budibase’s spreadsheet-like interface.
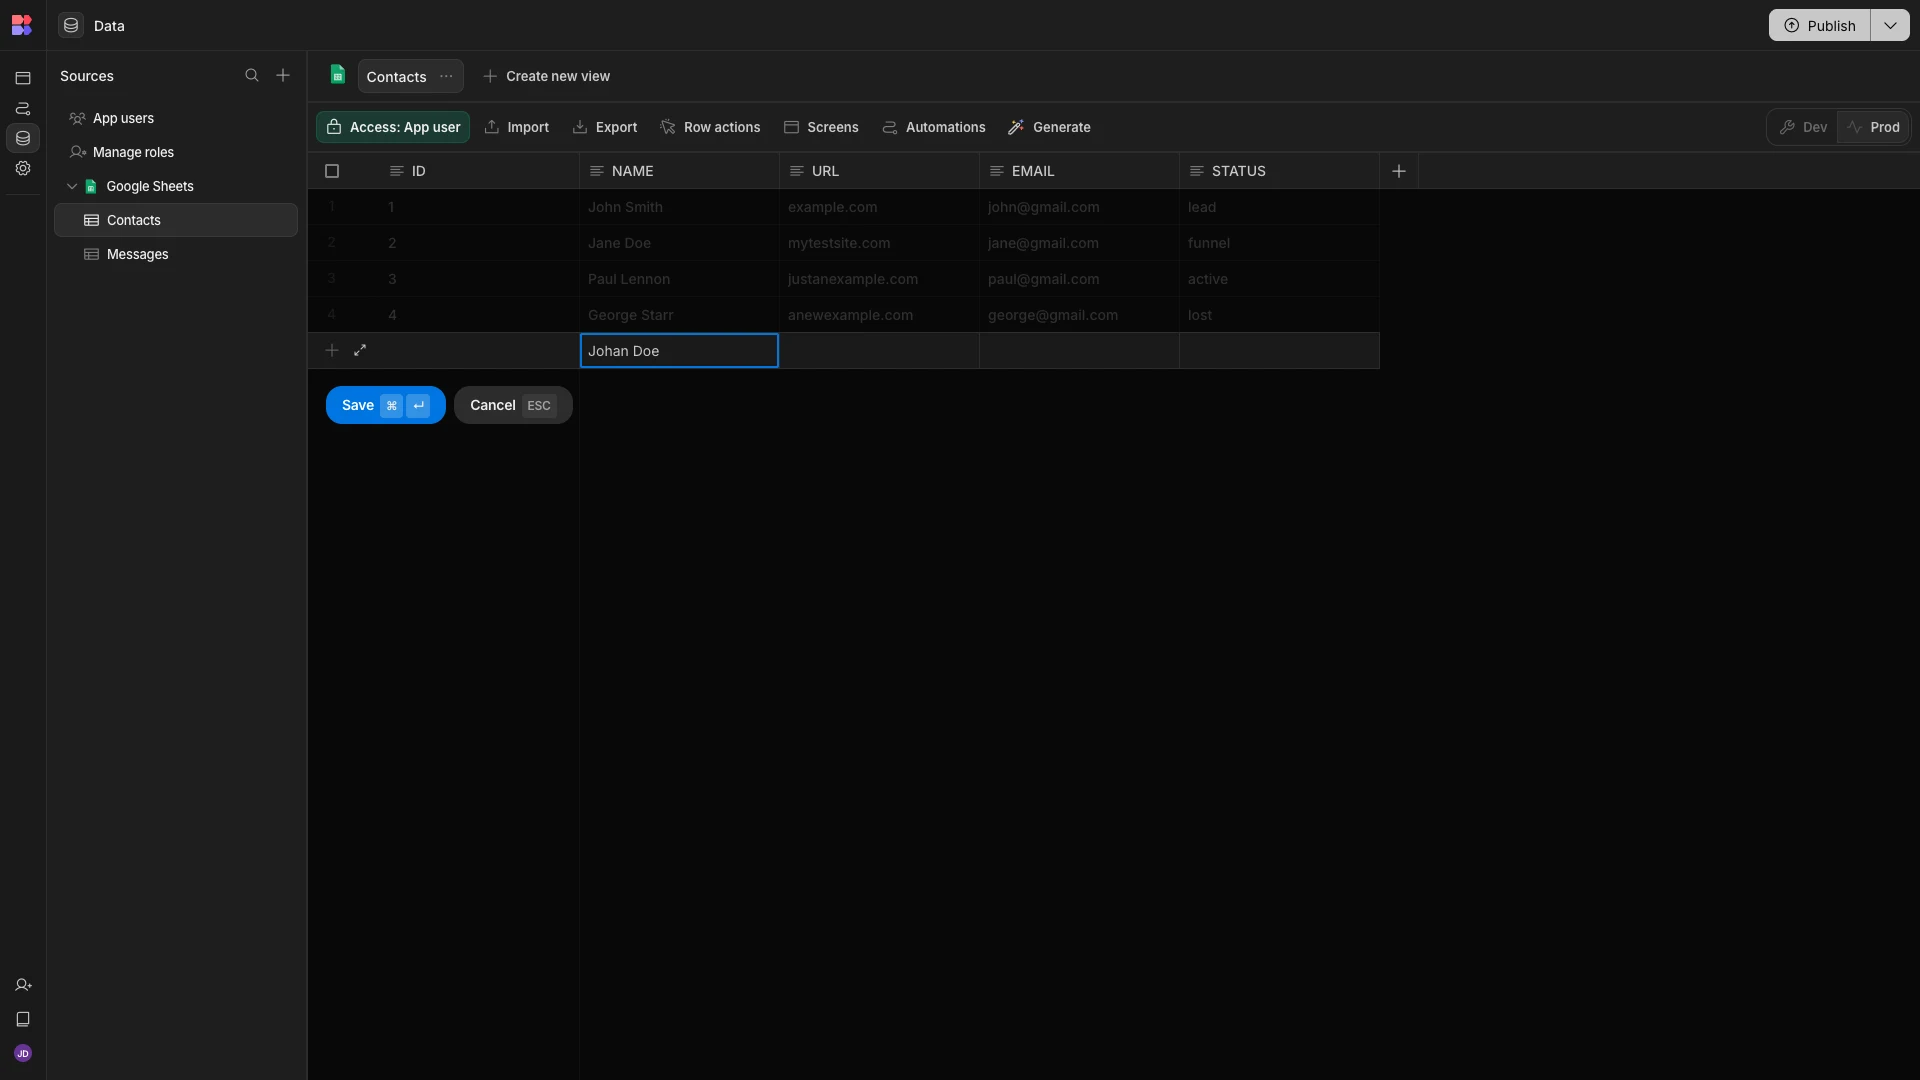
At this point, we could start generating screens. However, we’re going to make a few minor adjustments first that will save us time later.
Specifically, we’re going to make a few small changes to some of our columns, that will influence the kinds of components that are used to edit them when we come to generate our CRUD UIs.
Firstly, we’re going to change the Type of the Message attribute on our Messages table to Long-Form Text.
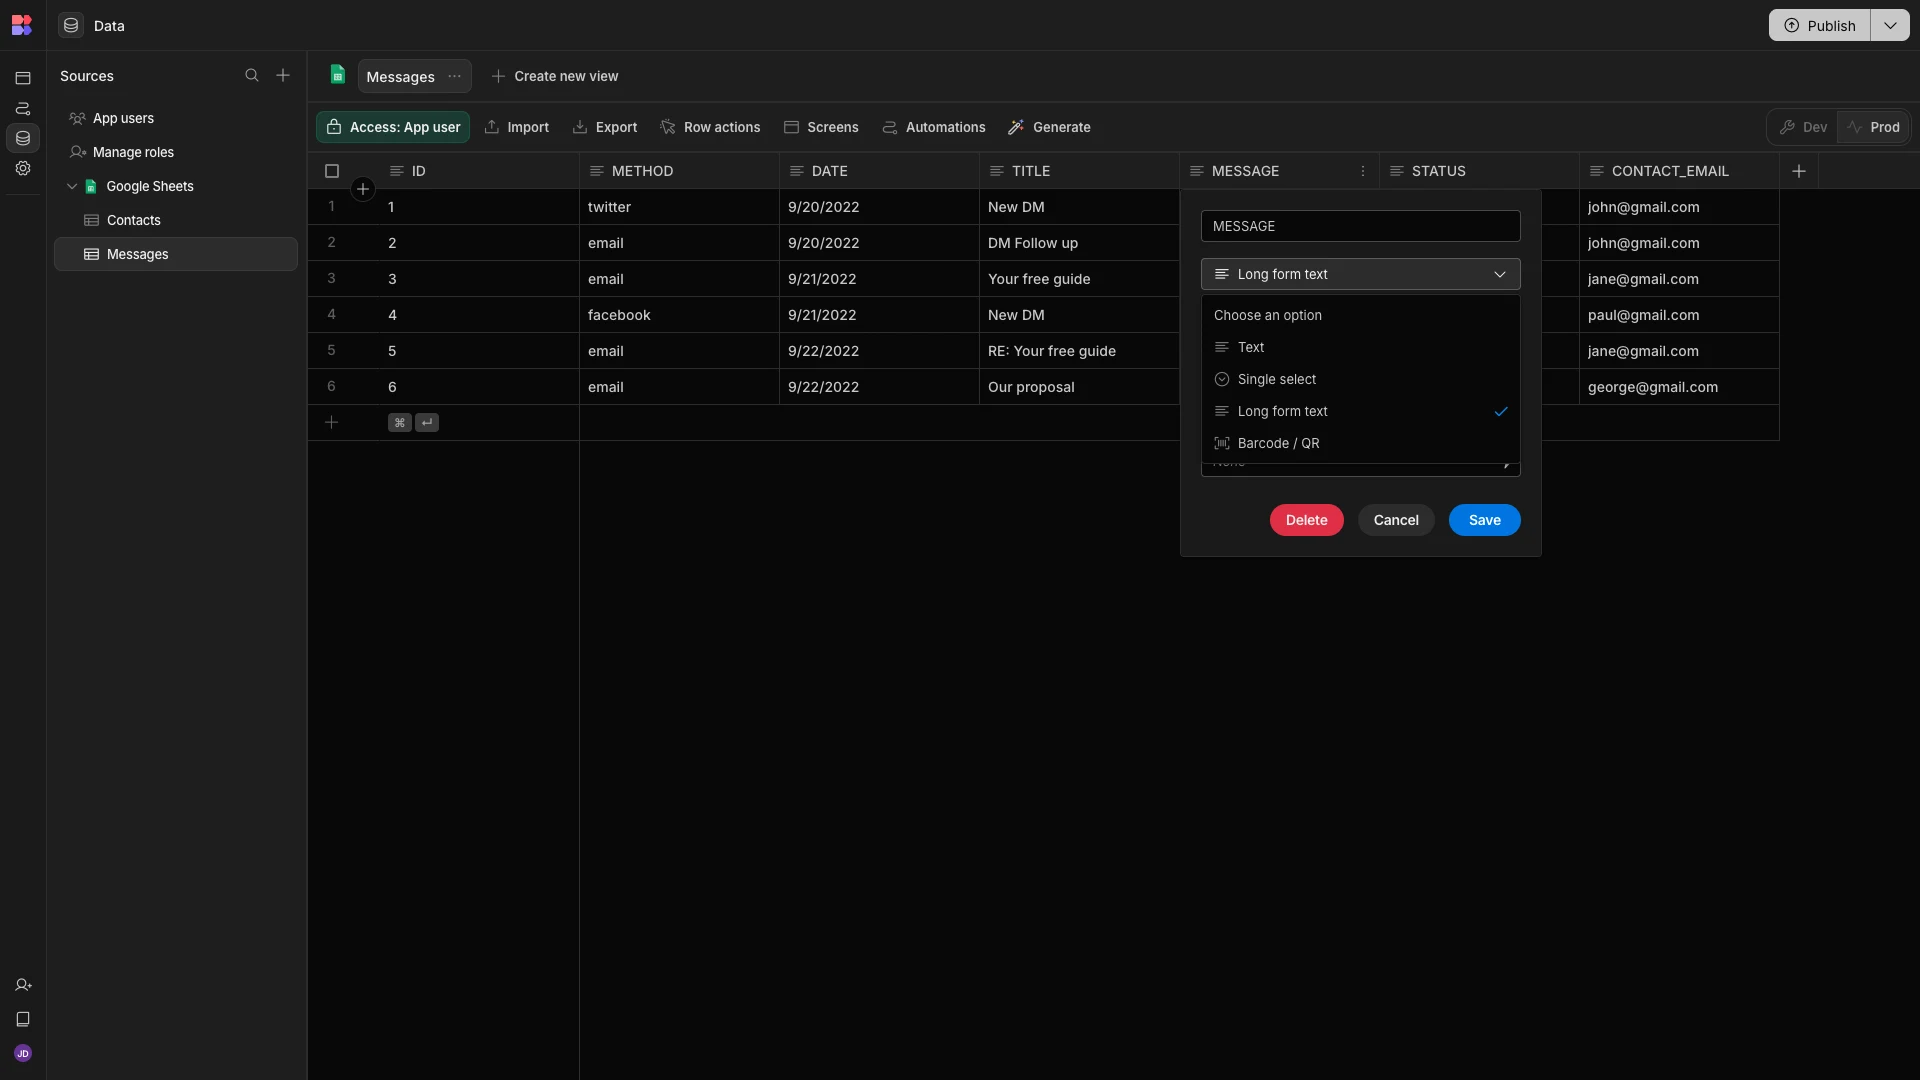
Similarly, there are several columns across our two tables where we’d like to offer users a choice of defined options. These are Method and Status on the Messages table, and Status on the Contacts table.
For each of these, we’ll update the Type to Single Select, as well as inputting our available options based on the values in our dummy data.

We’ll make sure to repeat this for all three columns.
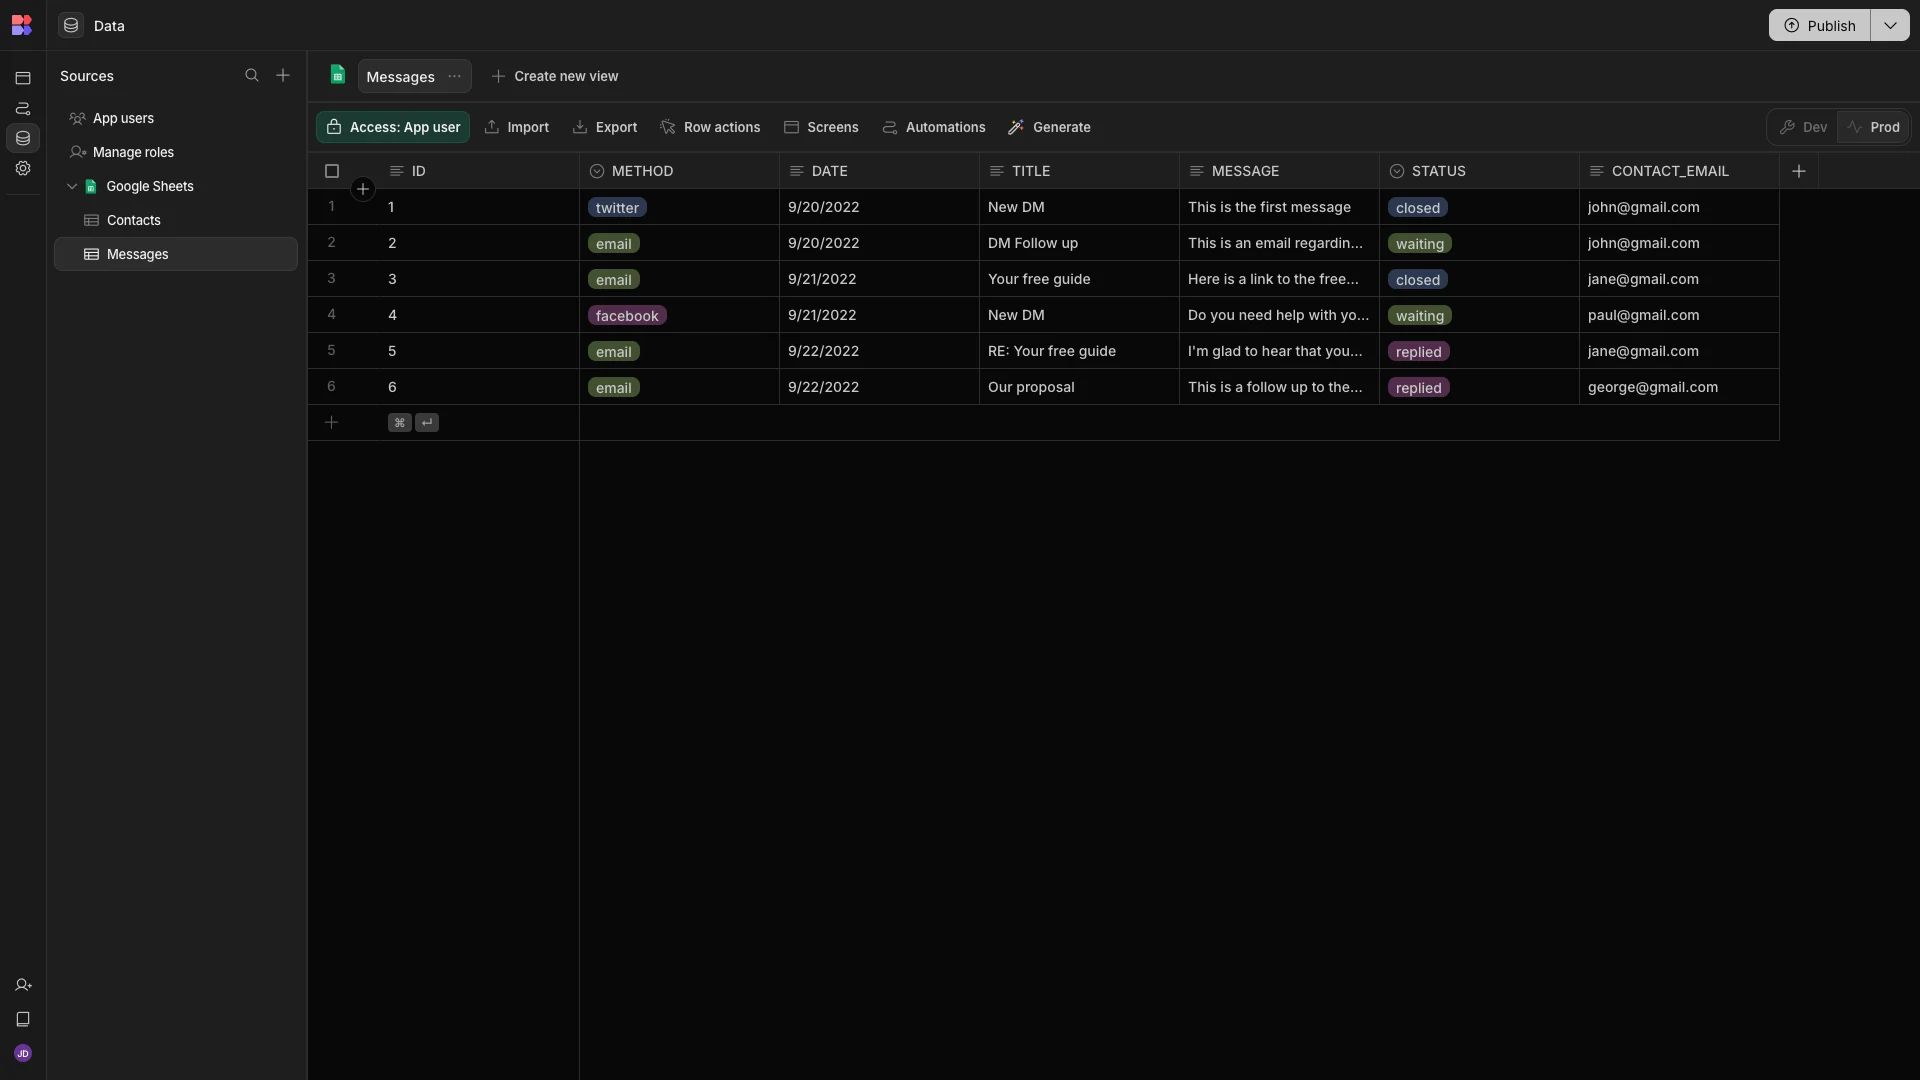
And that’s our data model ready to go.
2. Generating CRUD screens
Next, we can head to the Apps section of our workspace to start building the front-end for our Google Sheets GUI.
In Budibase, Apps are end-user tools that can access any of the data sources within their parent Workspace.
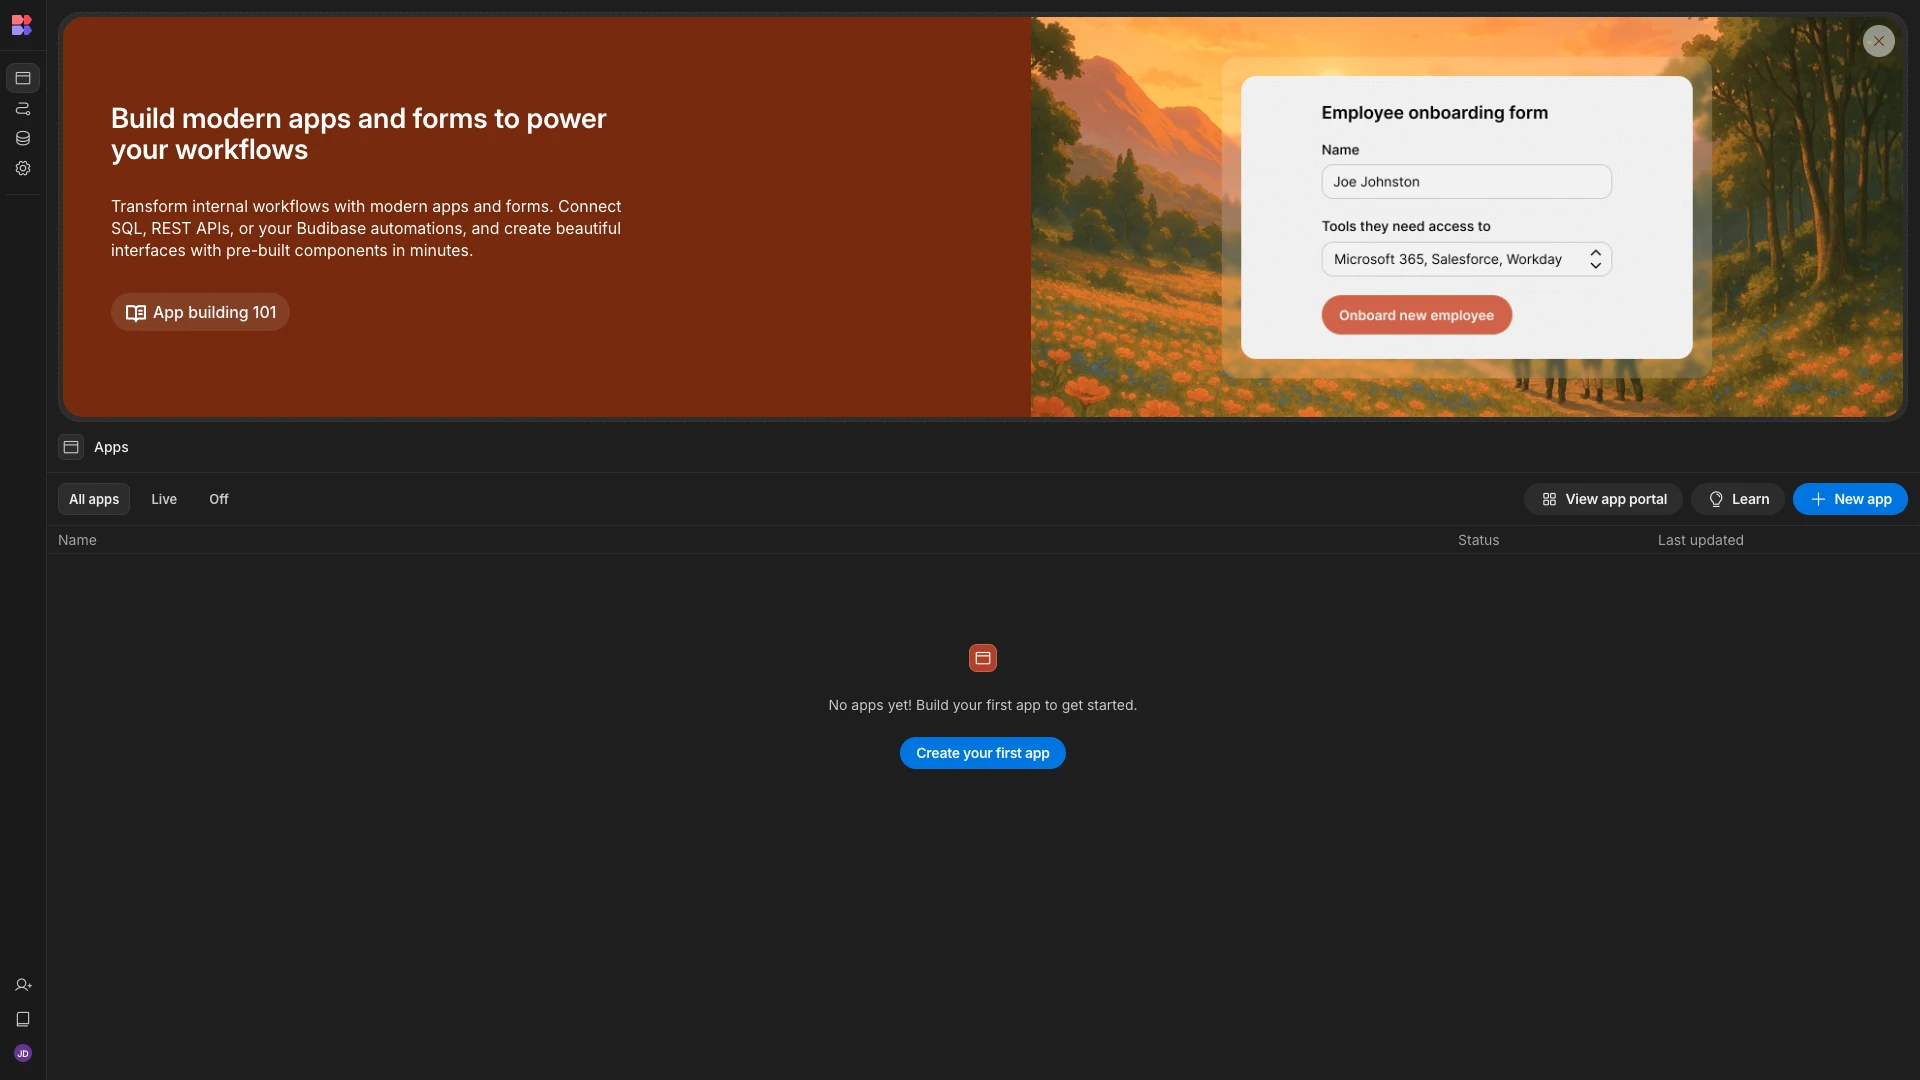
We’ll then be prompted to give our new app a name. We’ll simply call ours Google Sheets GUI for demo purposes.
We’ll then be brought to the Budibase builder, where a new app has been created with a blank screen.
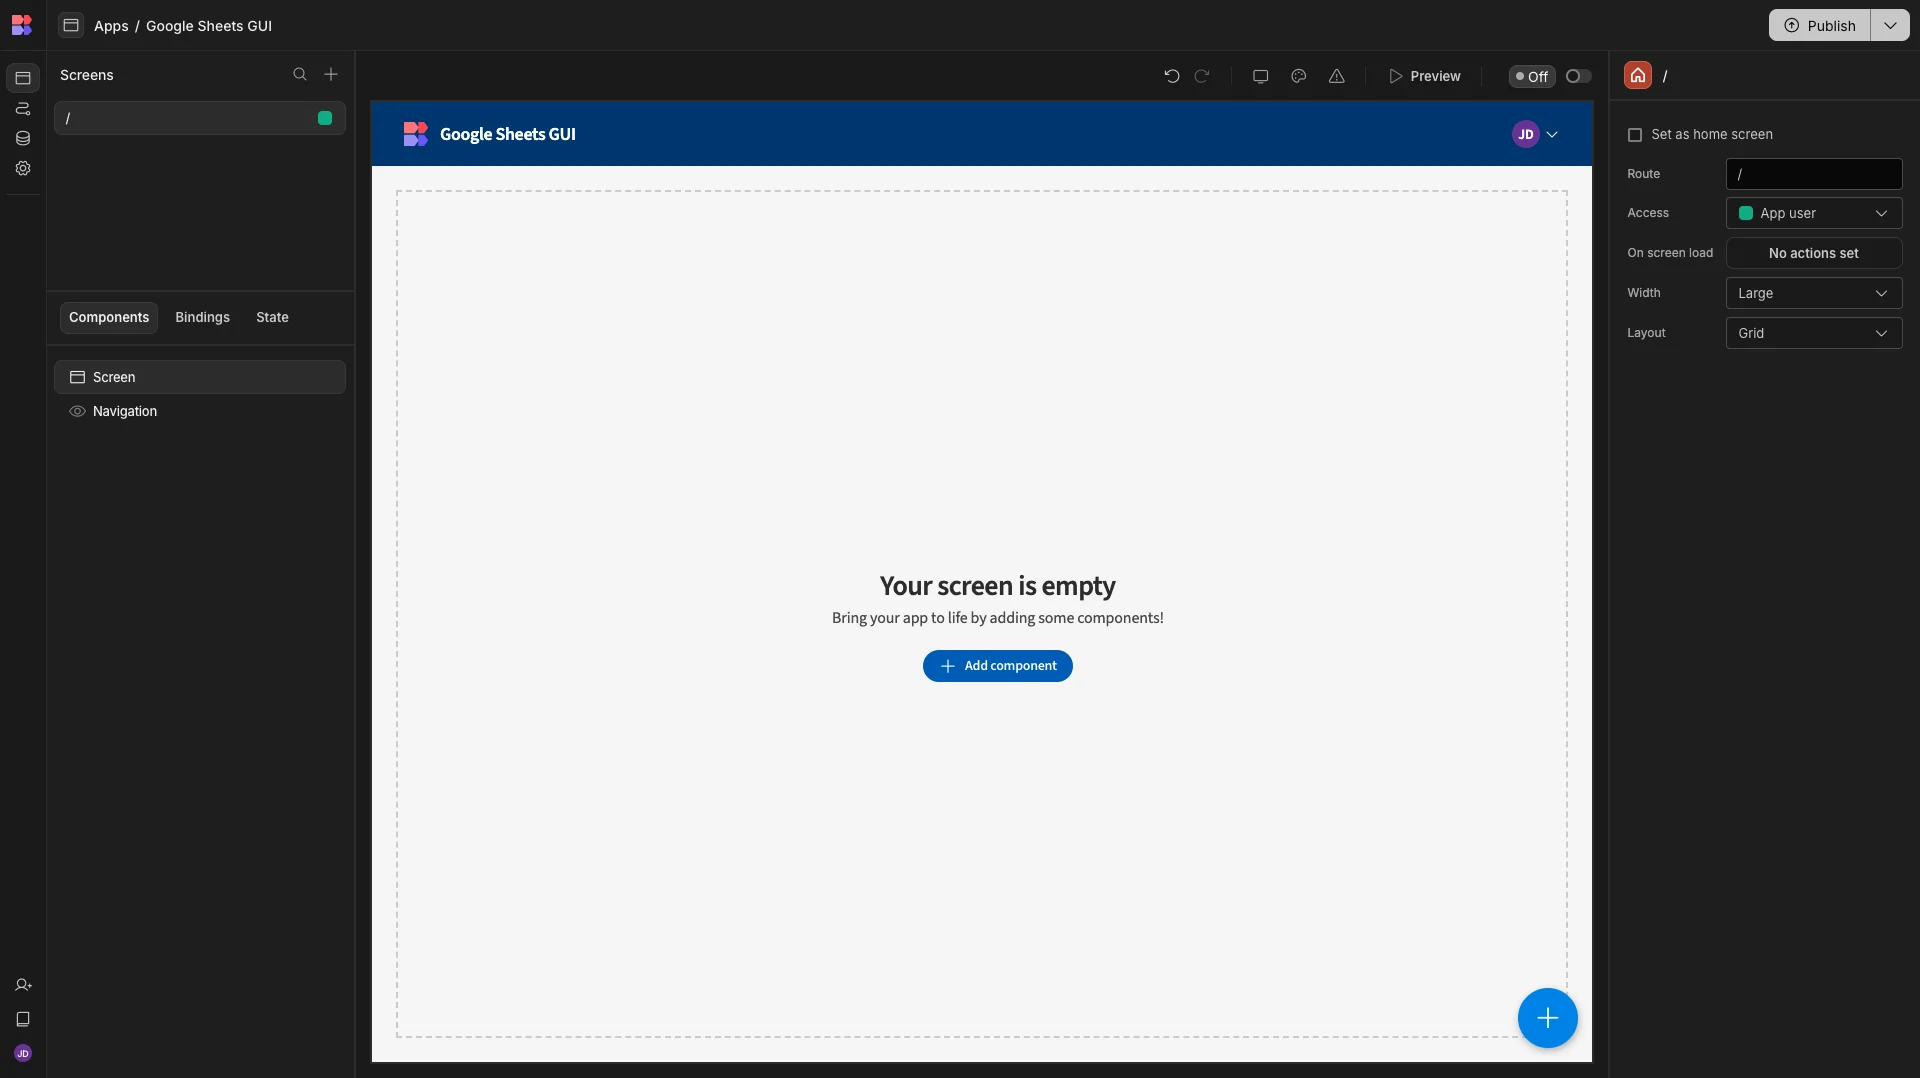
At this point, we could start building our Google Sheets GUI from scratch using Budibase’s library of built-in components. However, today we’re going to rely on Budibase’s autogenerated layouts instead, so we can simply delete this screen.
When we do this, we’re offered several options for how we’d like to build our first screen, including starting from scratch or using a pre-built layout.
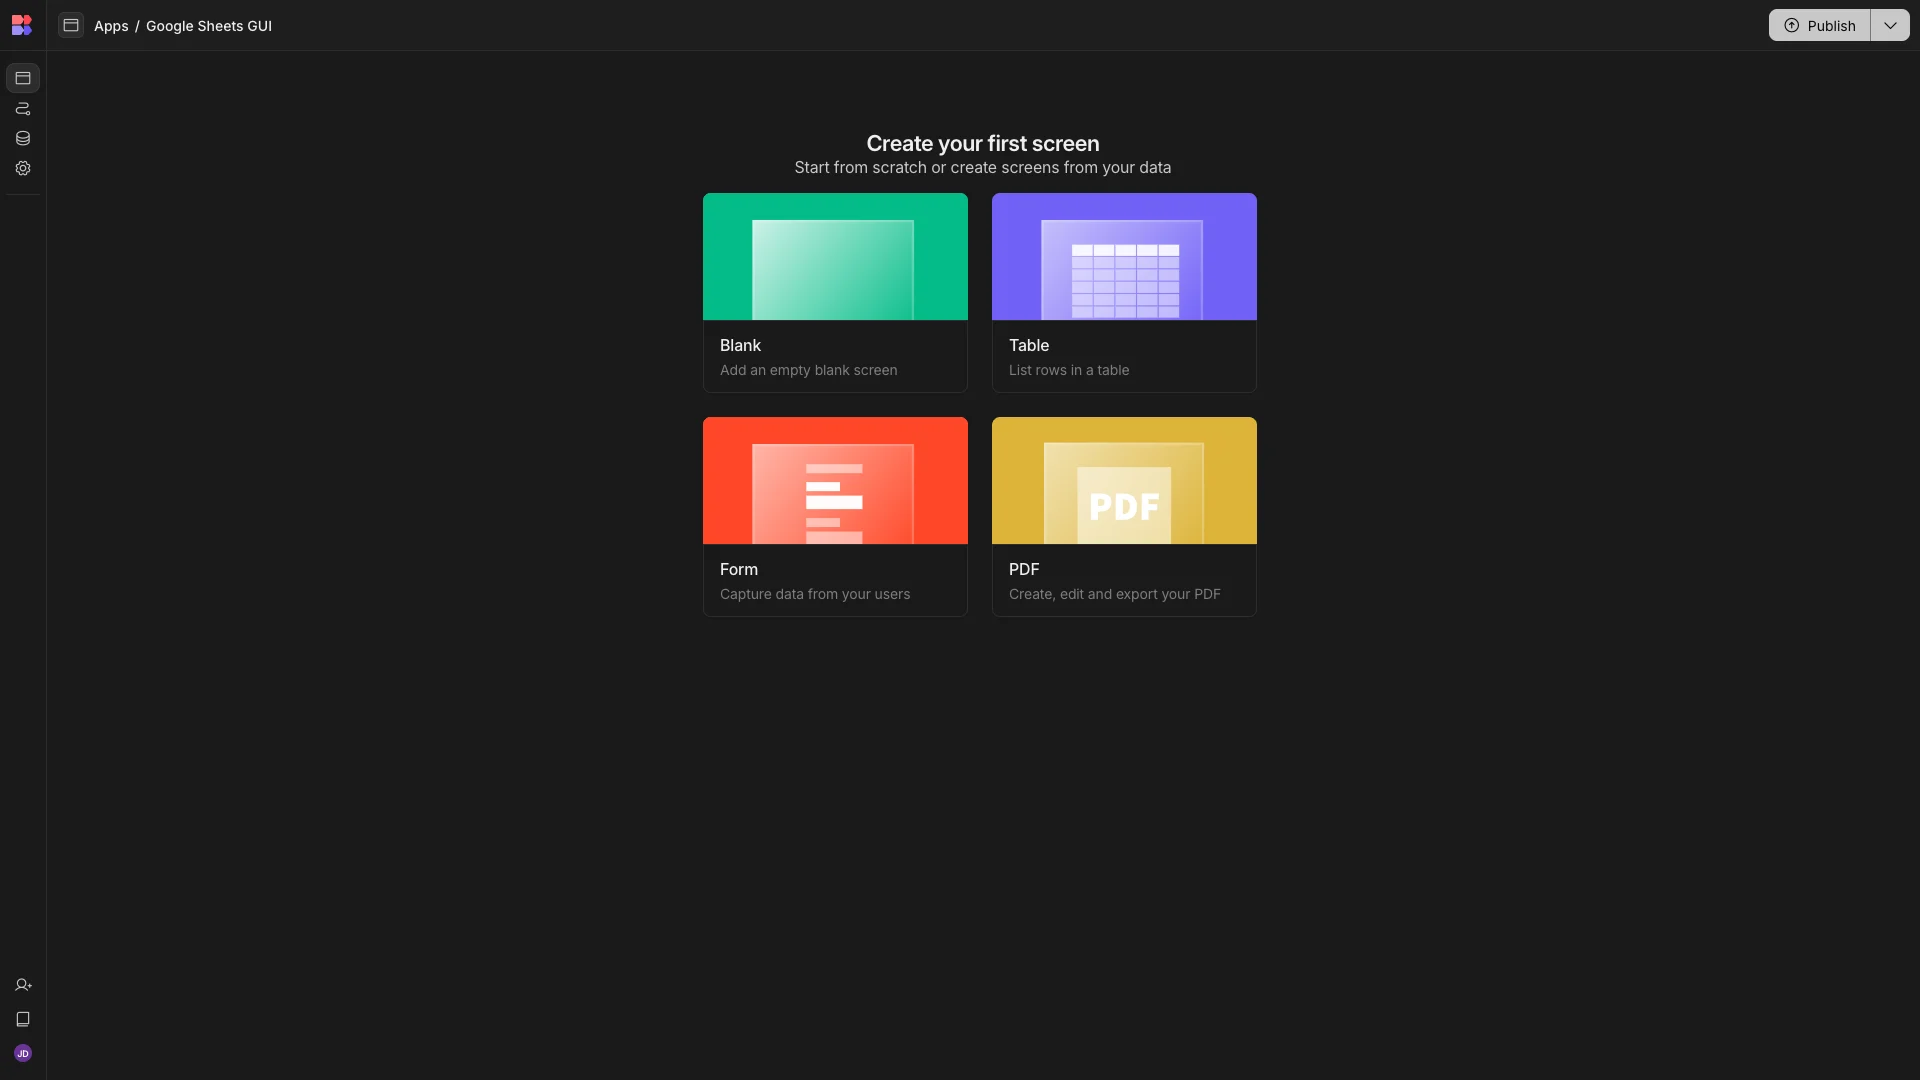
We’re going to choose the Table option. This will generate working CRUD UIs for any connected data tables we choose.
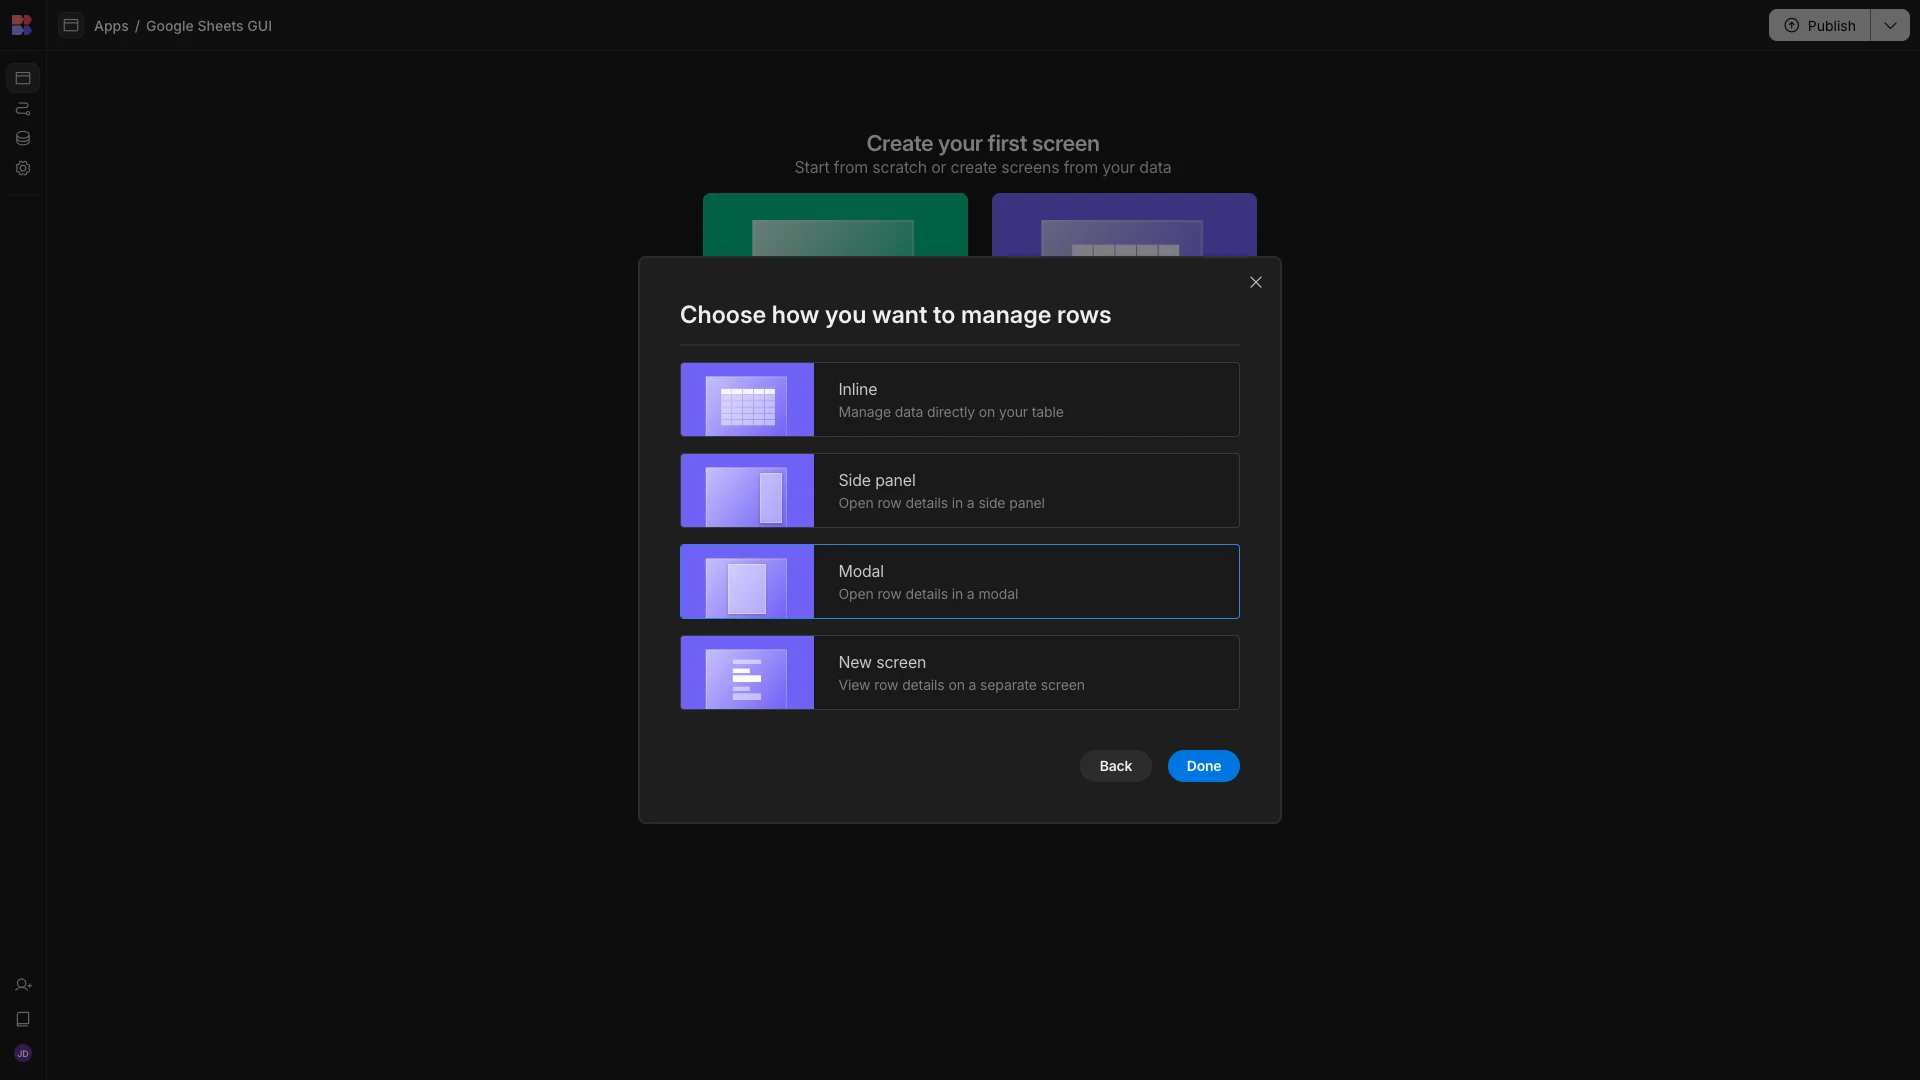
When asked, we’ll select both of our Google Sheets.

We’re then given a choice of formats for hosting our CREATE and UPDATE forms. We’ll pick the option to wrap these in Modals.
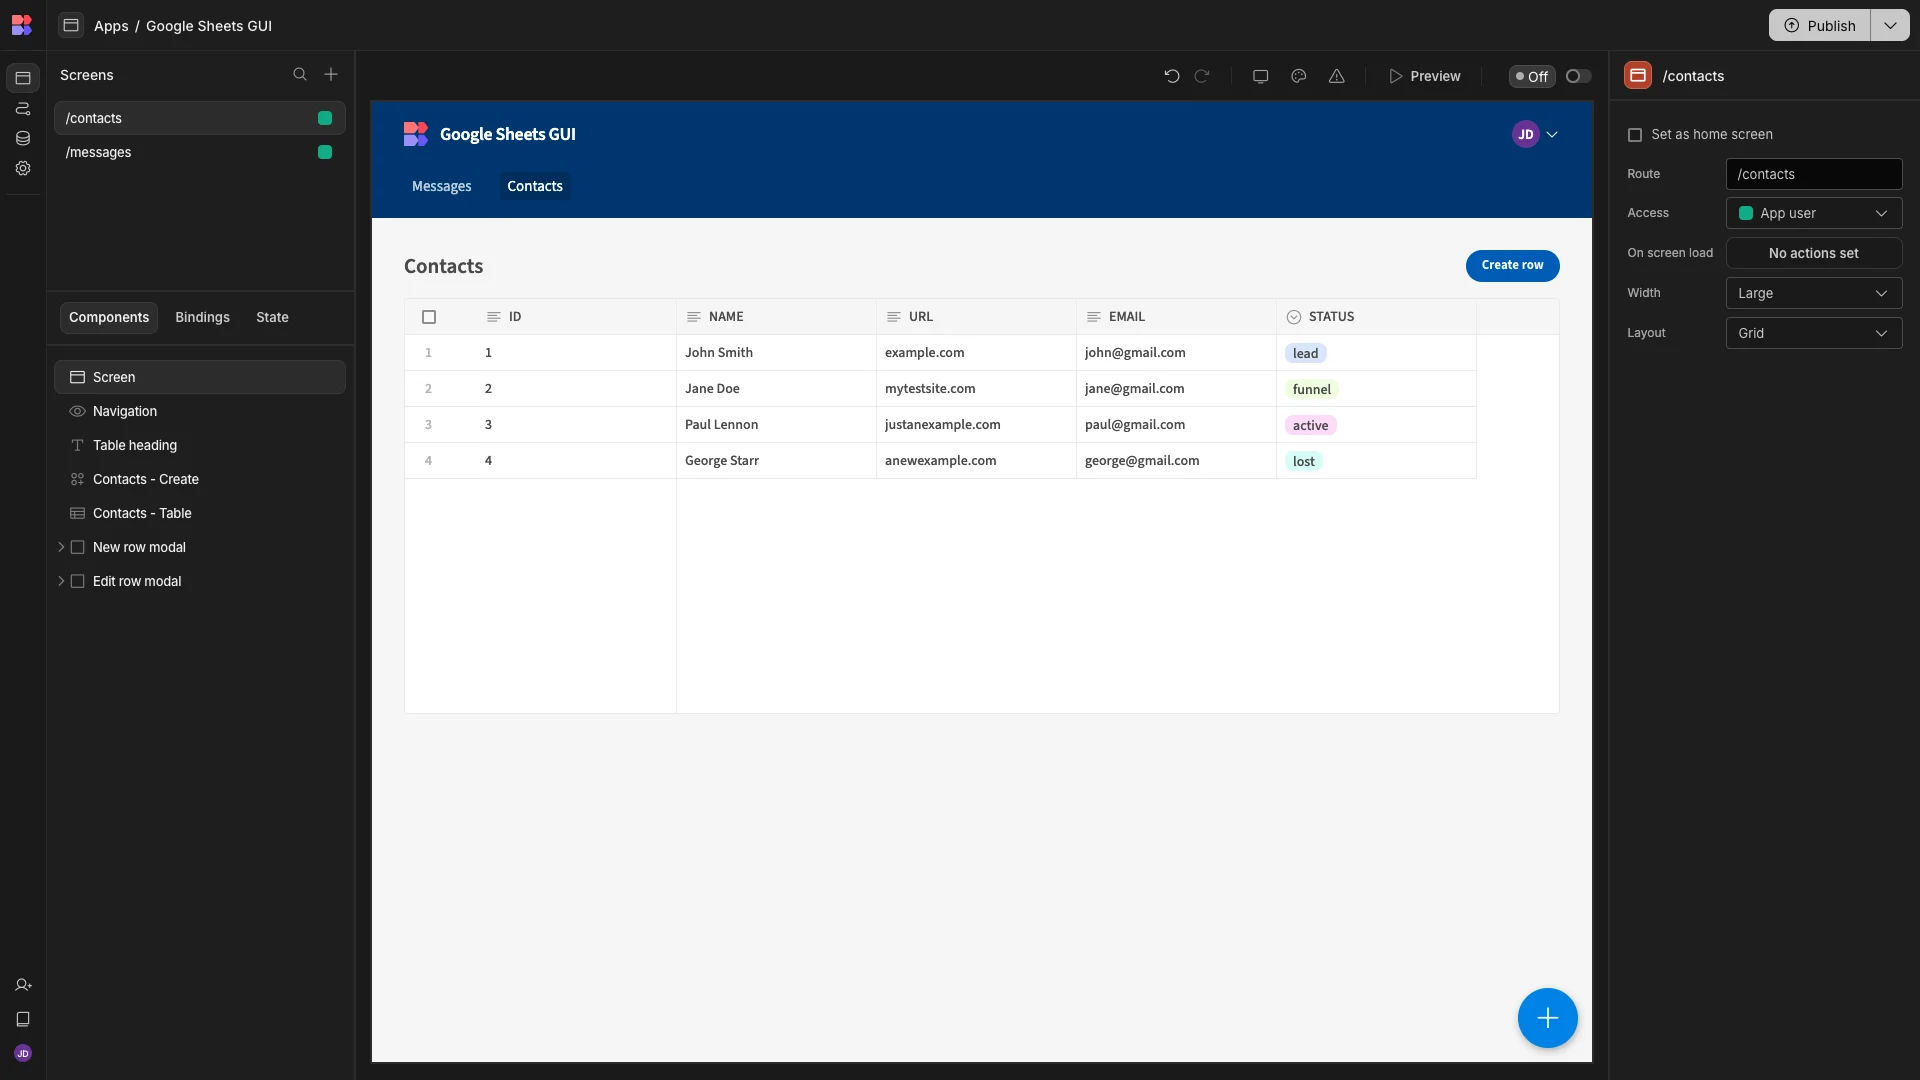
Here’s how our Contacts screen looks in the Budibase builder straight out of the box.
As we saw earlier, we can access forms to CREATE or UPDATE rows, using screen modals.

At this point, our Google Sheets GUI offers full CRUD functionality. However, we’re going to make a few key changes to each of our screens, both to improve user experiences and to alter the actions we can take on each data table.
3. Modifying autogenerated screens
To make things easier, we’ll take each screen in turn.
Contacts
On our Contacts screen, we want to retain full CRUD functionality for end-users. So, the changes we’re going to make will be fairly minimal.
We’ll start by deselecting the id column on our table, since this is an autogenerated field in our spreadsheet, and users likely won’t need to access it.
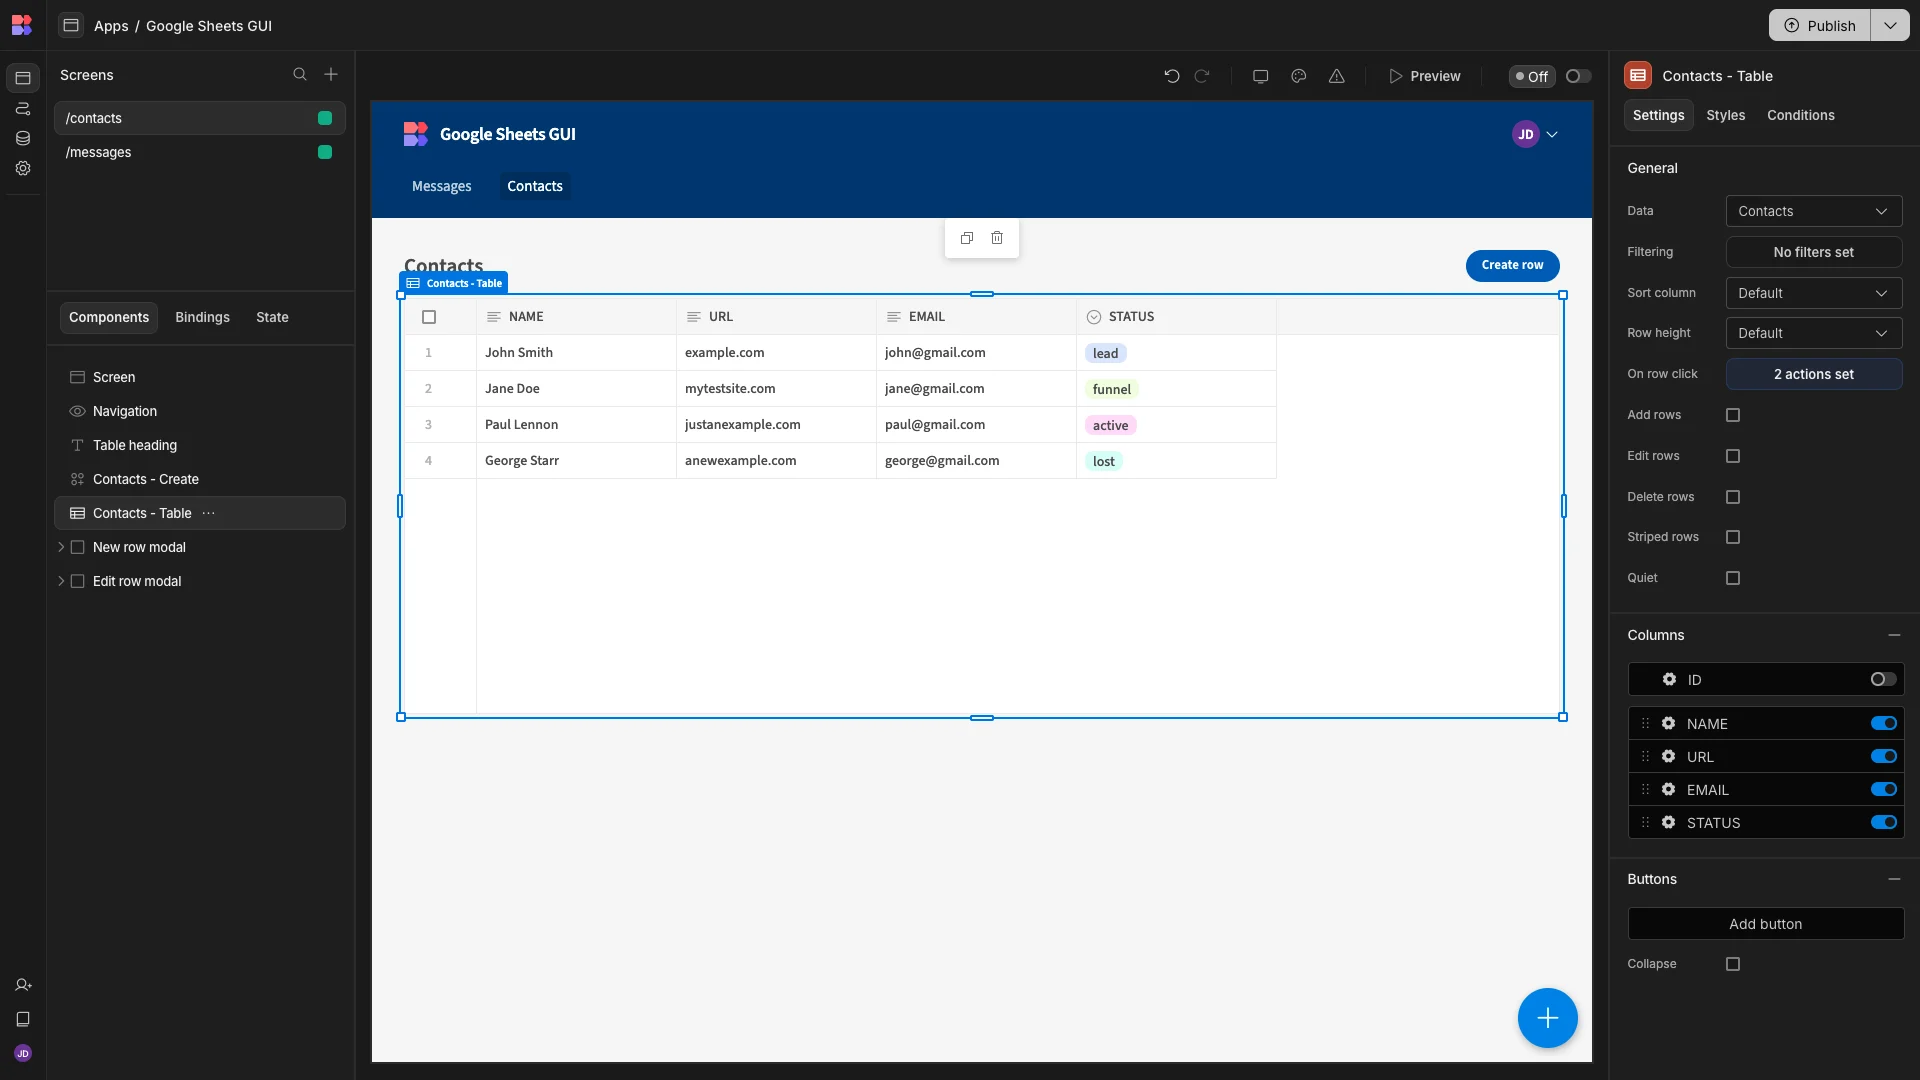
Besides this, all we want to do is make a few minor visual changes to our two forms.
We’ll start by selecting our Create Row form and updating its Title setting to something a little more descriptive.

Again, we’ll also deselect the id field, because this is autogenerated in our Google Sheet anyway.
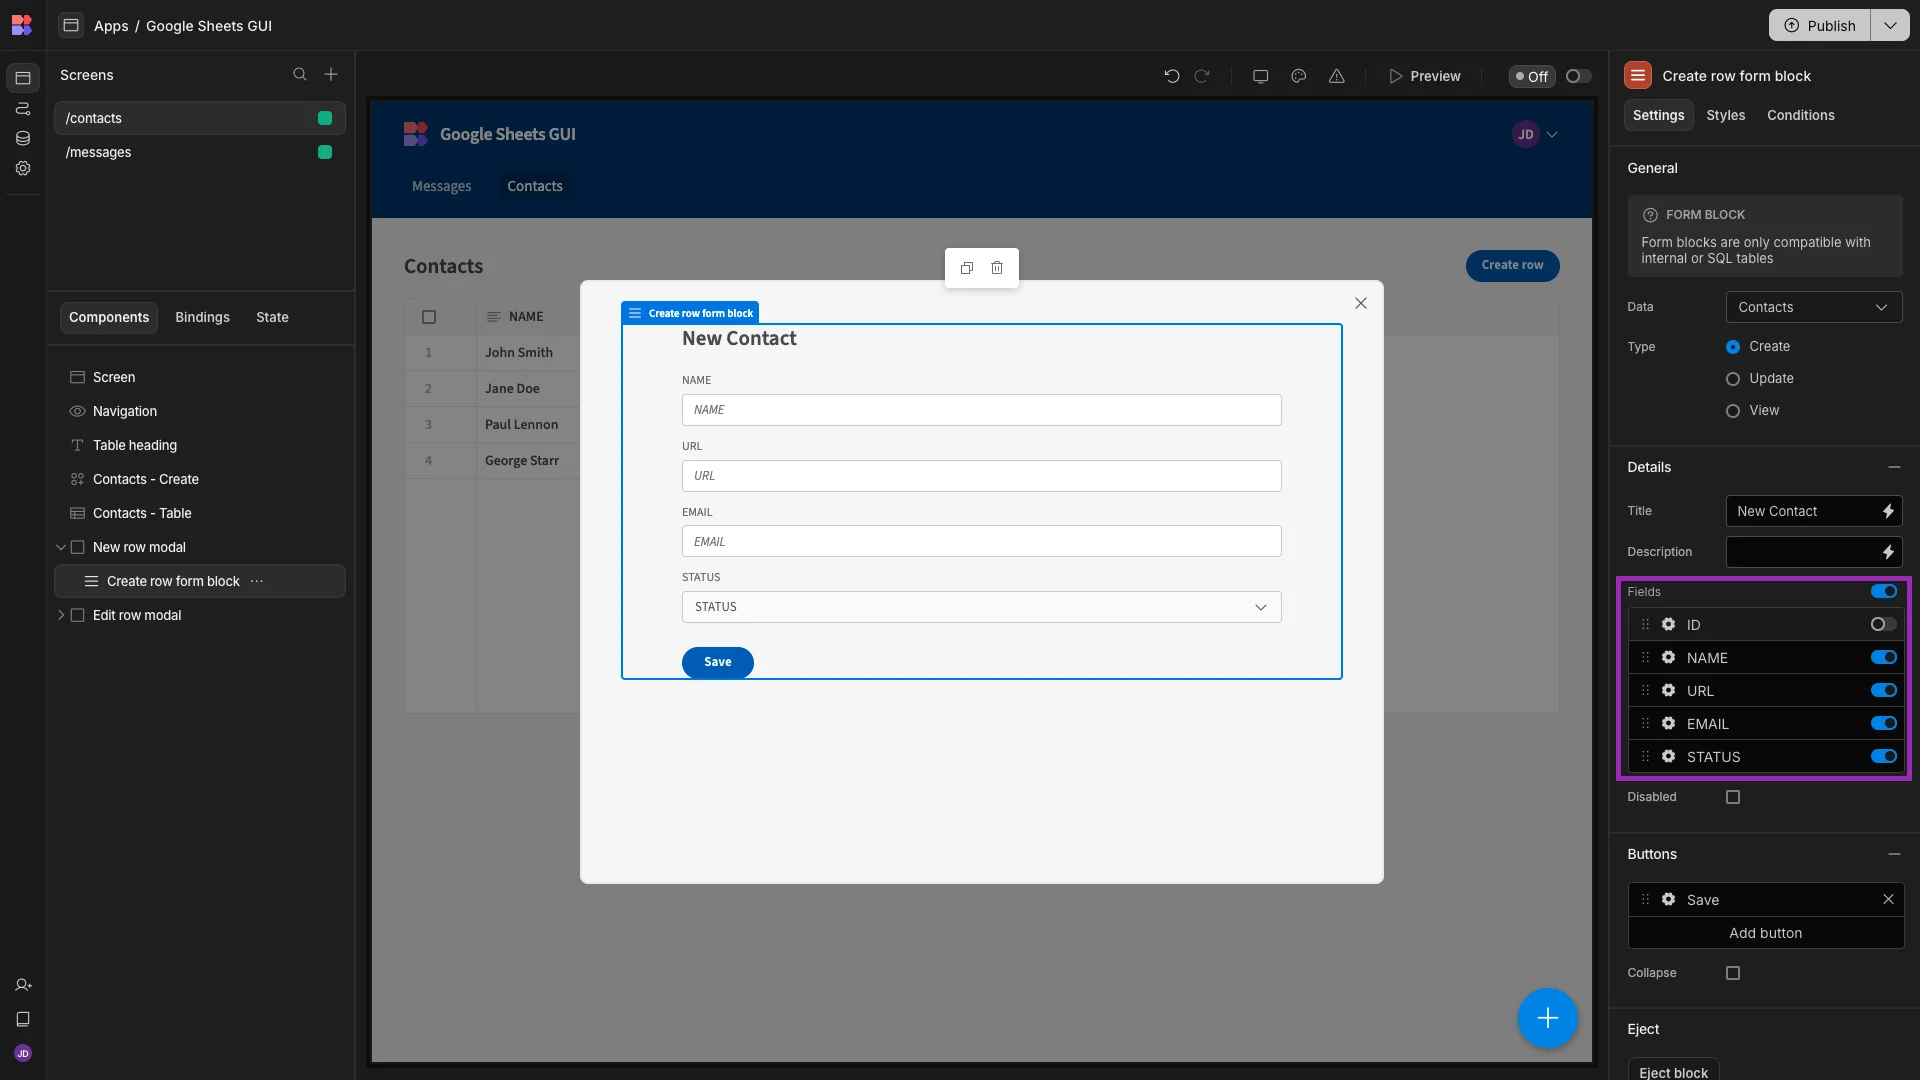
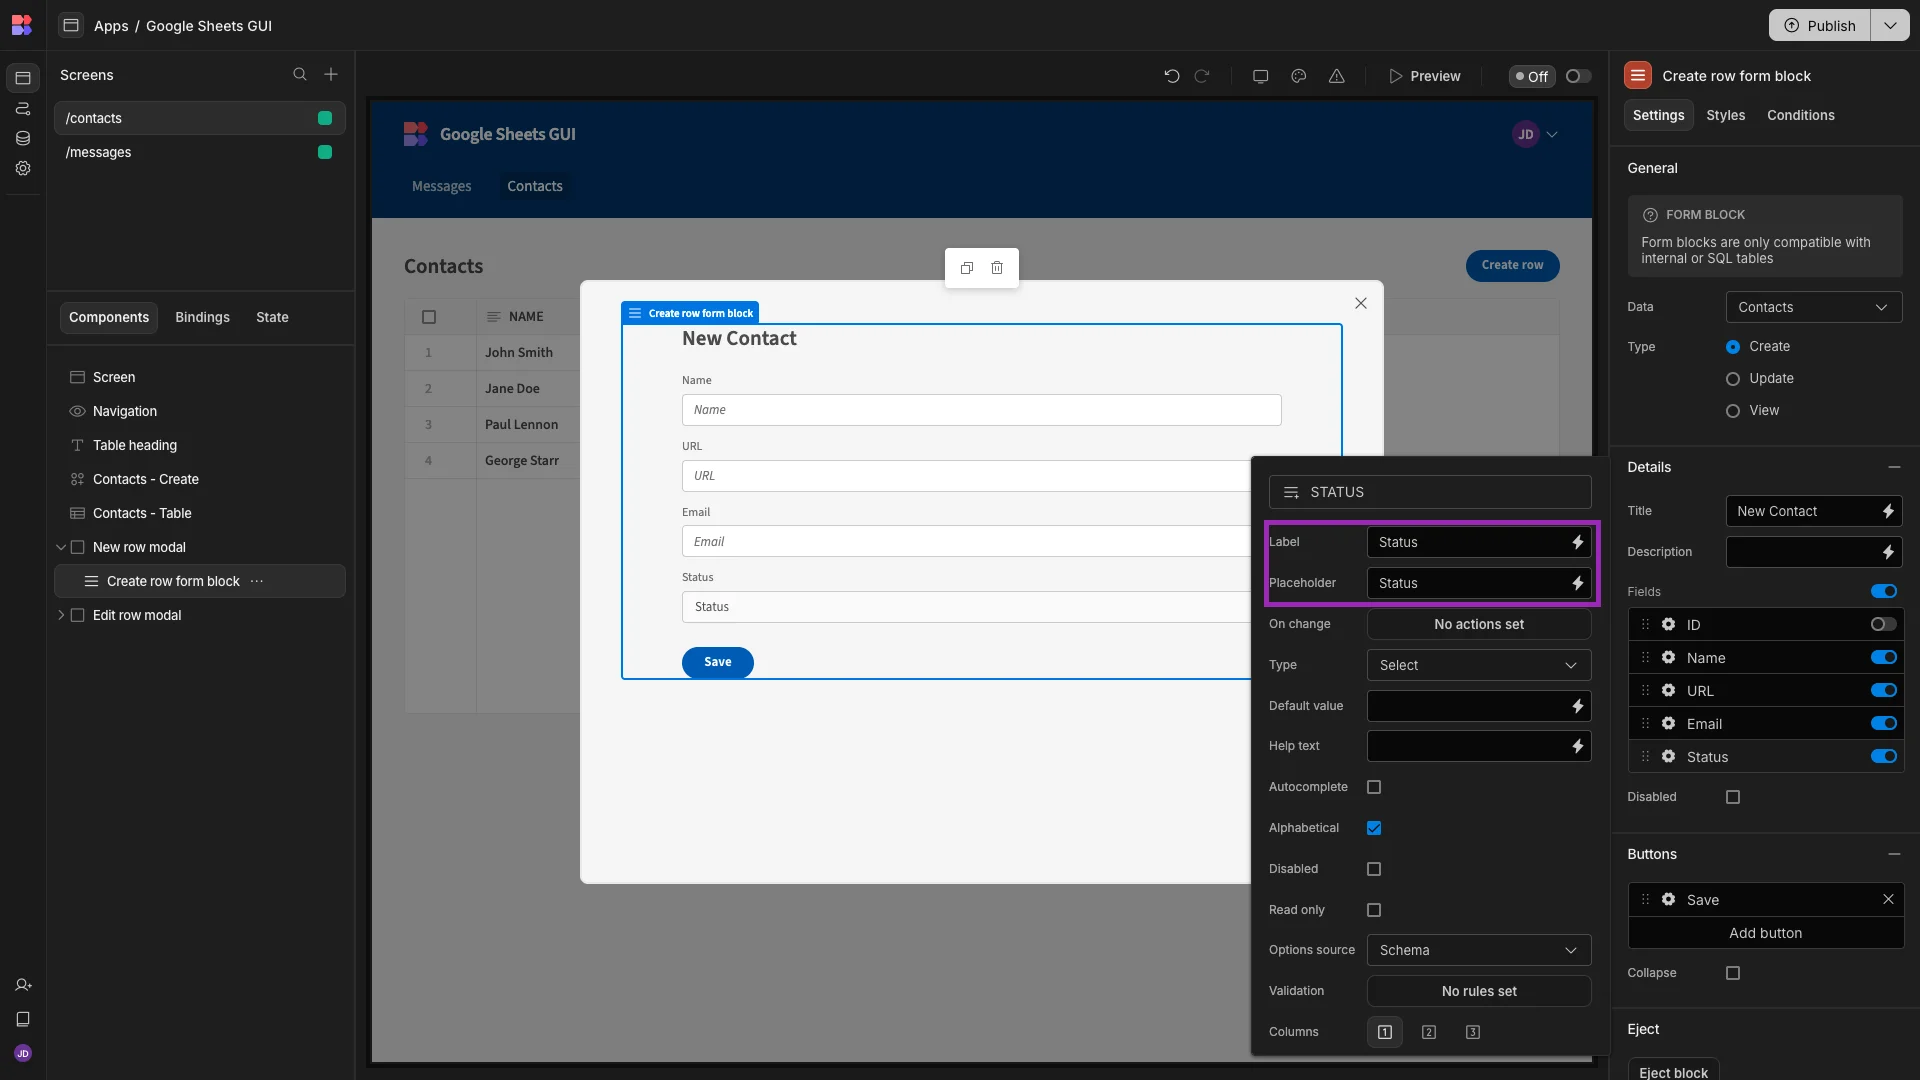
The names of the columns in our spreadsheet are fully capitalized. We can use the Label and Placeholder settings alongside each form field to make these more human-readable.
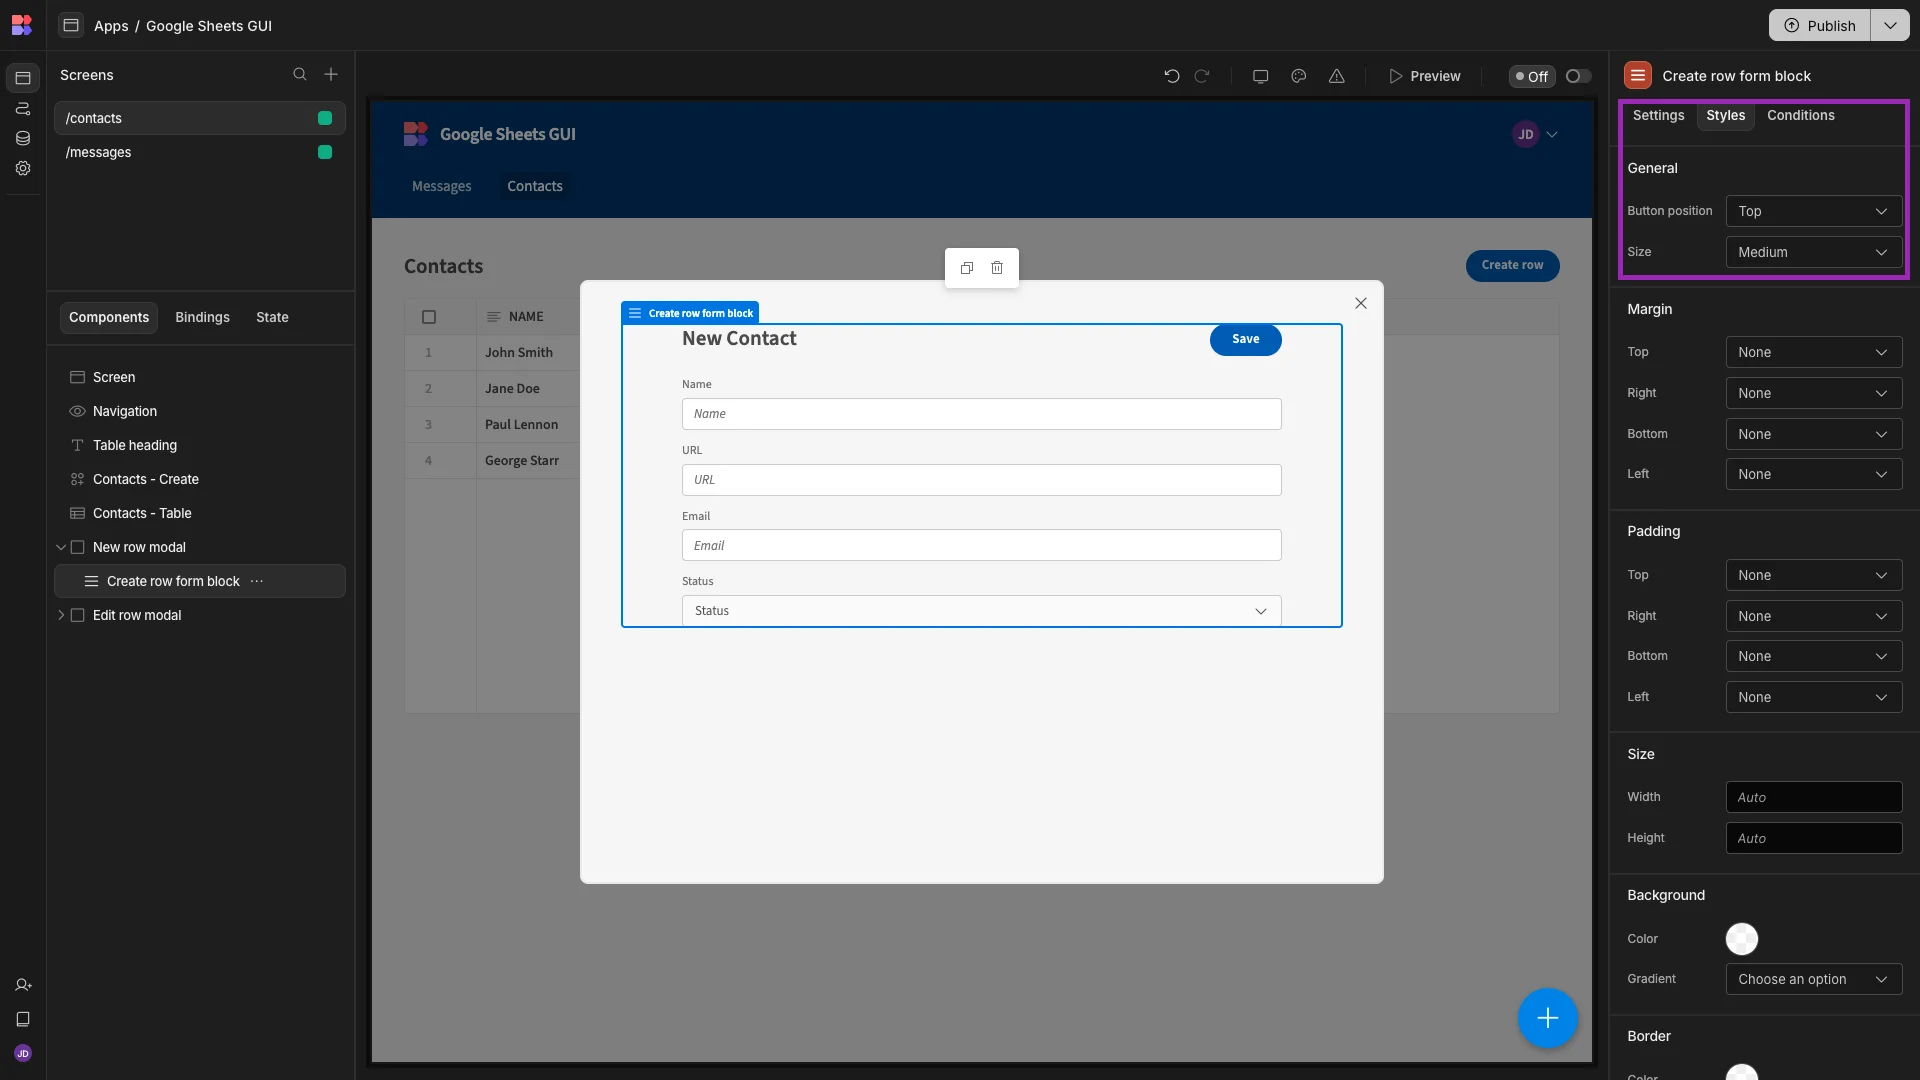
Lastly, under Styles, we’ll set our Button Position to Top.
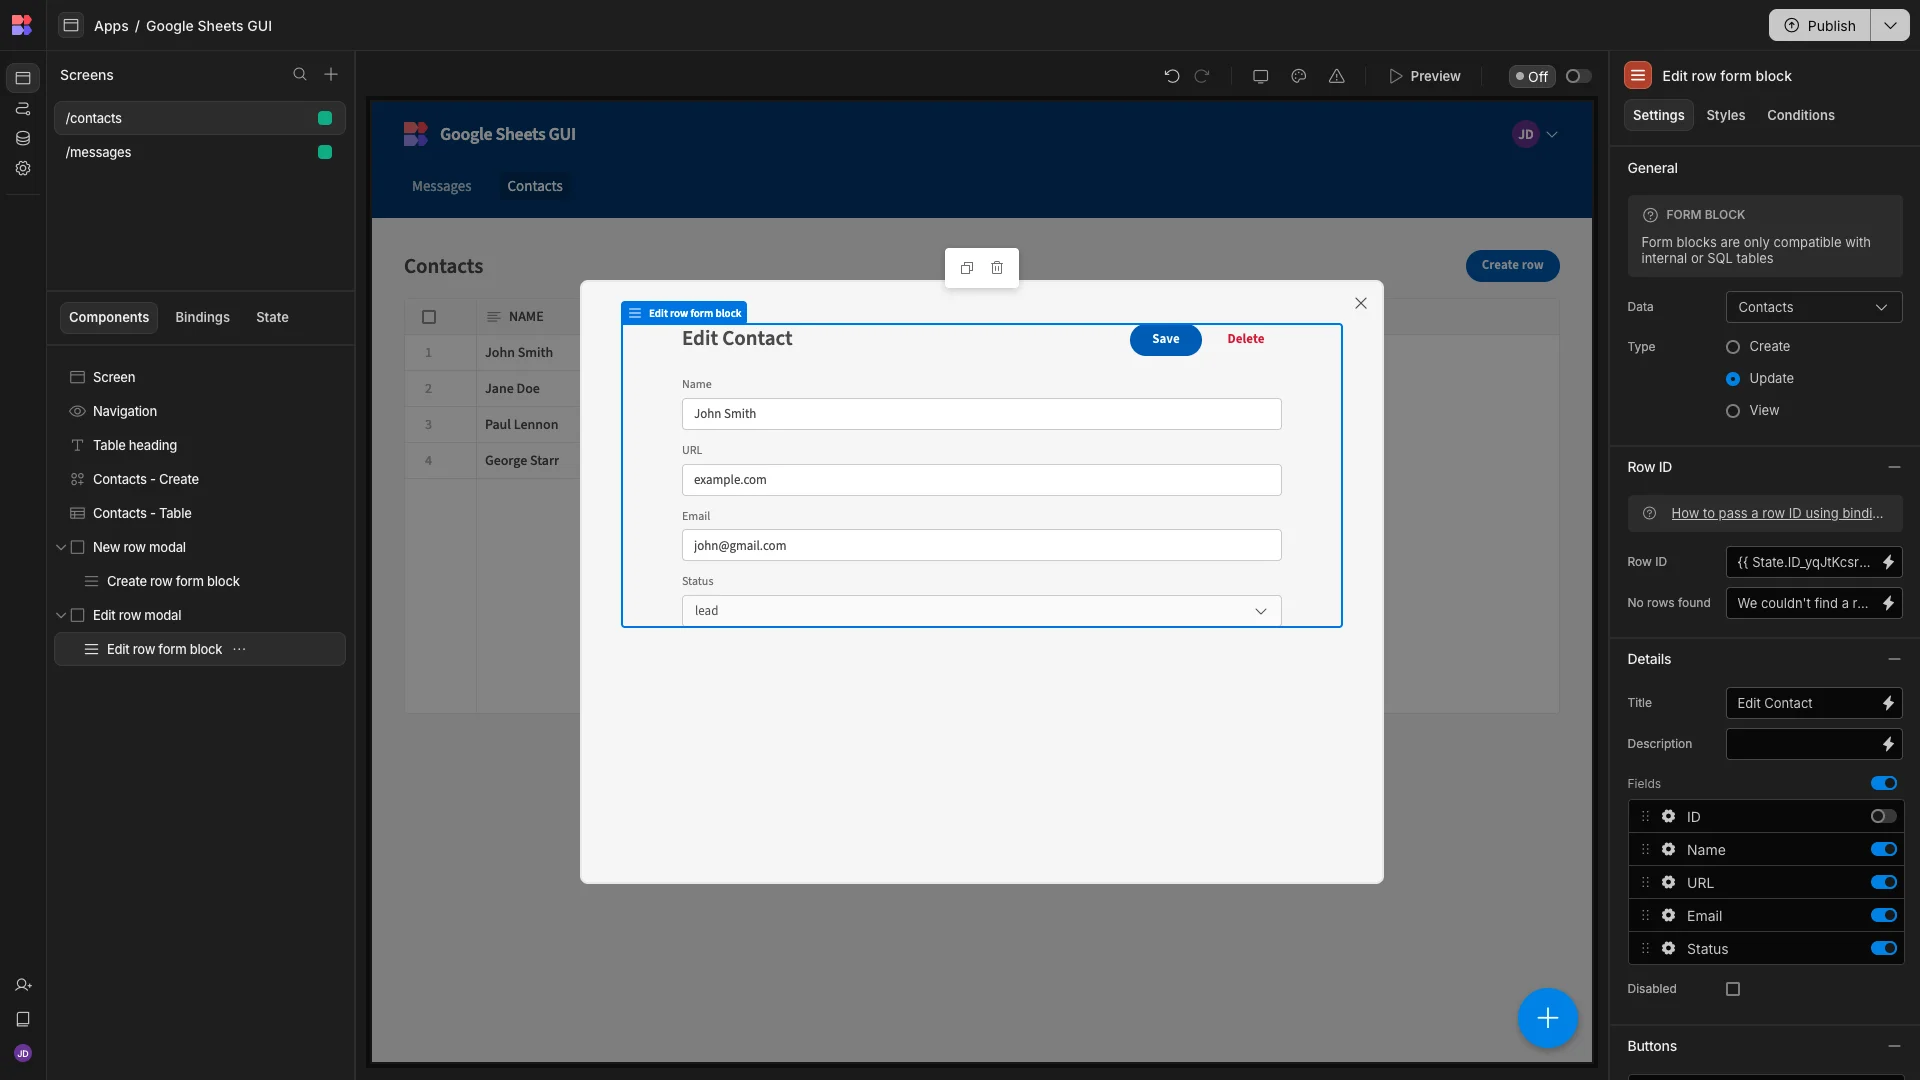
We’ll also apply similar changes to our Edit Row form.
Messages
The changes that we’ll make to the Messages screen of our Google Sheets GUI will be more extensive.
Rather than offering full CRUD operations, we want end-users to be able to read and respond to incoming messages, as well as updating their status to reflect this. We’ll handle the logic for this in an automation in the following section.
For now, though, we simply want to get our UI ready.
We’re going to start by deleting the Create Row button and the corresponding form modal.
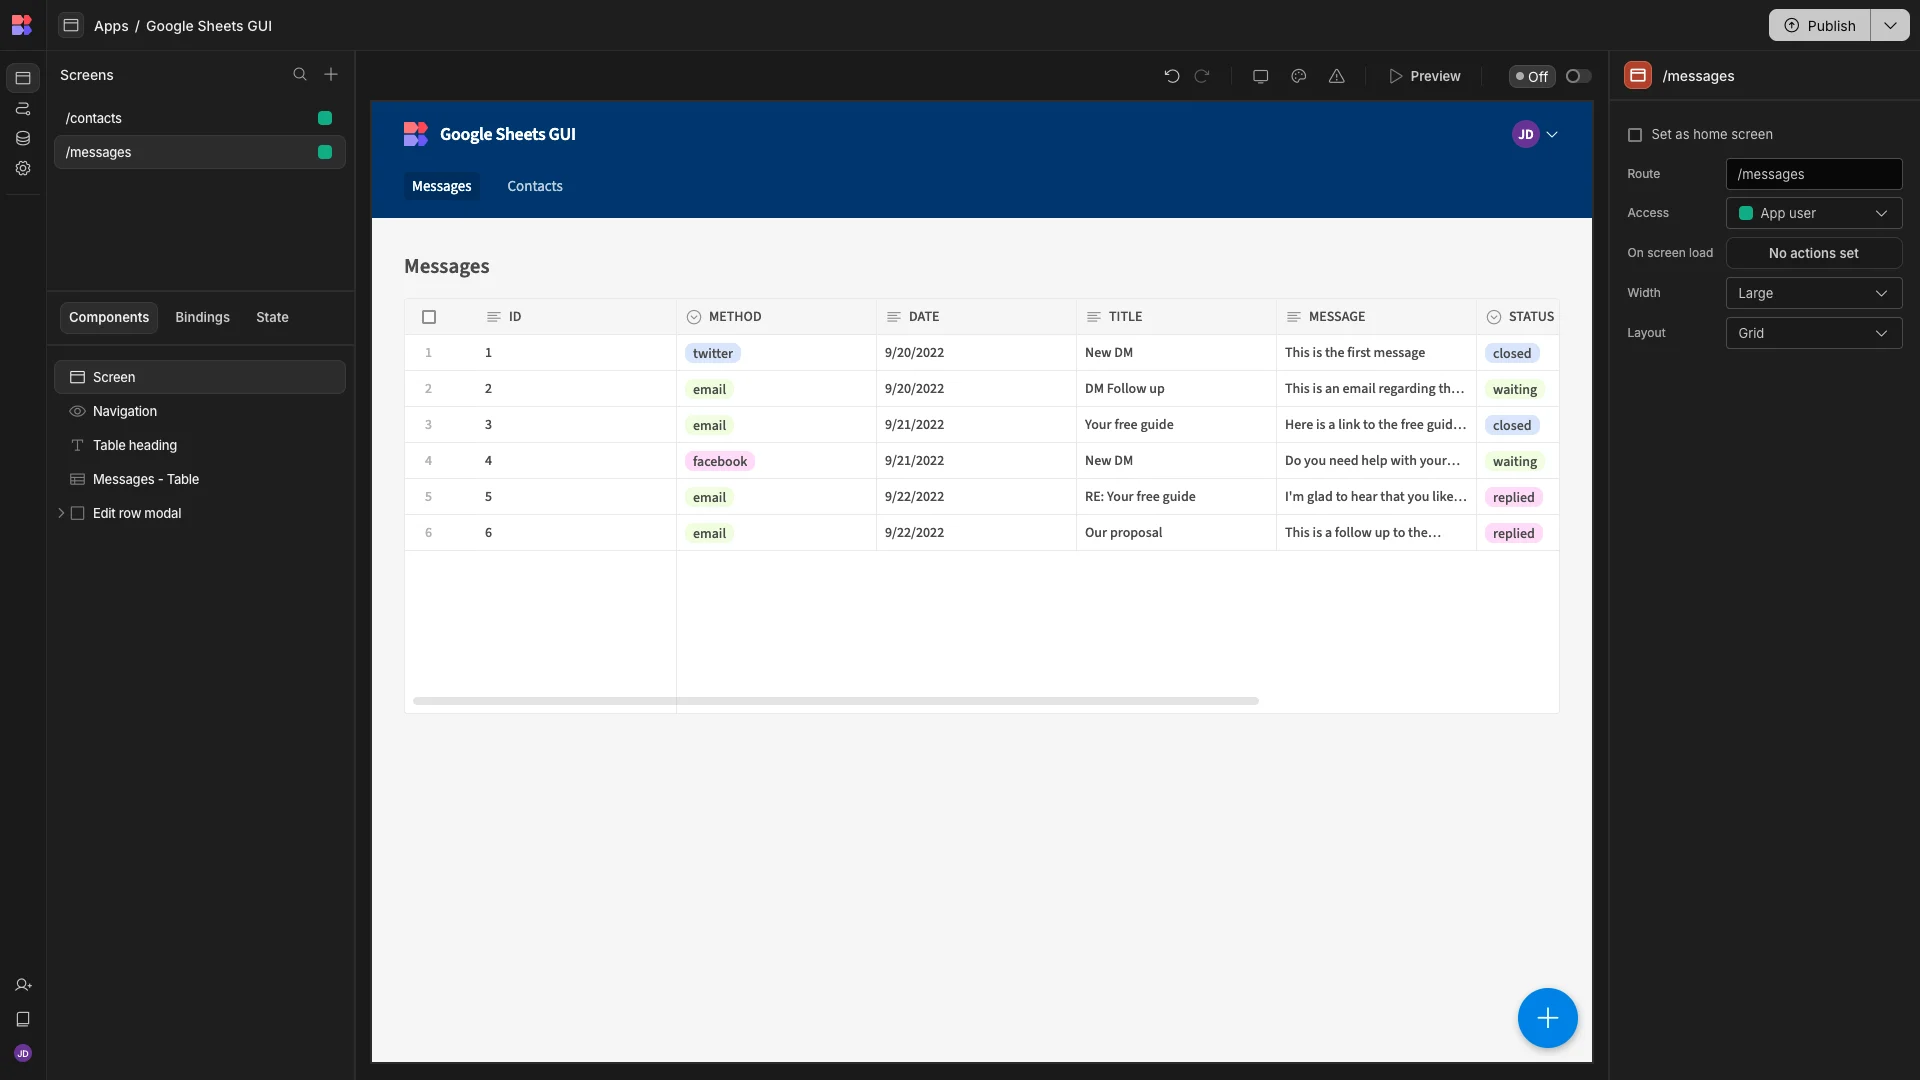
We’ll then deselect the id column on our table, as we did with our other screen.
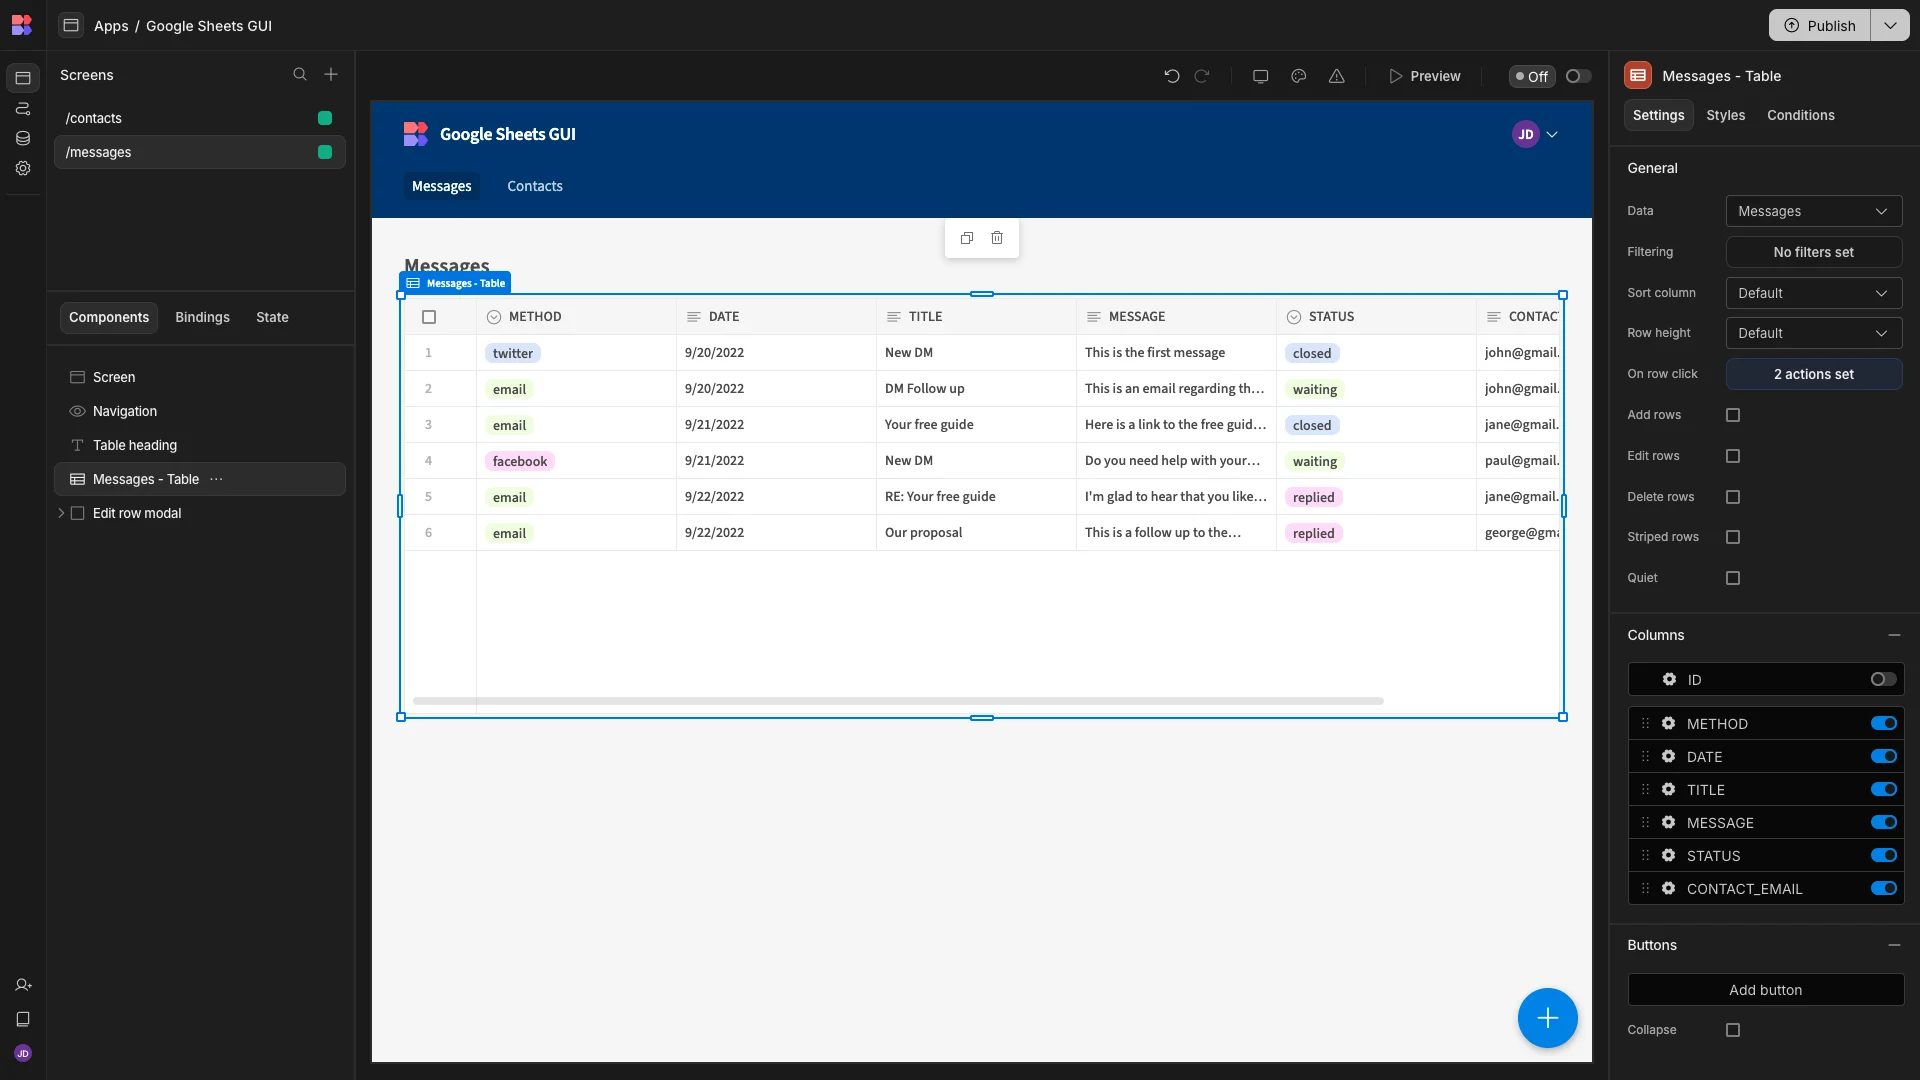
Next, we’re going to make some more wholesale changes to our remaining form. We’ll start by making the same changes as we did for the forms in our previous screens.
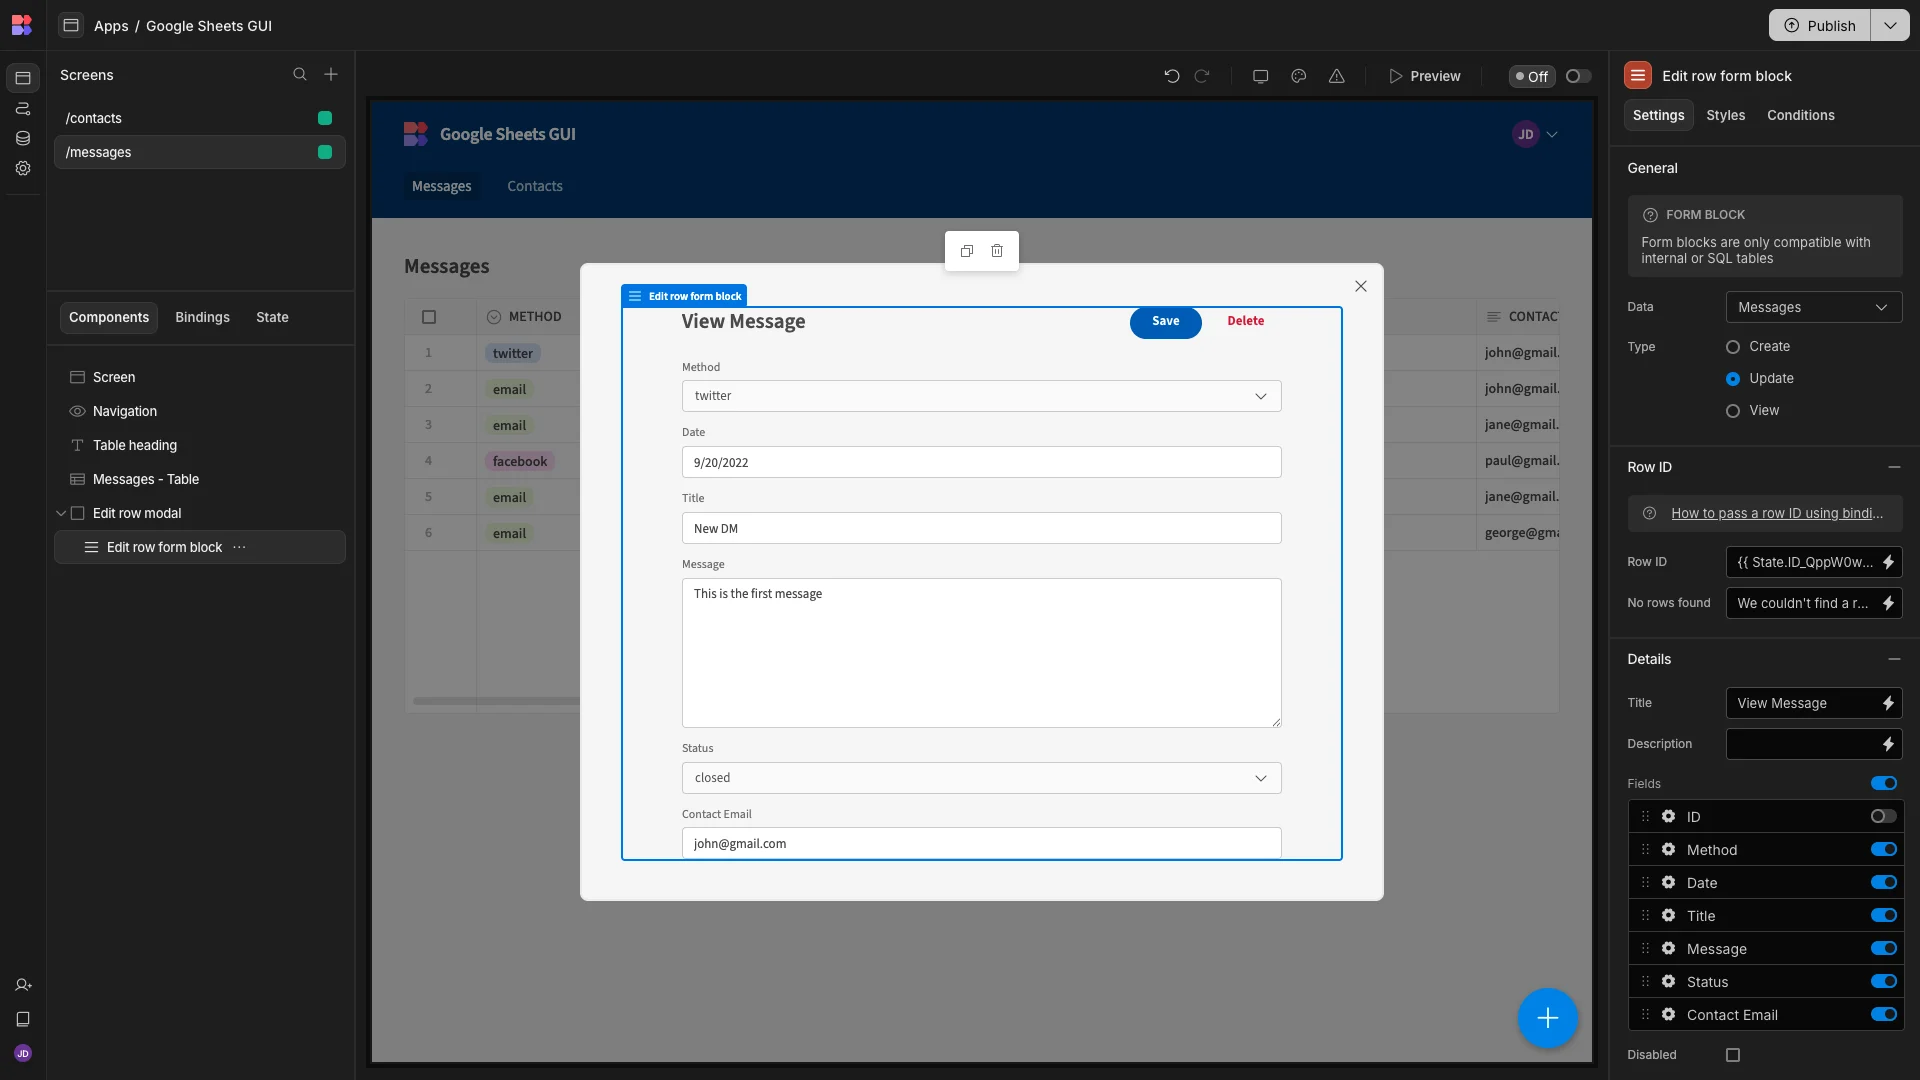
We’ll then change the Type from Update to View, making our form read-only.
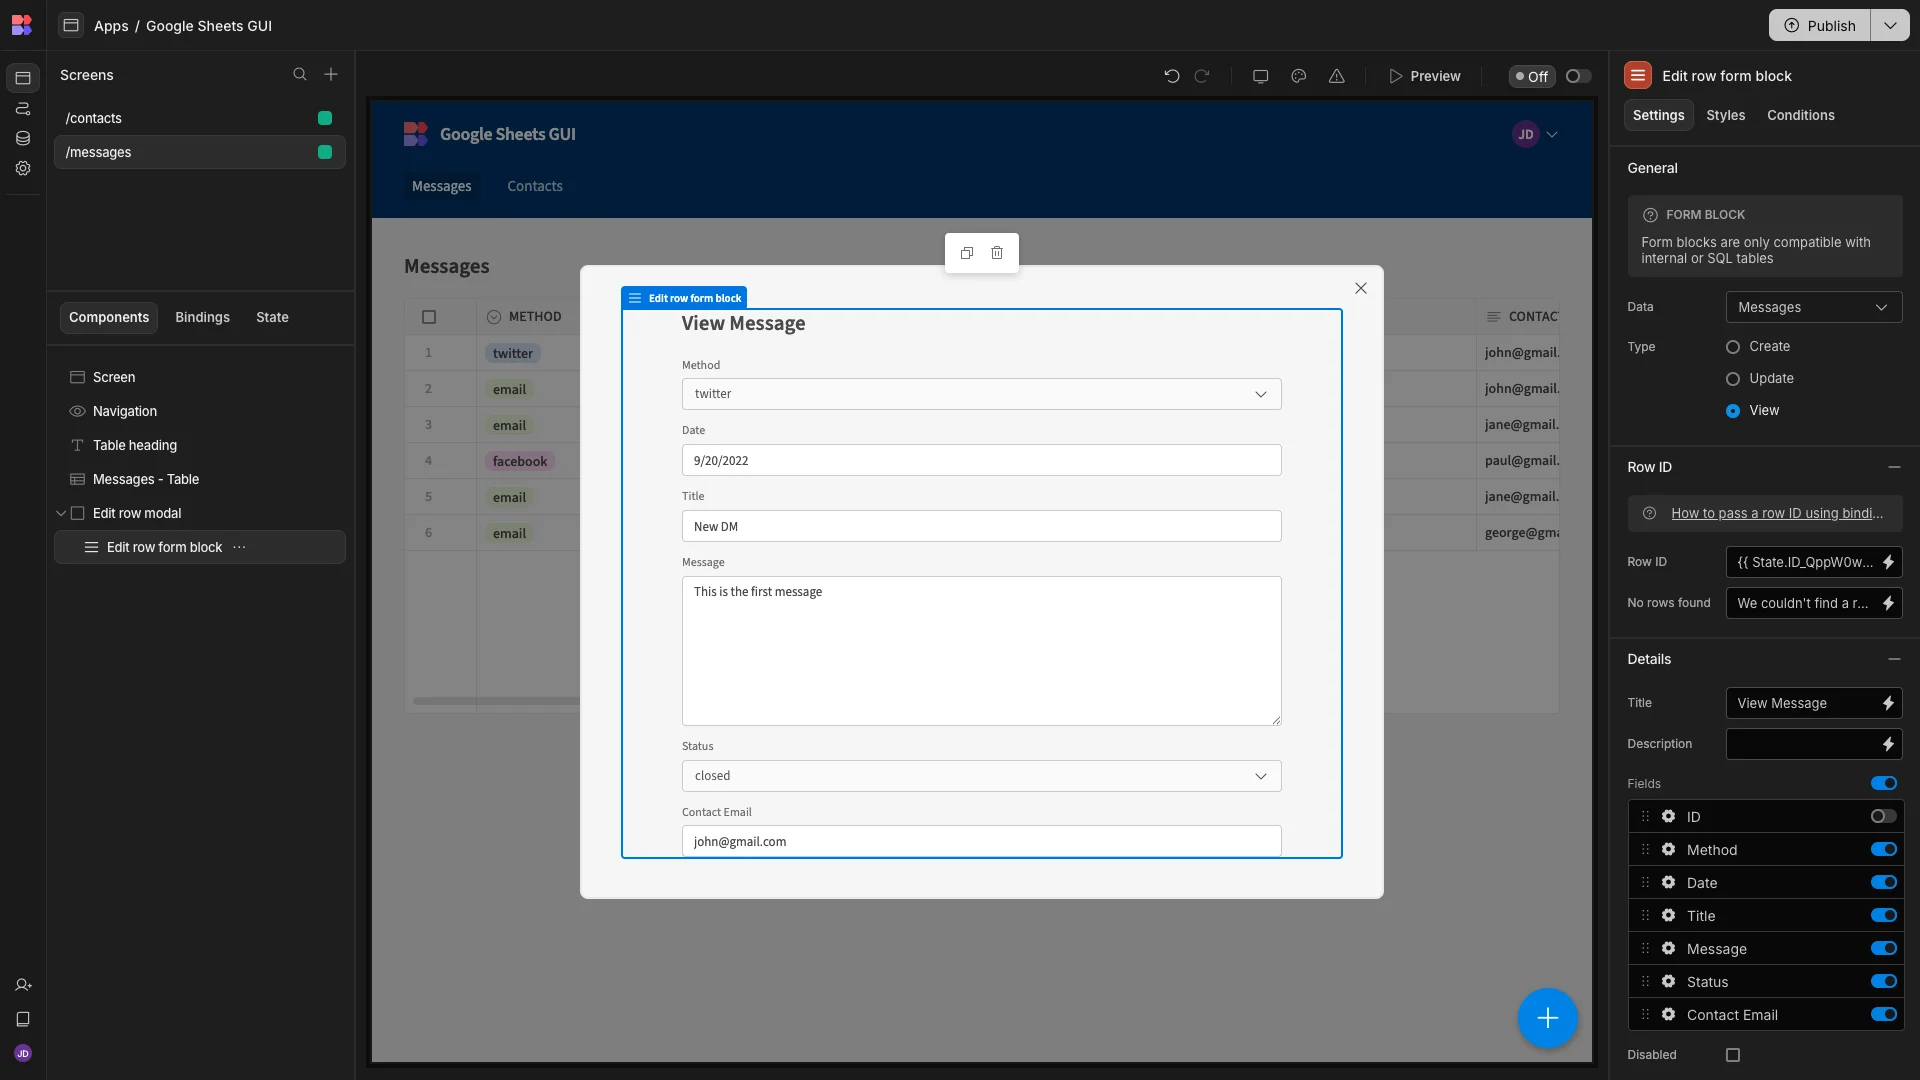
We’ll also set each of our fields to Disabled to give more of a visual cue that these can’t be edited.
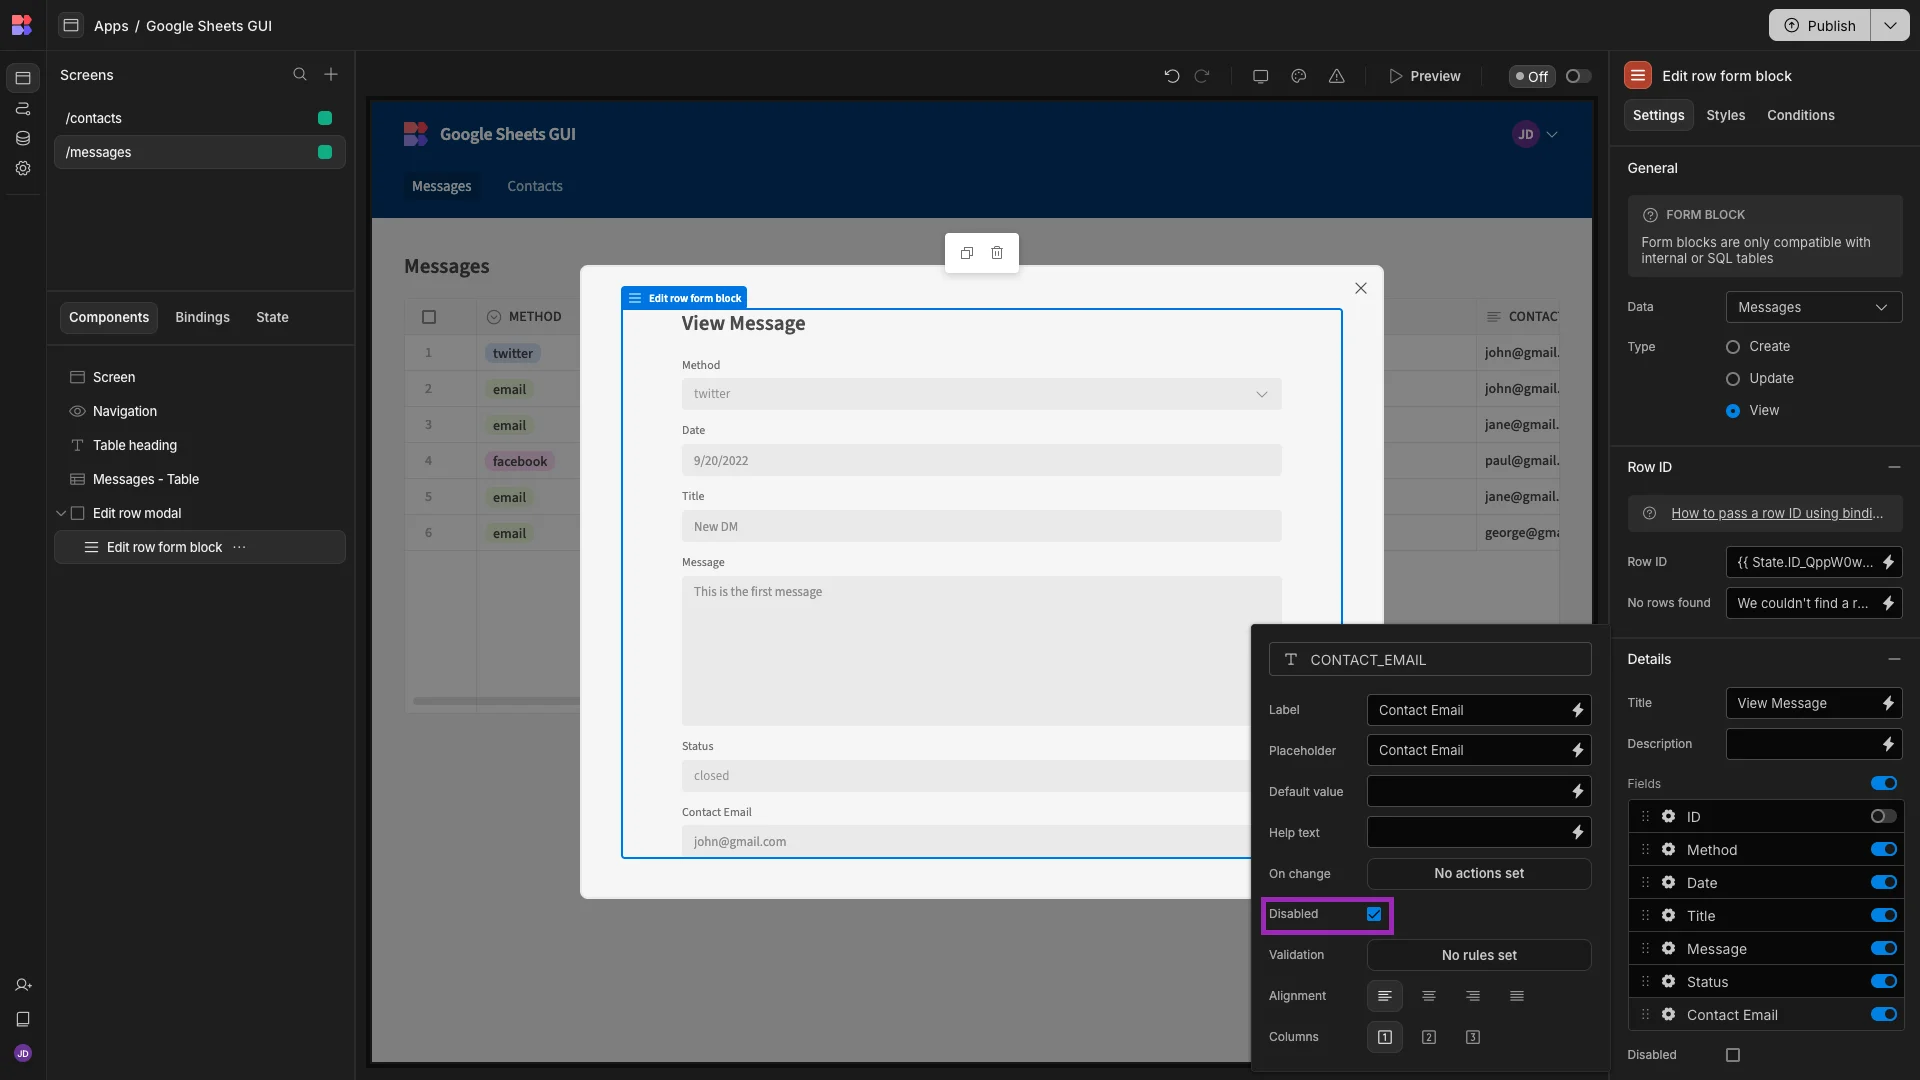
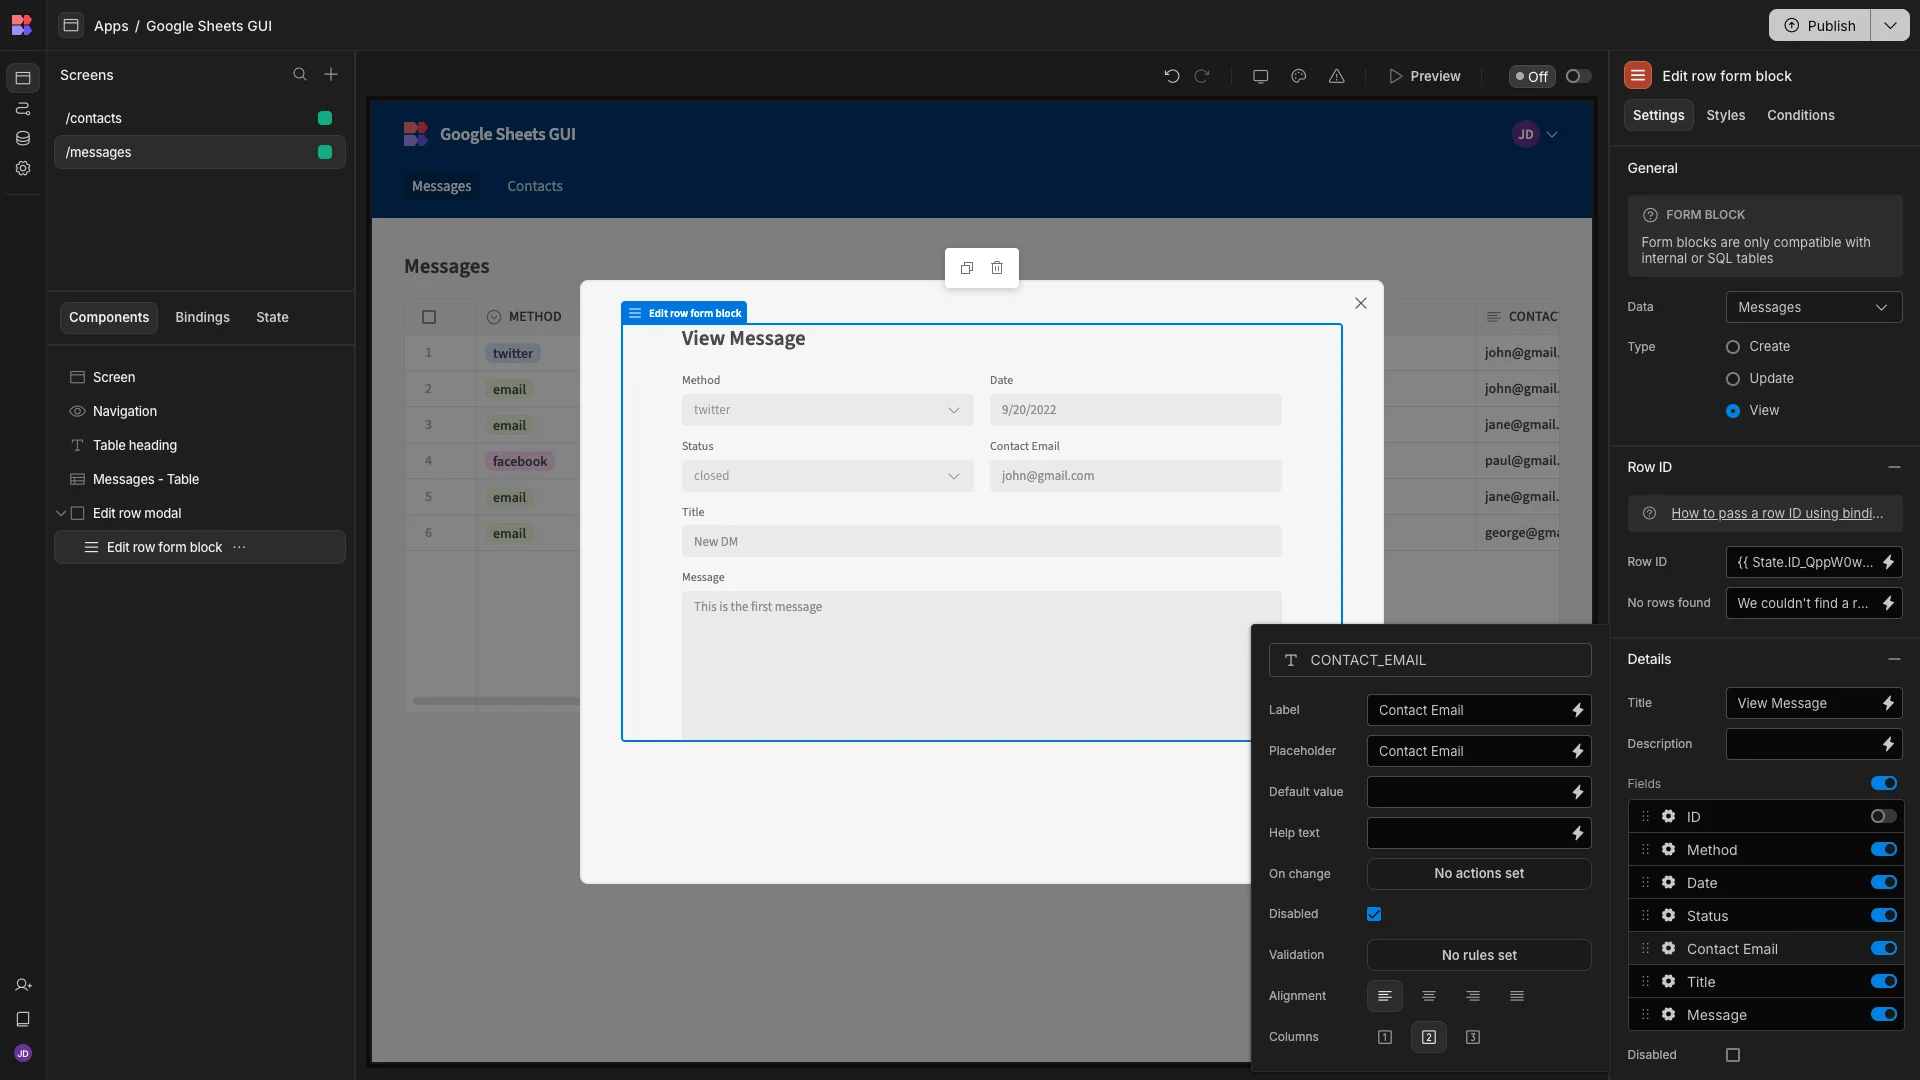
Finally, we’ll drag our fields into a more logical order, and use the Columns setting to reduce their vertical real estate.
Finally, we need to add some UI components to enable users to submit their response.
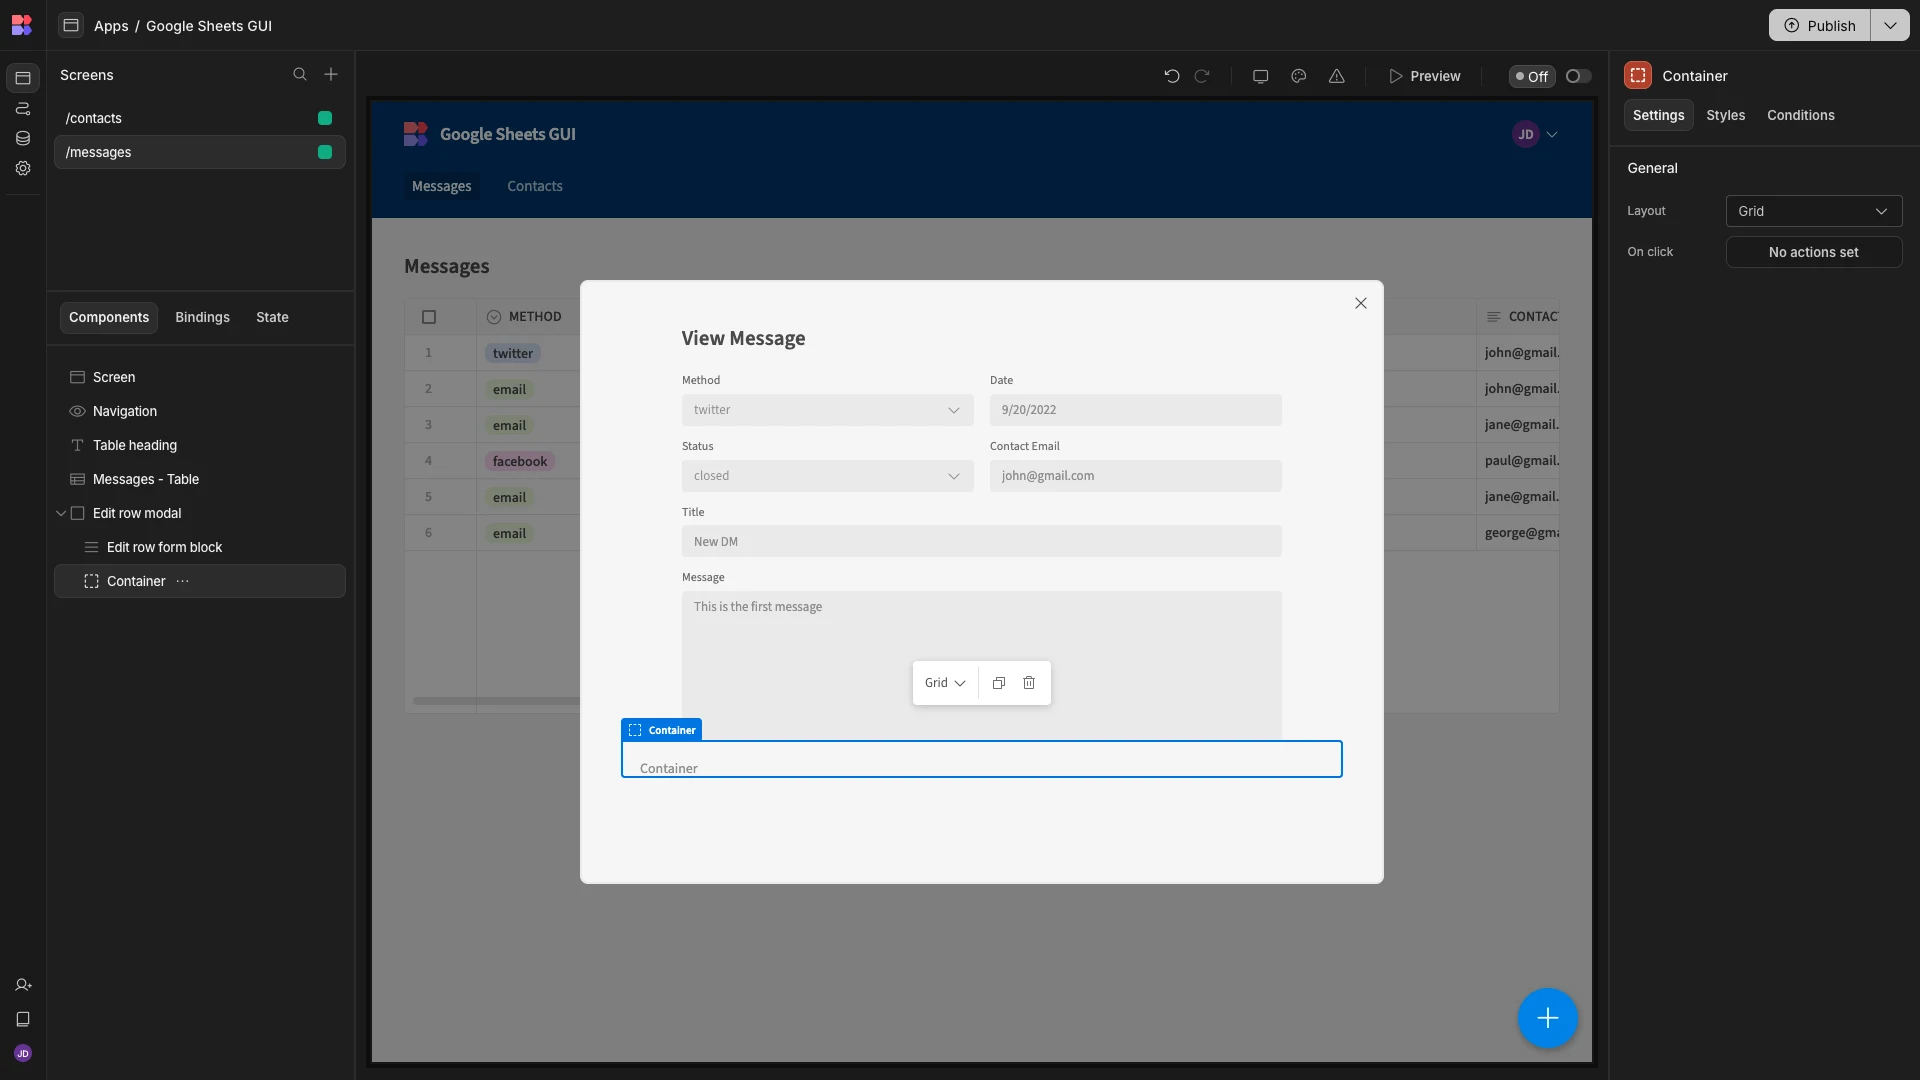
We’ll start by hitting the + icon to open the components menu, where we can search for Container.

This provides a flexible space for us to add additional components within.
The first component we’ll nest inside our Container is a Button with its Text set to Reply.
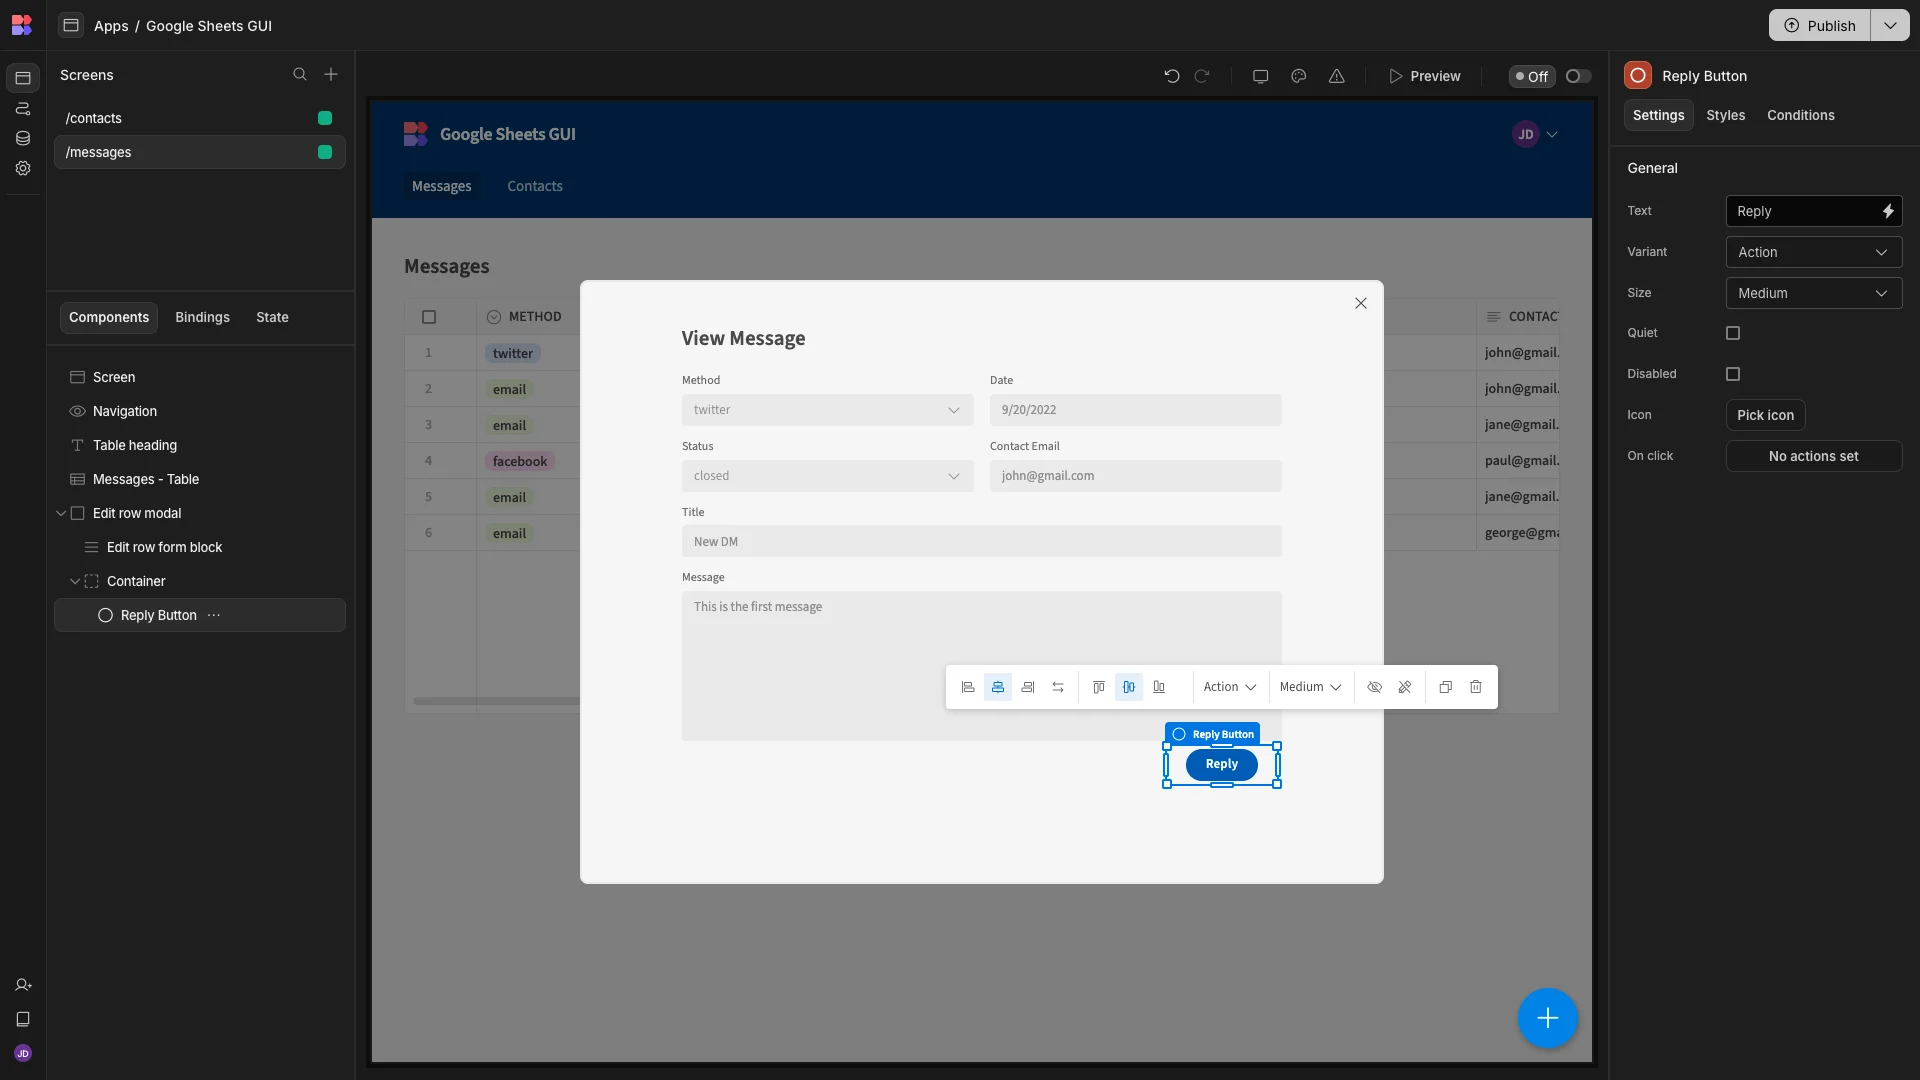
We’ll configure what this will do in the following section, after we’ve created our automation rule.
Next, we’ll add a Long Form Field beneath our button, setting its Field, Label, and Placeholder to Response.

Now, our users have somewhere to draft responses to incoming messages.
4. Adding automations
Lastly, we’re going to create an automation flow that sends the user’s response to the original submitter of the Message, as well as updating the Status field of the appropriate row to reflect this.
We’ll start by heading to the Automations section of our Budibase Workspace.
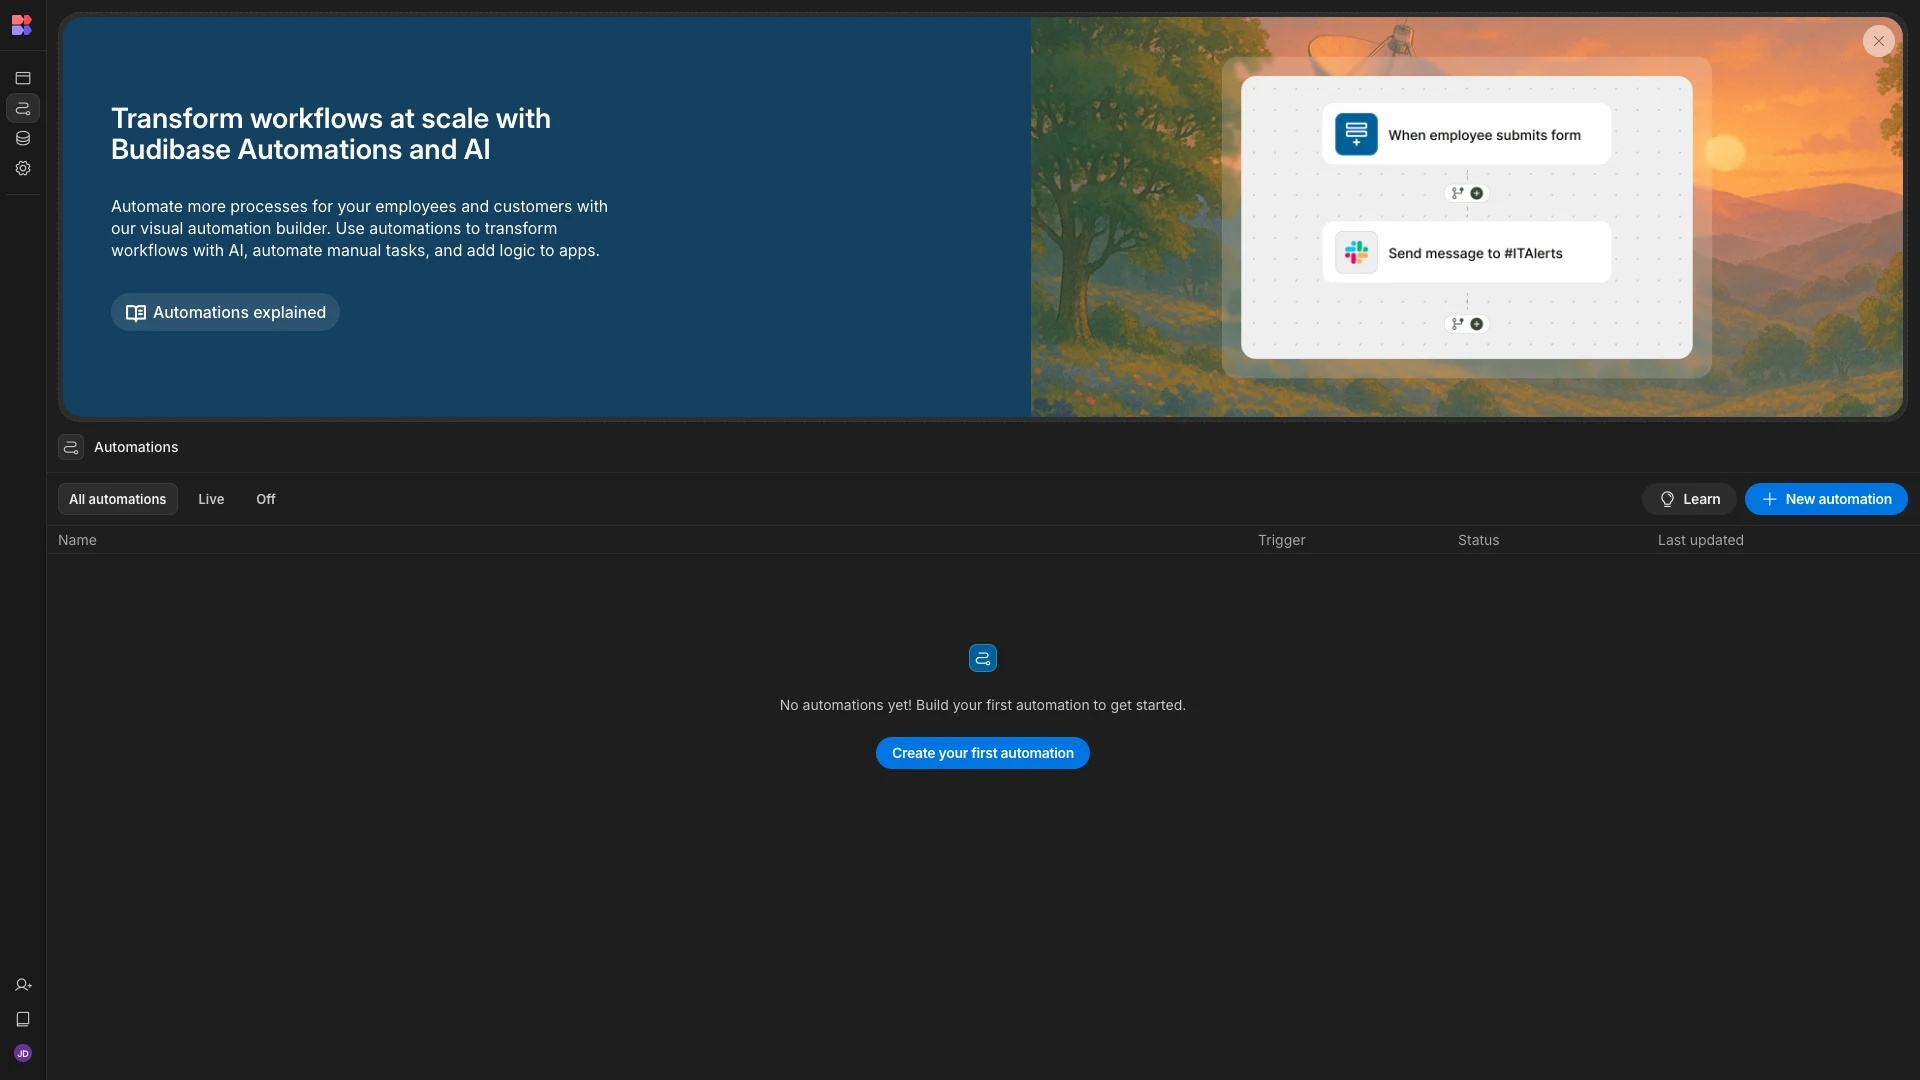
Automations are global within a Workspace, meaning that they can interact with any of our data sources or apps.
When we create a new Automation, we’re prompted to choose a name and a trigger. We’re going to call our new rule Respond, and select the User Action trigger.

This brings us to Budibase’s automation editor.
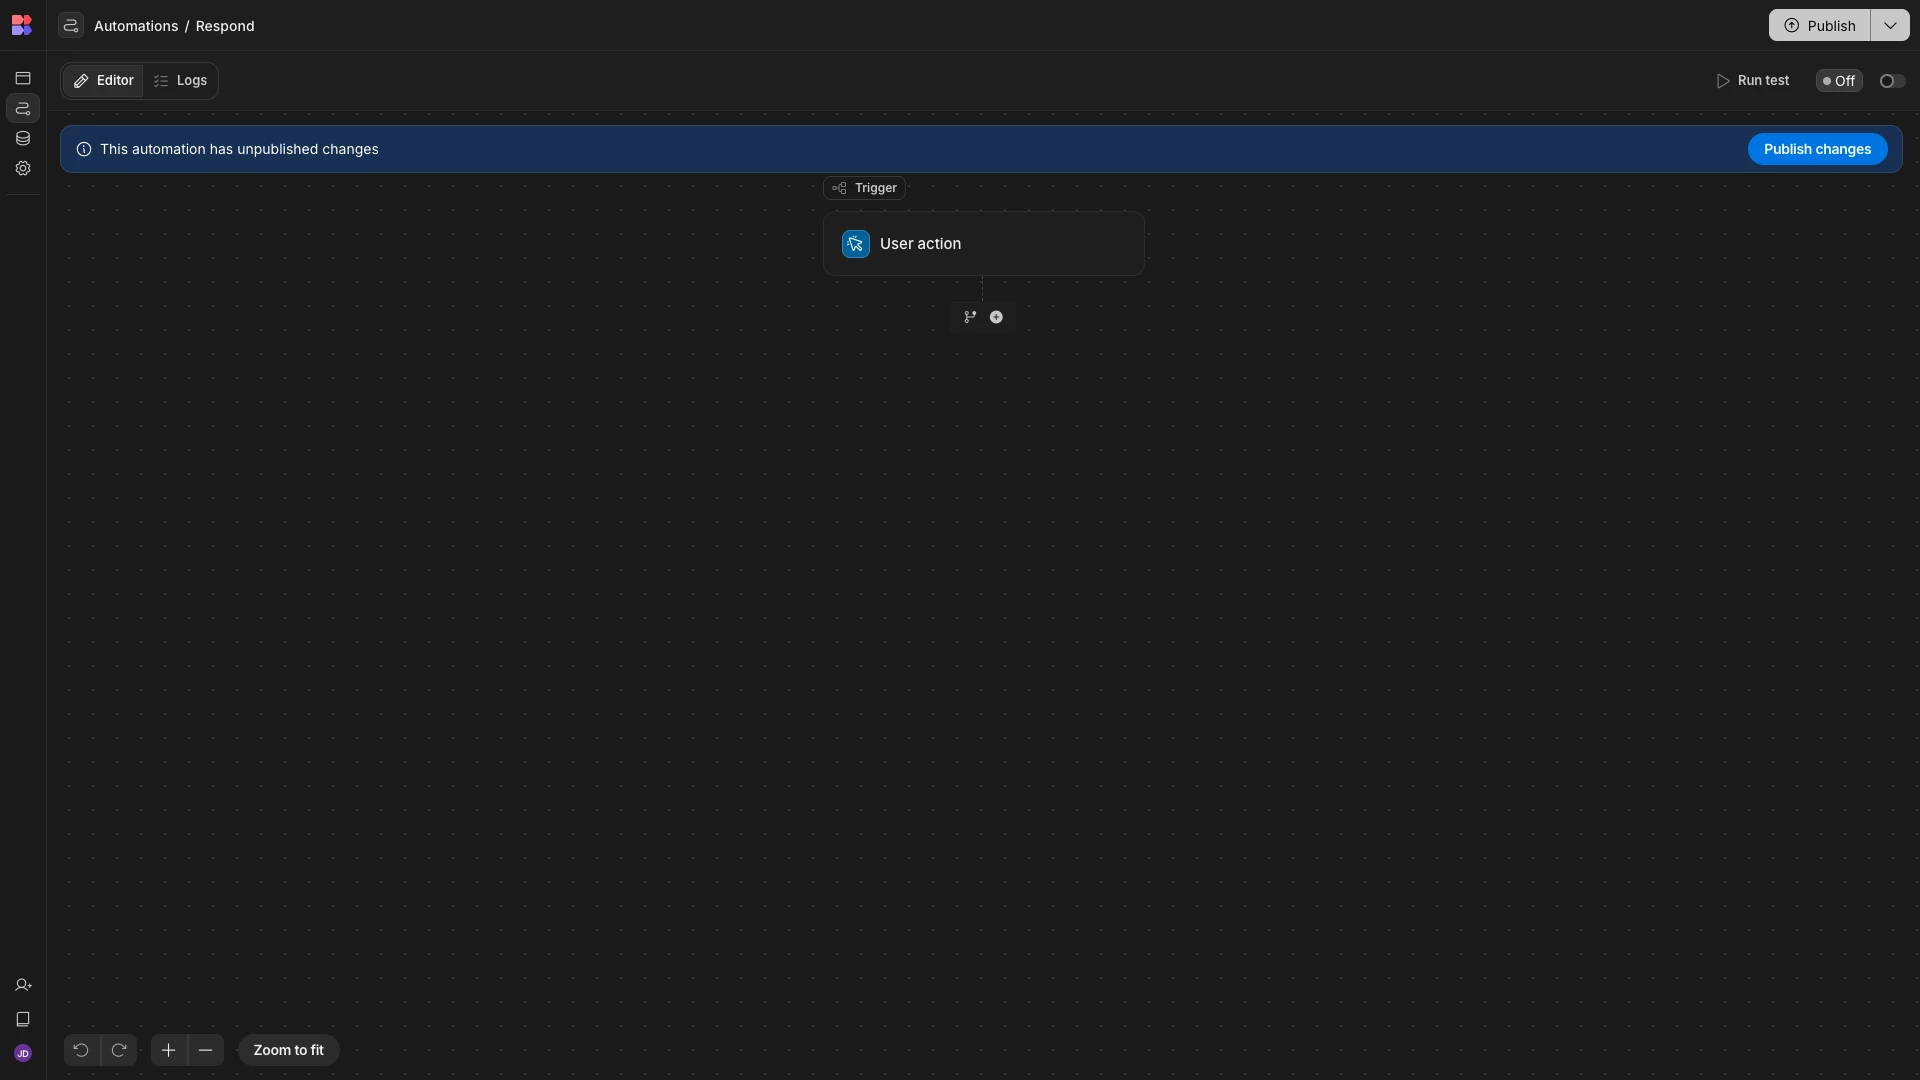
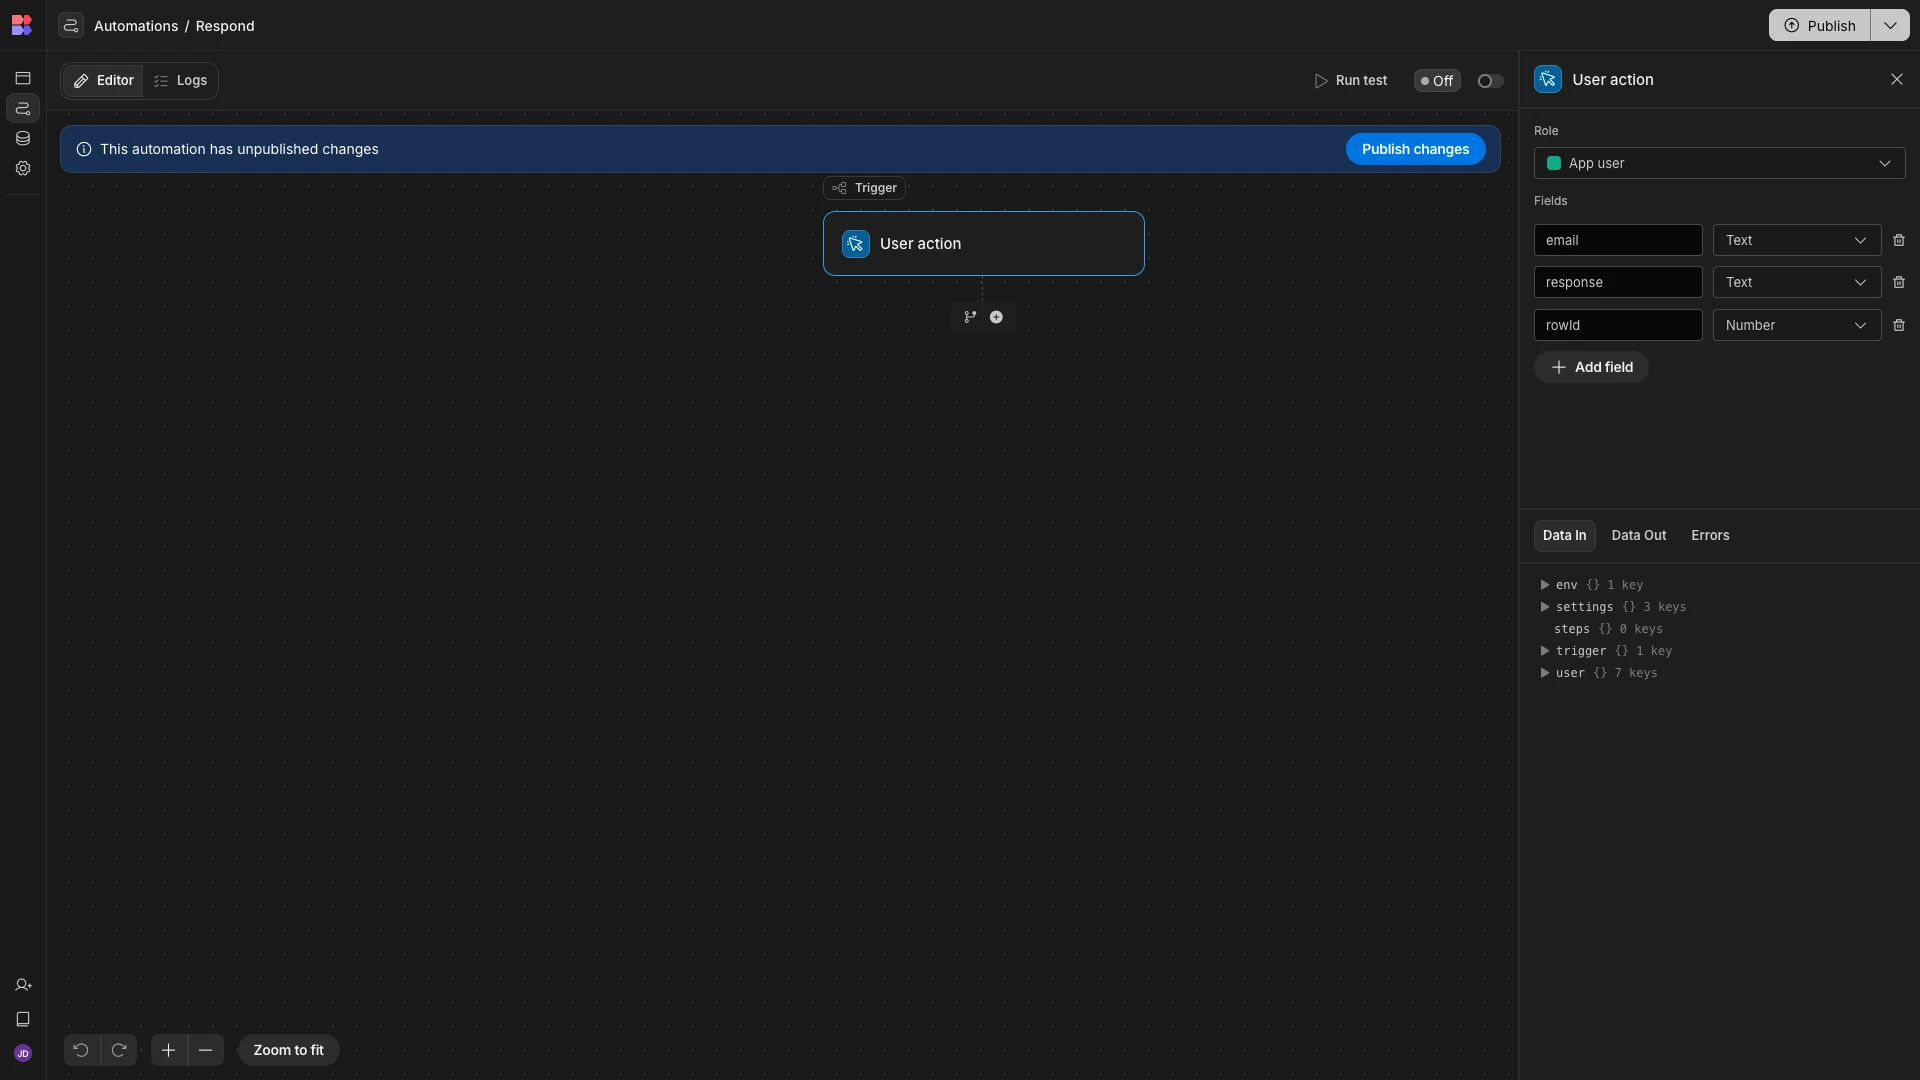
First, we need to configure our trigger with the appropriate inputs. Specifically, we’re going to need to pass two variables from the front-end of our Google Sheets GUI for this to work. These are an email address, the Response from our form field, and the id of the corresponding Messages row.
We’ll add these as fields.
Next, we’ll hit the + icon to add a follow-up action, choosing Send Email (SMTP).
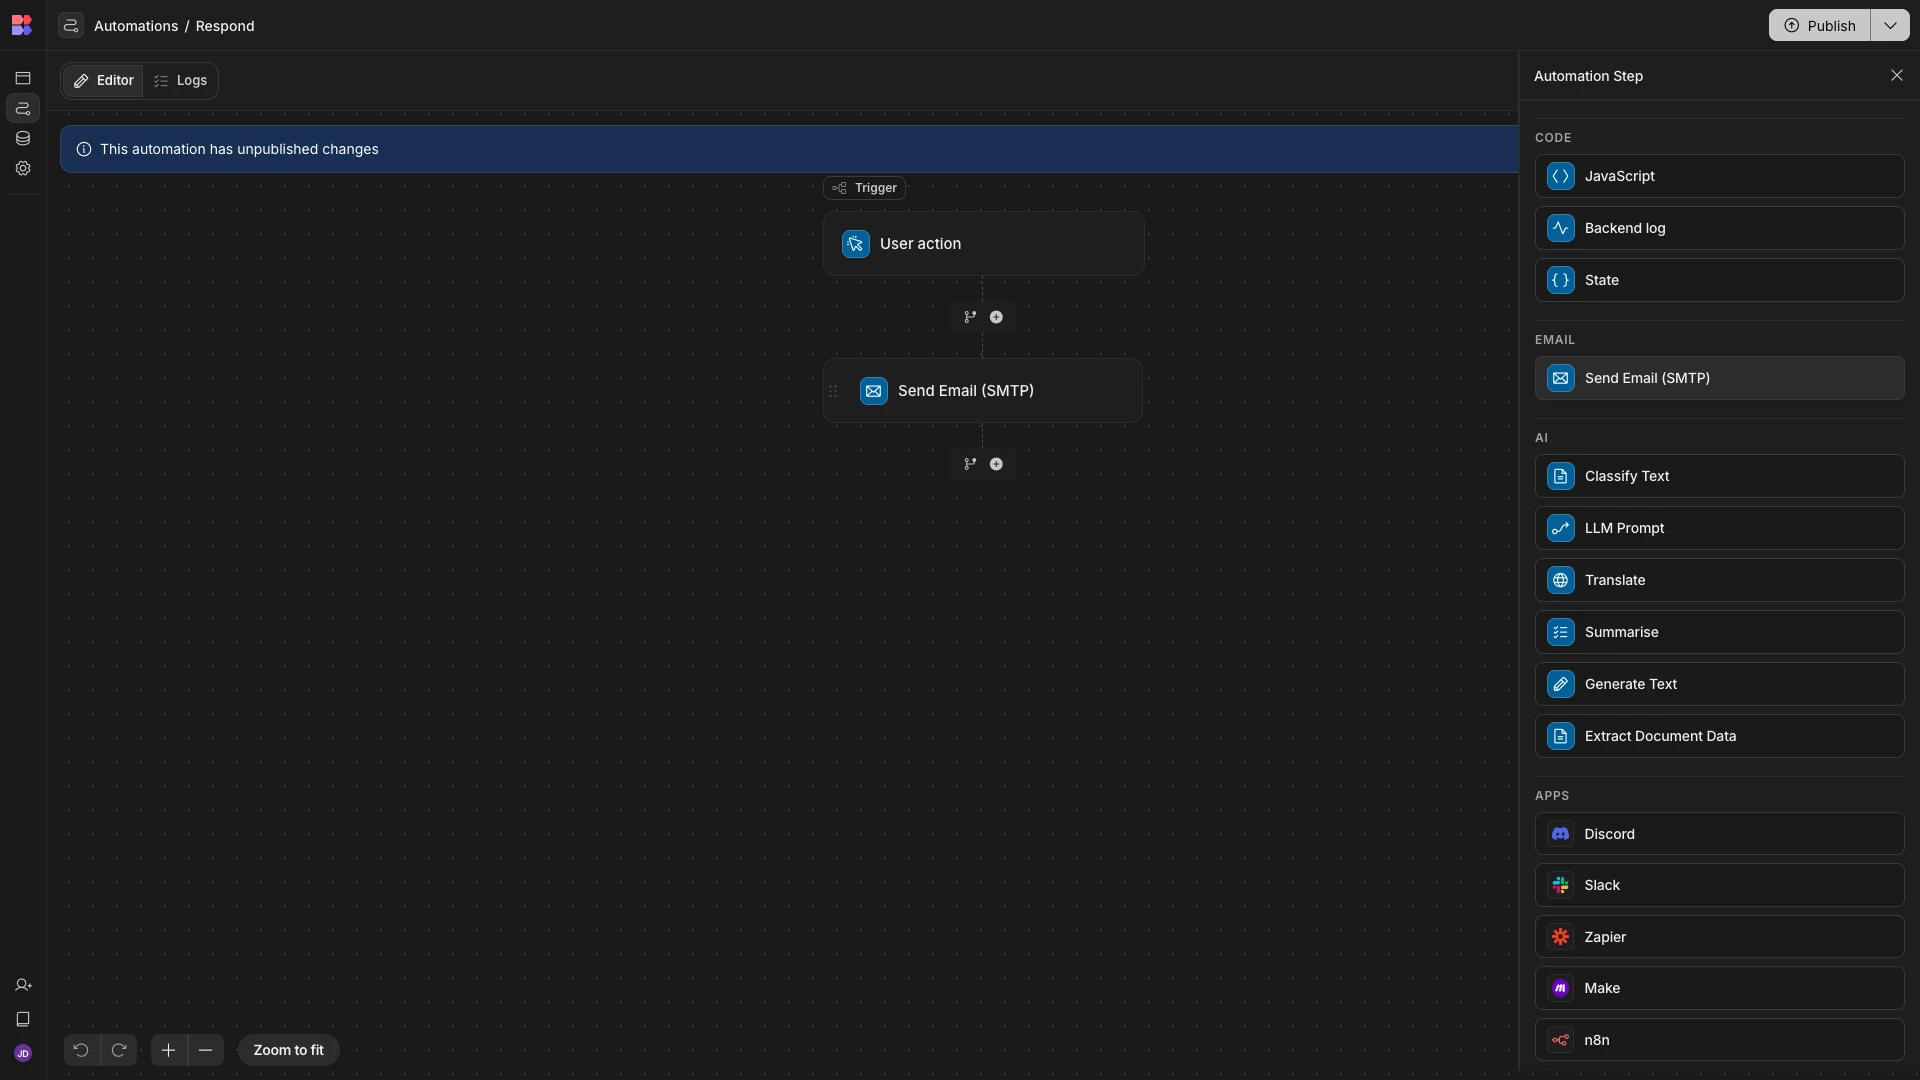
We’ll use {{ trigger.fields.email }} as our Send To field and {{ trigger.fields.response }} as our Message.
We can use static values for the other fields.

We can then run a test to confirm that this works.
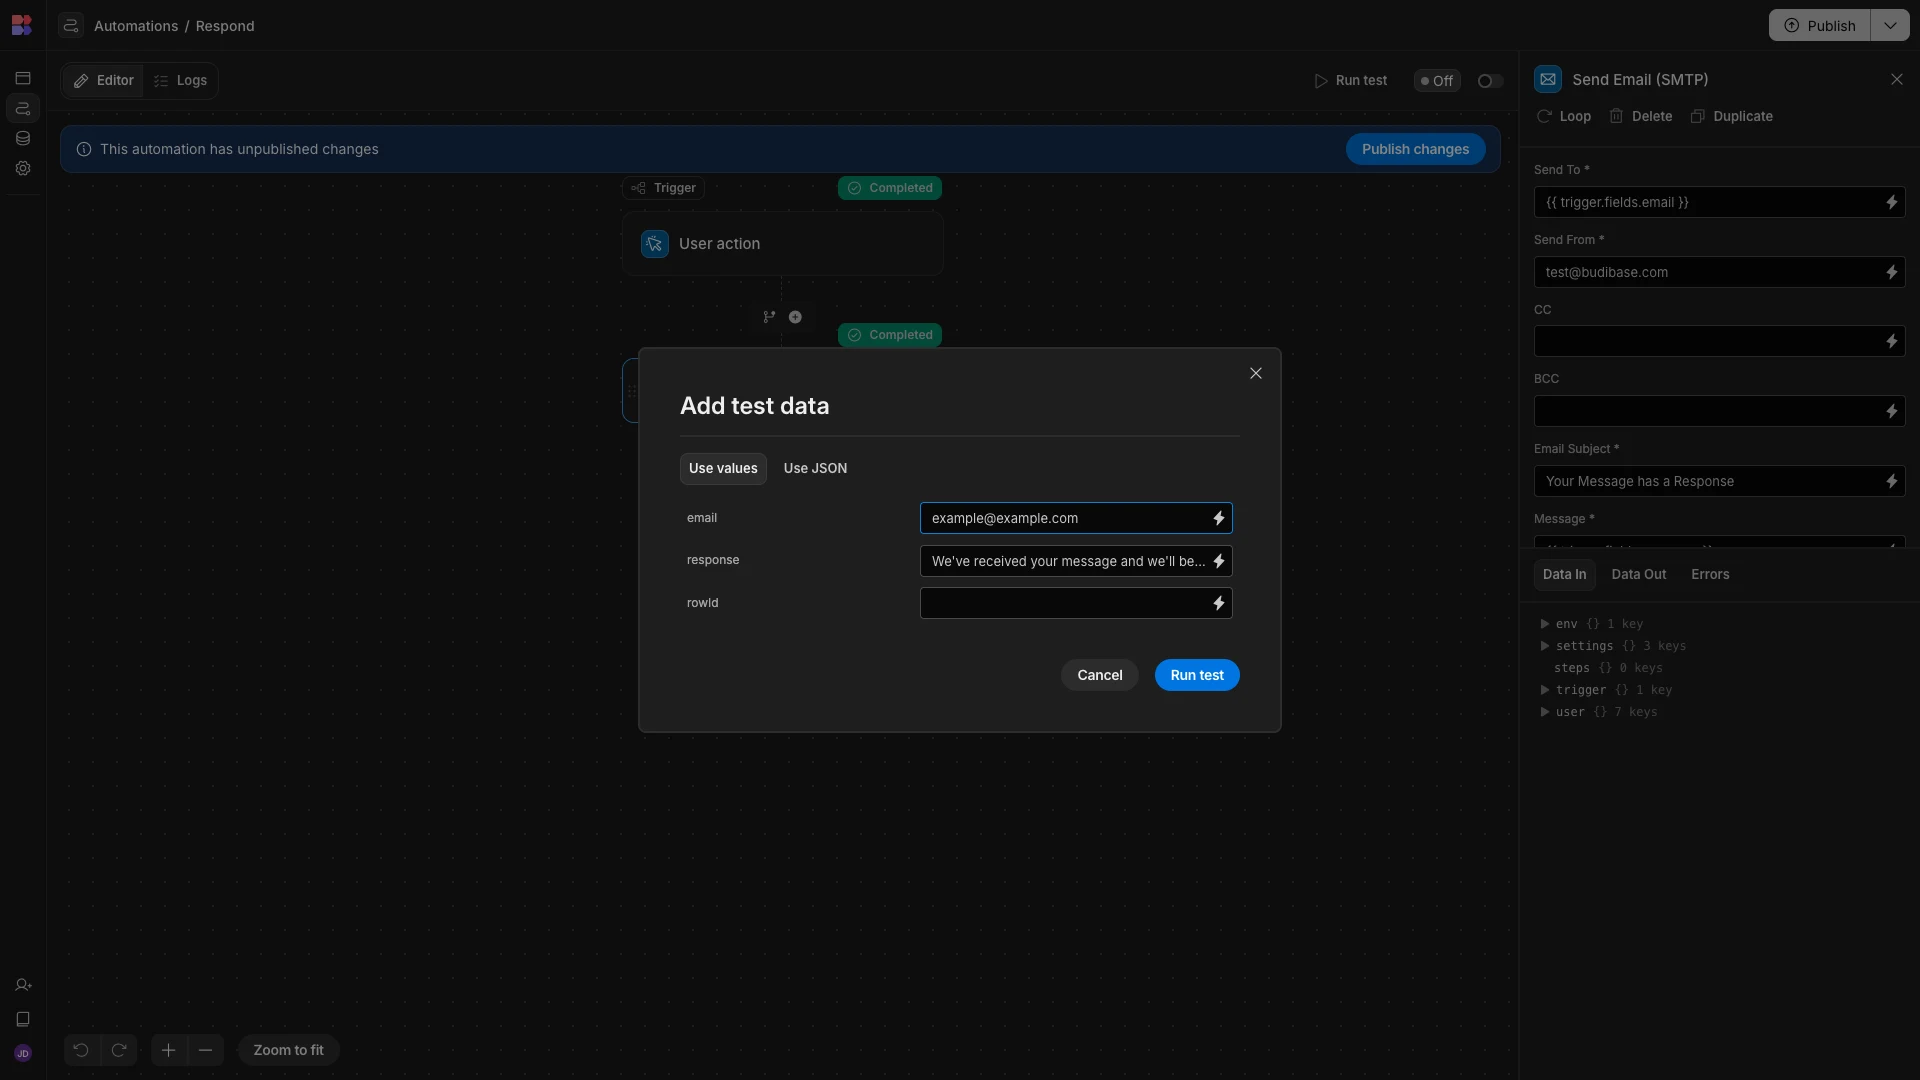
When we do so, we’ll see the correctly formatted email in our inbox.

Next, we’ll add an Update Row action, pointed at the row in our Messages table with ID matching {{ trigger.fields.response }}.

We’ll then hit Edit Fields to set STATUS to replied.

And, we’ll run another test to confirm that this has worked.
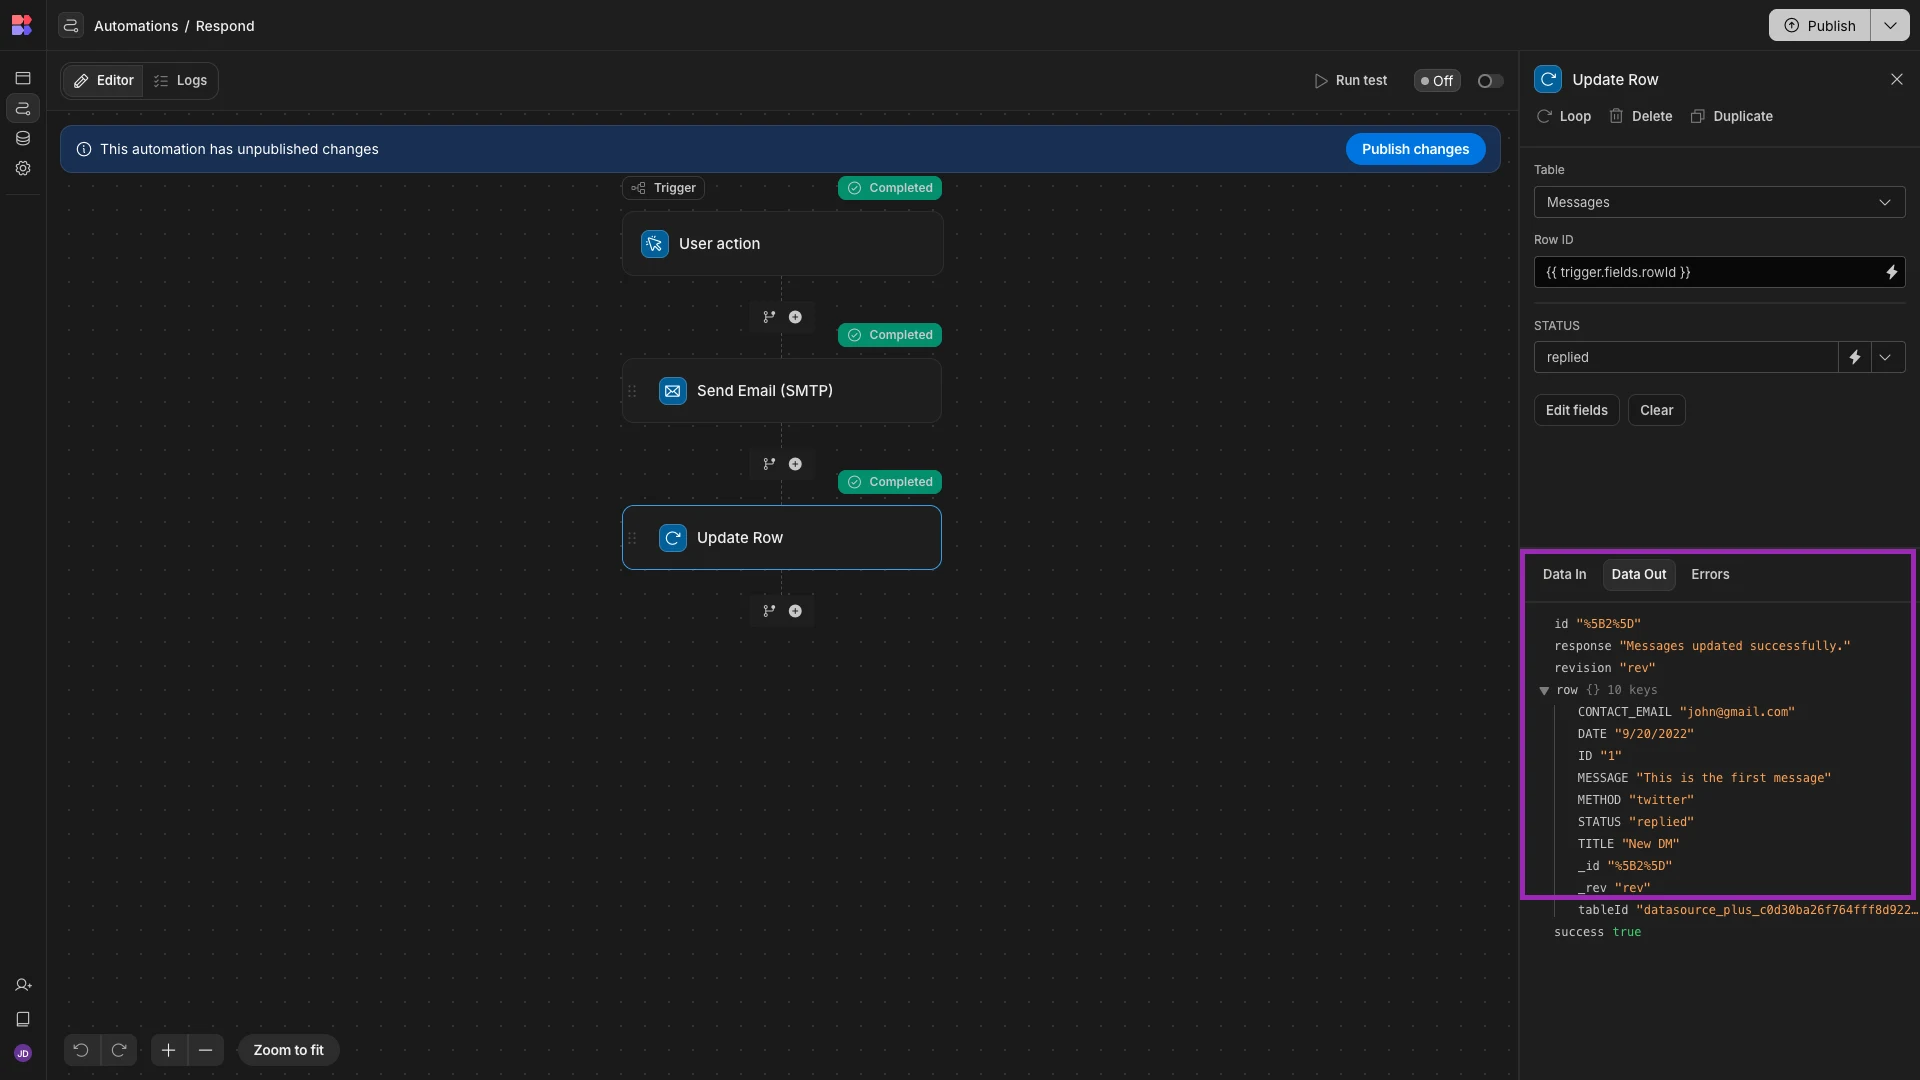
Back in the Apps section, we now need to configure our Reply button to trigger this automation with the correct data.
We’ll start by opening the On Click actions drawer.
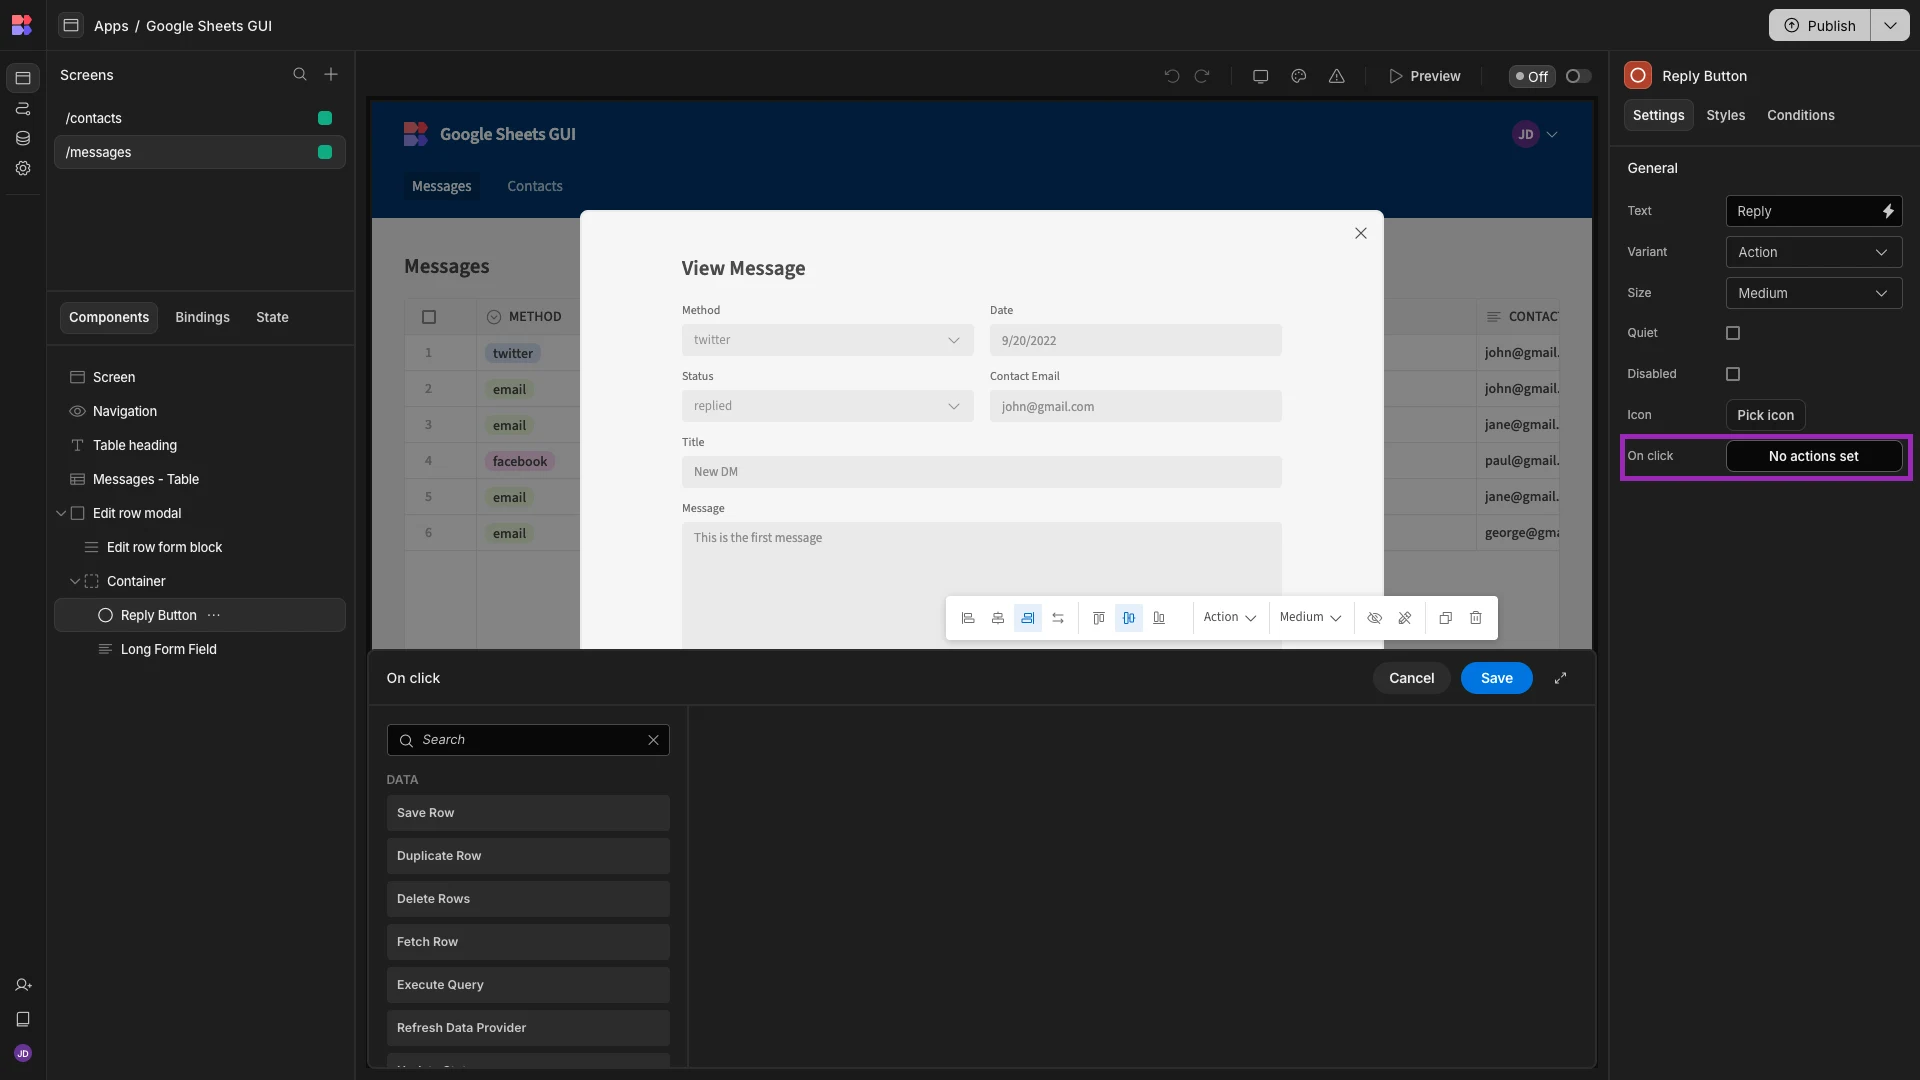
Here, we’ll add a Trigger Automation action and point it at our new automation rule.
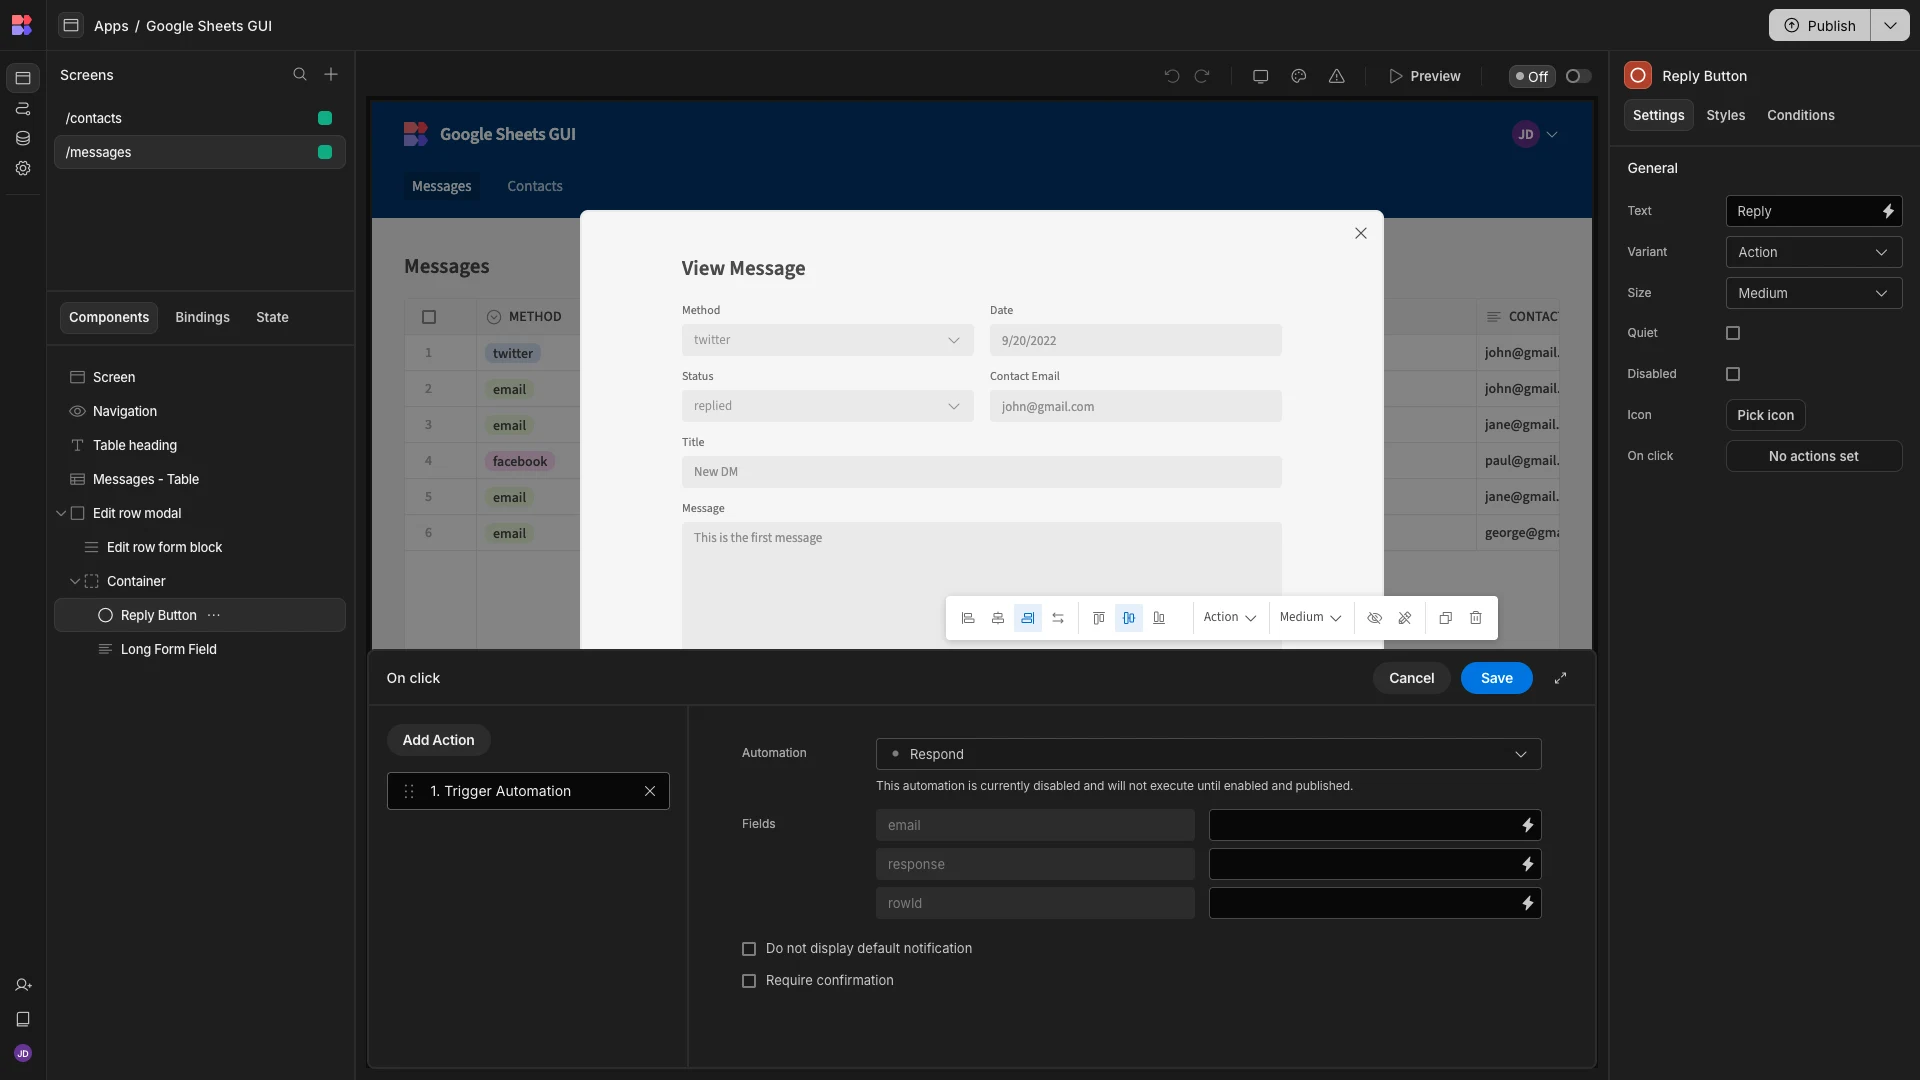
We’ll set our email to {{ [Edit row form block].Messages.CONTACT_EMAIL }}, response to {{ [Long Form Field].Value }}, and rowId to {{ [Edit row form block].Messages._id }}.
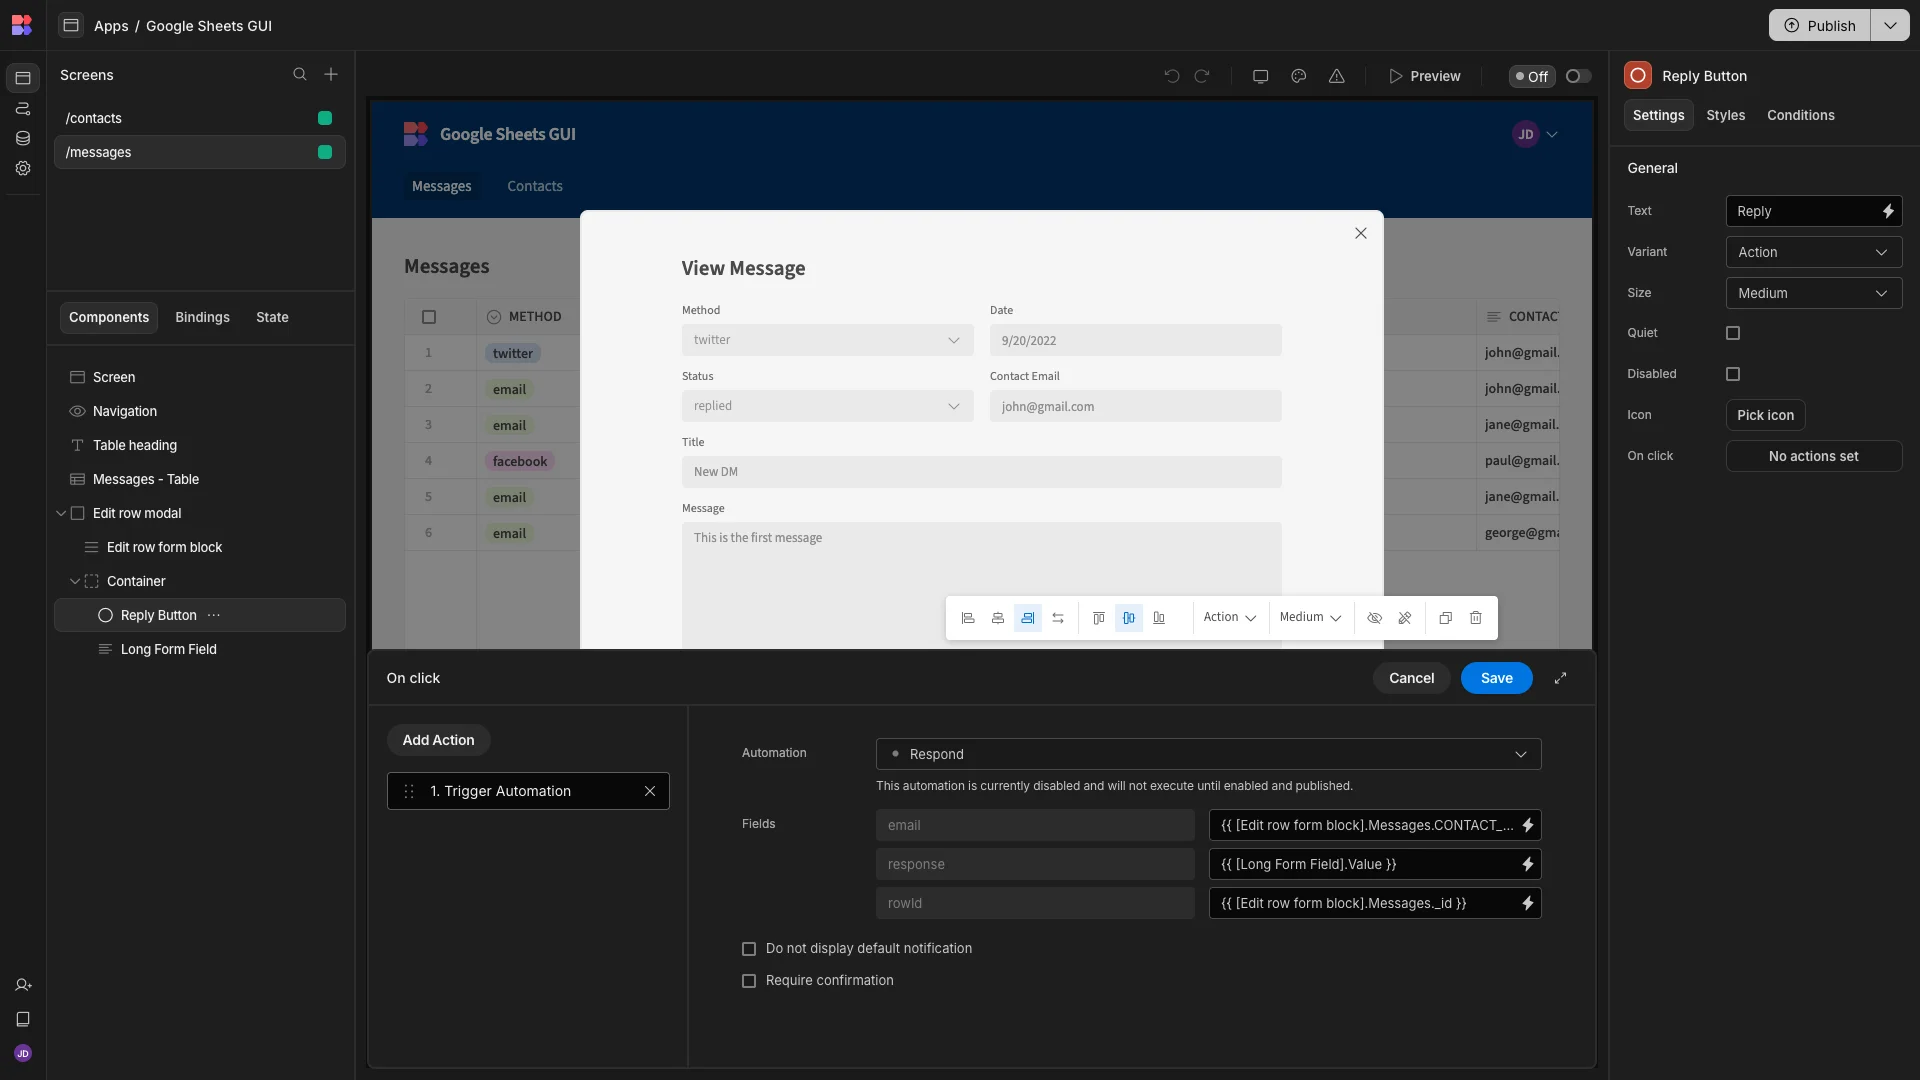
Now, when a user hits Reply, the appropriate data will be passed to our automation rule, firing an email and updating the appropriate row in our Sheet.
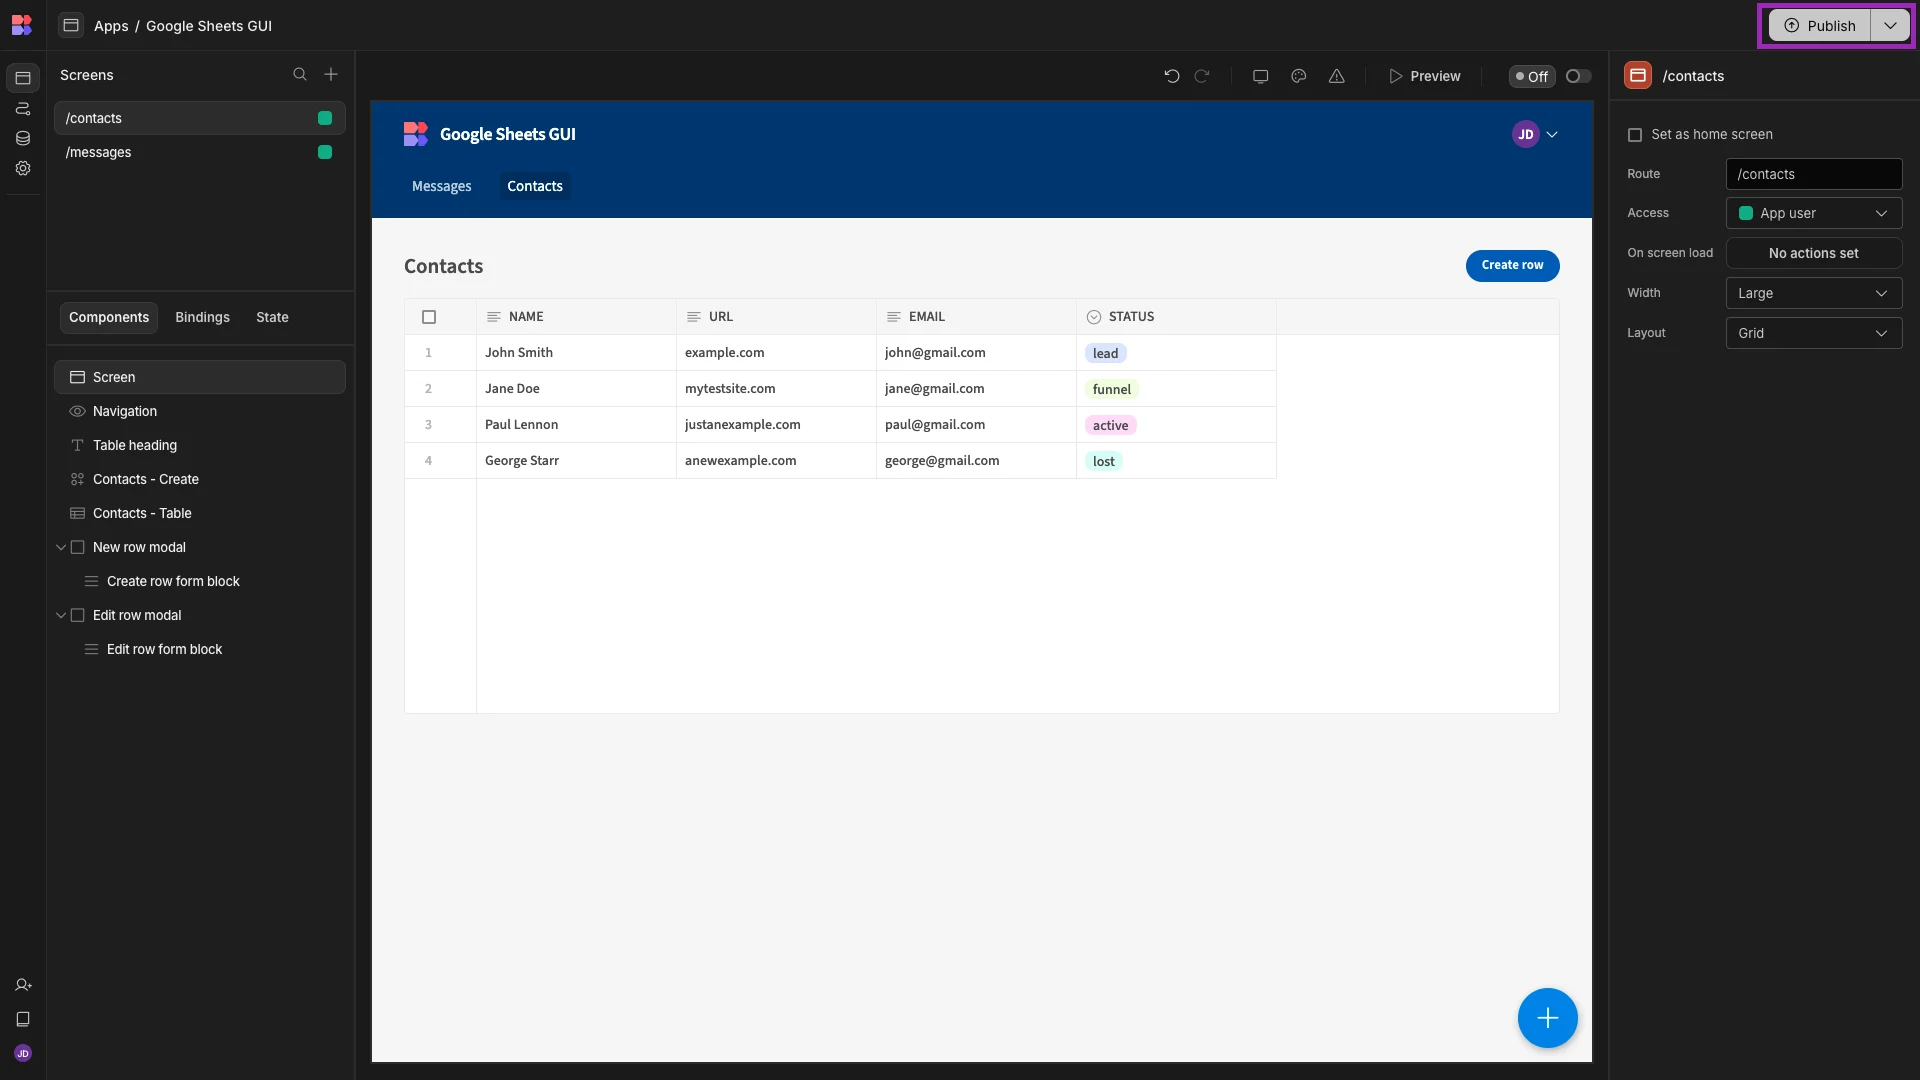
From a functional perspective, our Google Sheets GUI is ready to go. When you’re happy, you can hit Publish to push it live for end users.
Turn data into action with Budibase
Budibase is the open-source, low-code platform that empowers IT teams to turn data into action.
With leading support for external data sources, autogenerated UIs, powerful AI-driven automations, optional self-hosting, custom RBAC, free SSO, and more, there’s never been a better way to build professional internal tools.
Check out our features overview to learn more.