How to Build an Audit Form with Budibase
Audit forms are some of the most common field data collection tools around. In fact, they can be used in a diverse range of contexts - including financial, operational, HR, manufacturing, compliance, and other processes.
Whatever the context, the challenge is providing colleagues with an efficient, repeatable way to collect the information required to complete whatever kind of audit we’re carrying out.
Today, we’re going to see how Budibase makes building advanced forms faster and easier than ever before.
Specifically, we’re going to show how our open-source, low-code platform can be leveraged to output fully custom form UIs in minutes.
But first, let’s get a little bit of context.
What is an audit form?
An audit form is a simple interface that’s used to carry out an assessment of something against defined criteria.
Generally speaking, audit forms comprise a combination of two types of questions:
- Closed-ended questions - for instance, pass/fail criteria.
- Open-ended questions - more long-form, qualitative information, like details of required remedial actions.
The data that’s gathered can then be used for a whole range of different tasks. For example, further processing, workload management, analysis, visualization, report generation, and much more.
Therefore, many audit form tools will also provide functionality for implementing these kinds of follow-on actions - including automations, integrations, stored procedures, front-end logic, communication tools, approval flows, and other related capabilities.
What are we building?
Today, we’re going to use a health and safety inspection as the example for our audit form. We’ll be creating a multi-step form that gathers basic information about the audit itself, as well as a series of categorized pass/fail criteria.
We’re creating our form schema from scratch and storing the results in Budibase’s internal database.
We’ll also add a little bit of logic to collate the results of our audit and provide an overall score for each form completion.
Budibase makes it easy to generate working form UIs from your data schema and extensively customize designs with minimal custom code.
So, you can output advanced forms in a fraction of the time.
Let’s jump in.
How to build an audit form in 5 steps
If you haven’t already, create a free Budibase account.
1. Building our form schema
The first thing to do is create a new Budibase application. We have a couple of options here - including using a template or importing an existing app dump file. Today, though, we’re going to start from scratch.
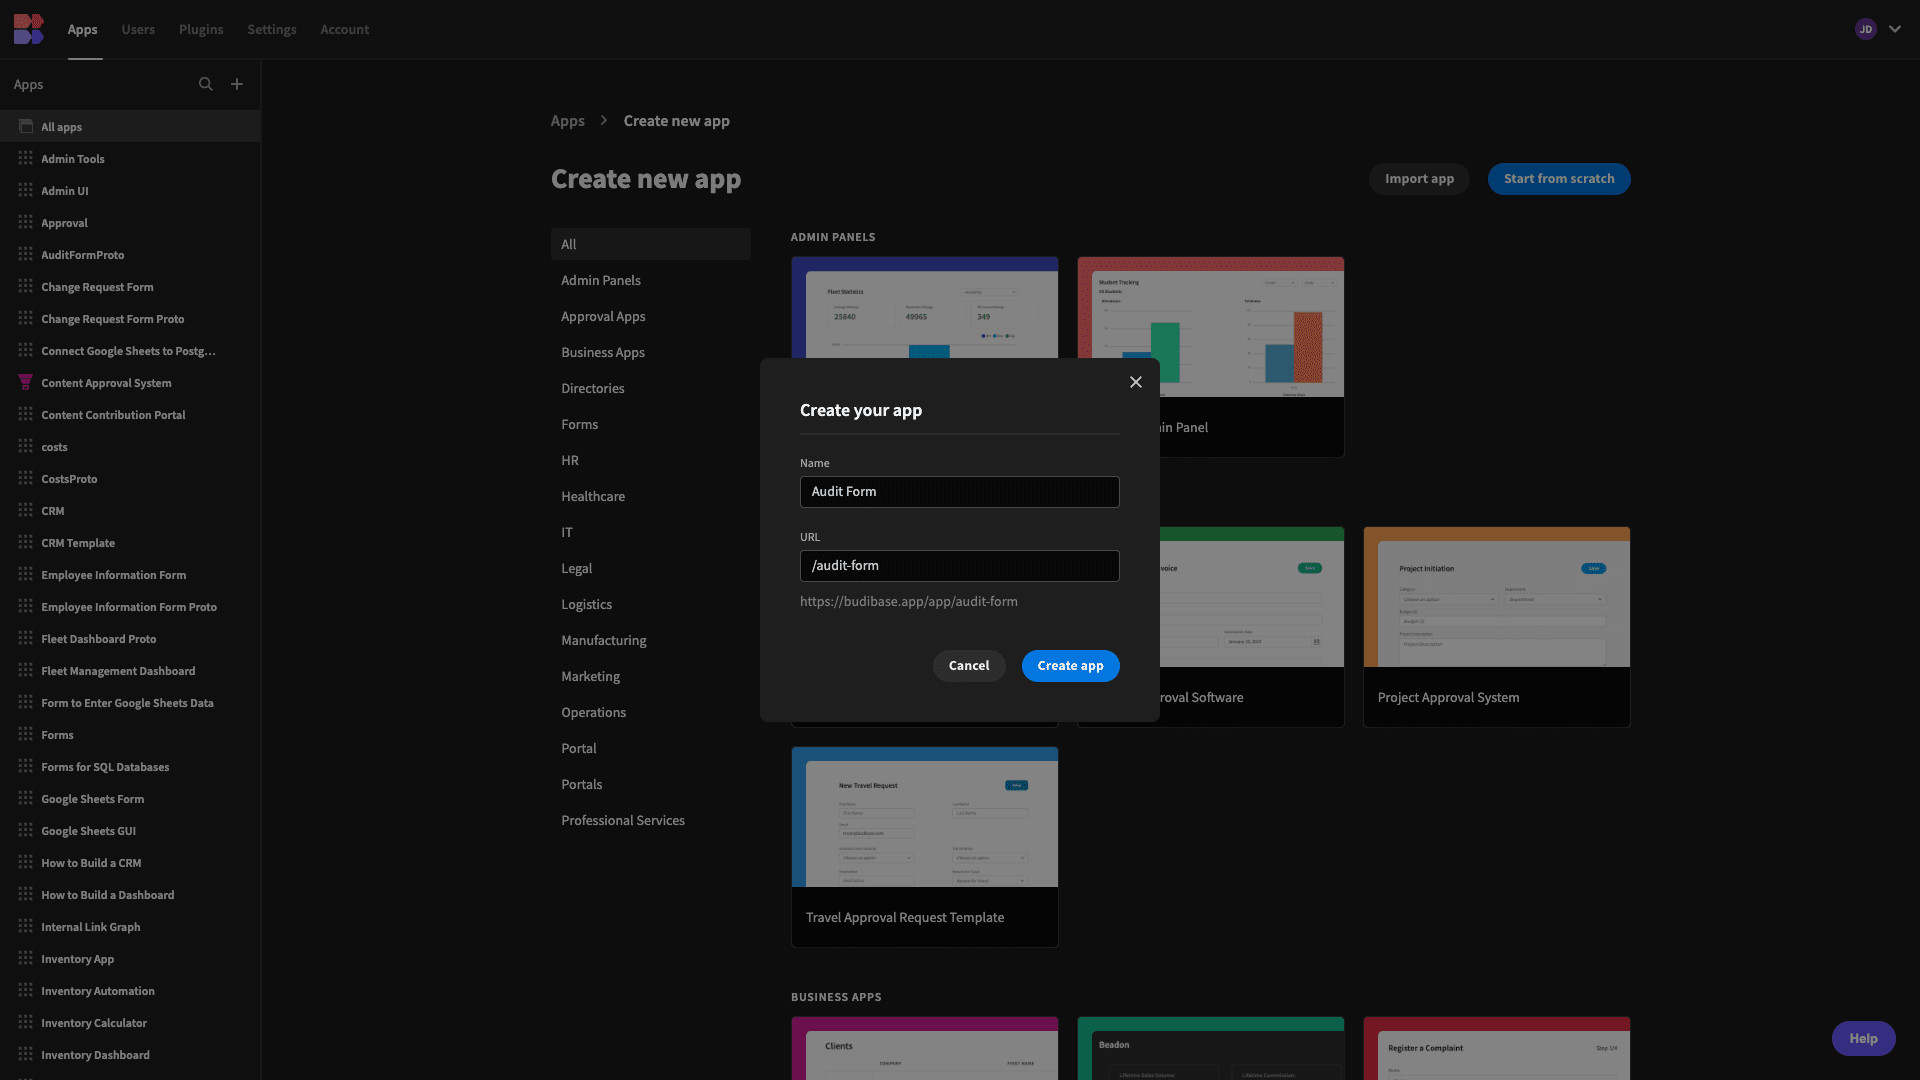
When we choose this option, we’re prompted to give our app a name - which will also be used to generate a URL extension.
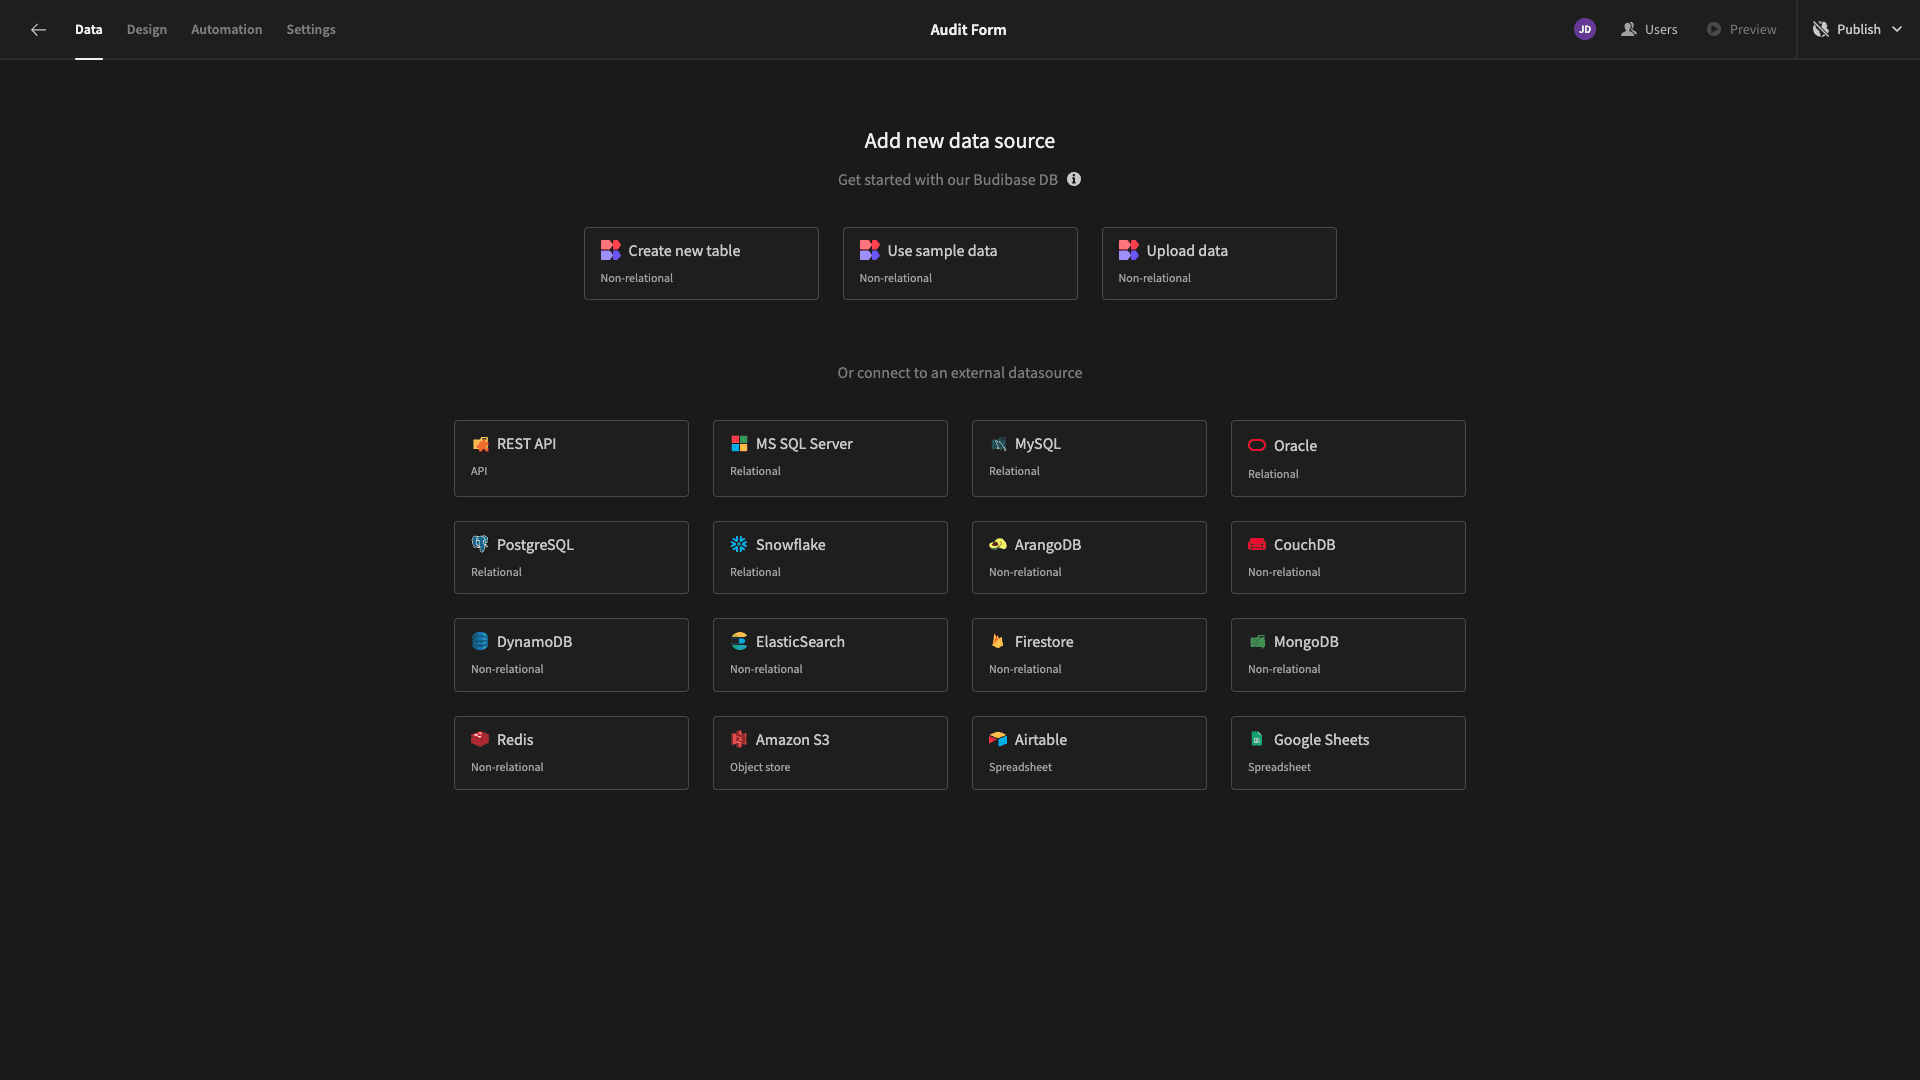
Next, we’ll be asked to choose the data source that we want to start with. Budibase offers a huge range of connectors for external relational and non-relational databases, along with REST APIs, Airtable, Google Sheets, and more.
But, today we’re going to build our audit form’s schema from scratch using our internal database - BudibaseDB.
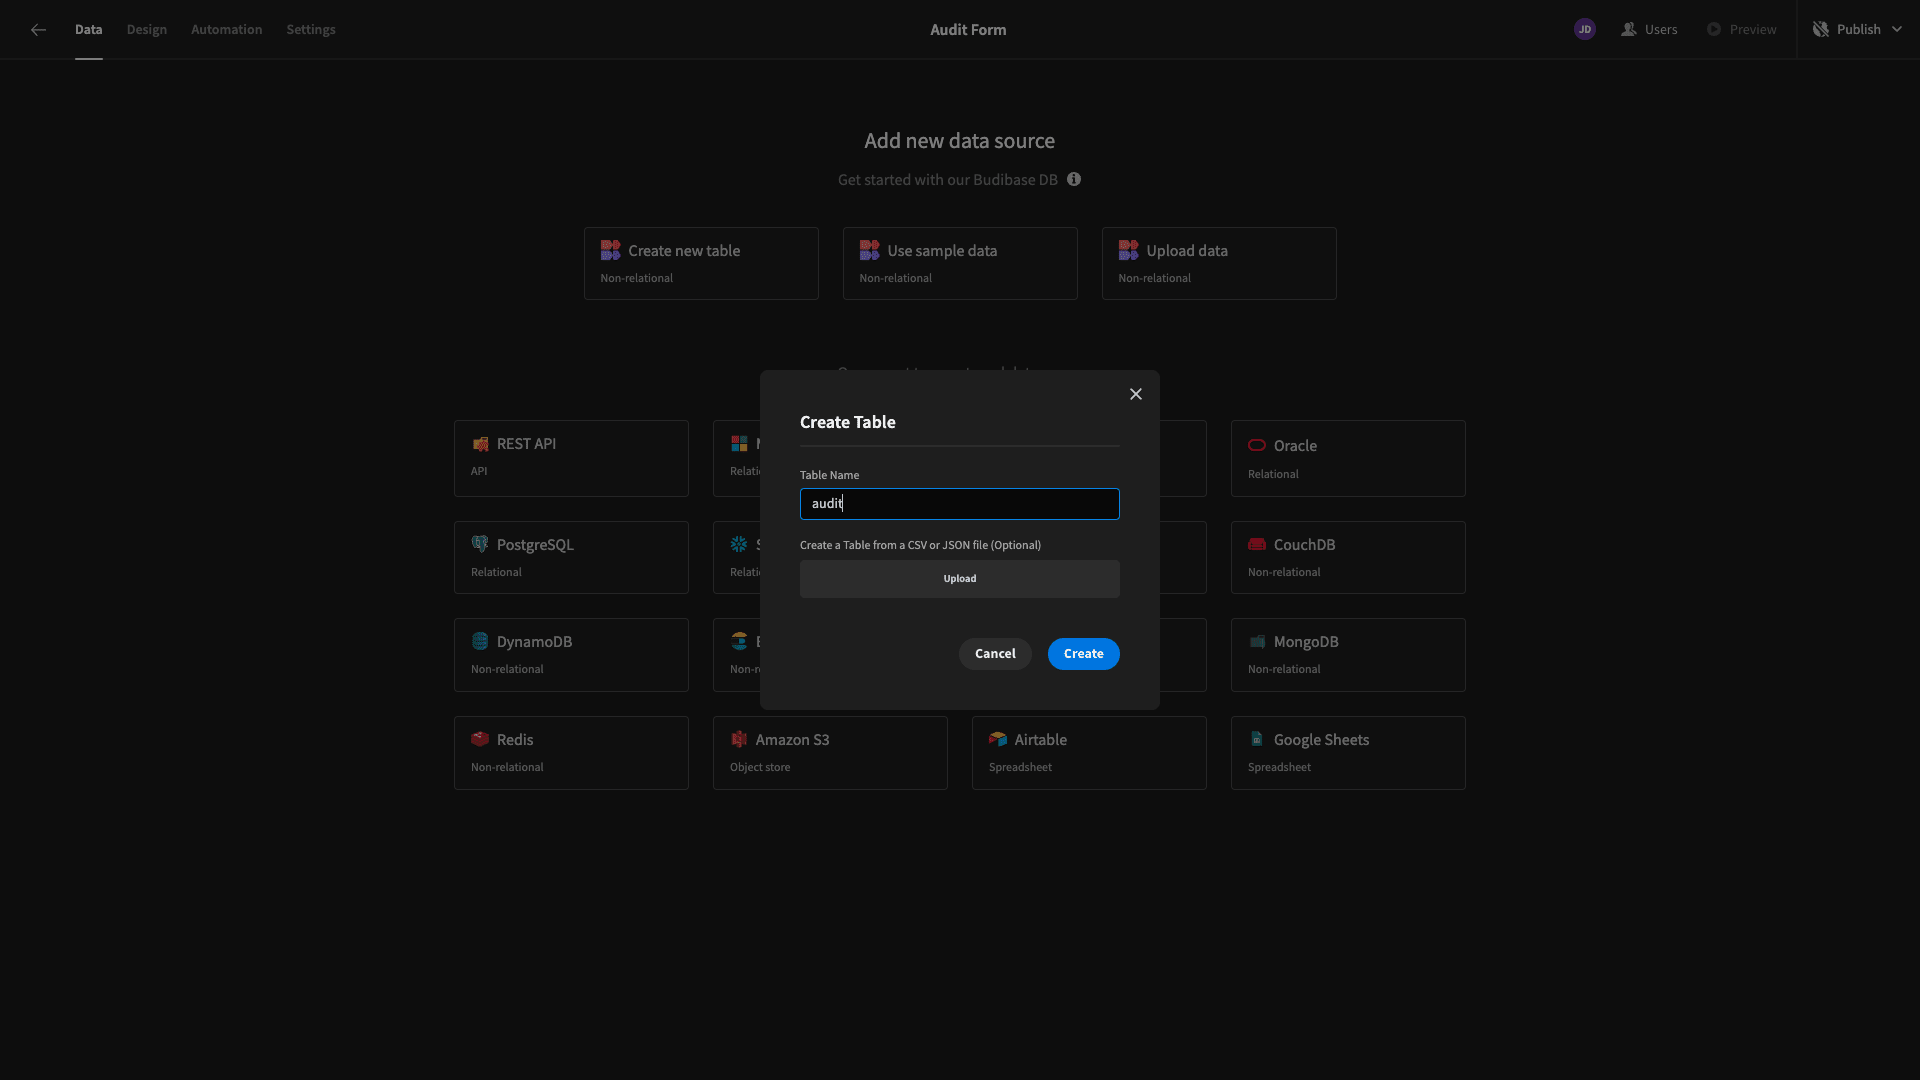
So, hit Create new table. We’re then prompted to give this a name:
Here’s what our empty table will look like:

We can use the plus icon to start adding columns. Budibase allows us to create complex data models with a broad range of attributes, without writing any custom queries or code.
So, let’s take a brief moment to think about what our data model will look like for our audit form.
We’re going to have two clusters of data:
- Basic details about the audit, including the site, auditor, and date.
- A series of boolean attributes to represent our audit criteria.
We’ll start by adding three variables with the following names and types:
- site - text,
- auditor - text,
- date - date.
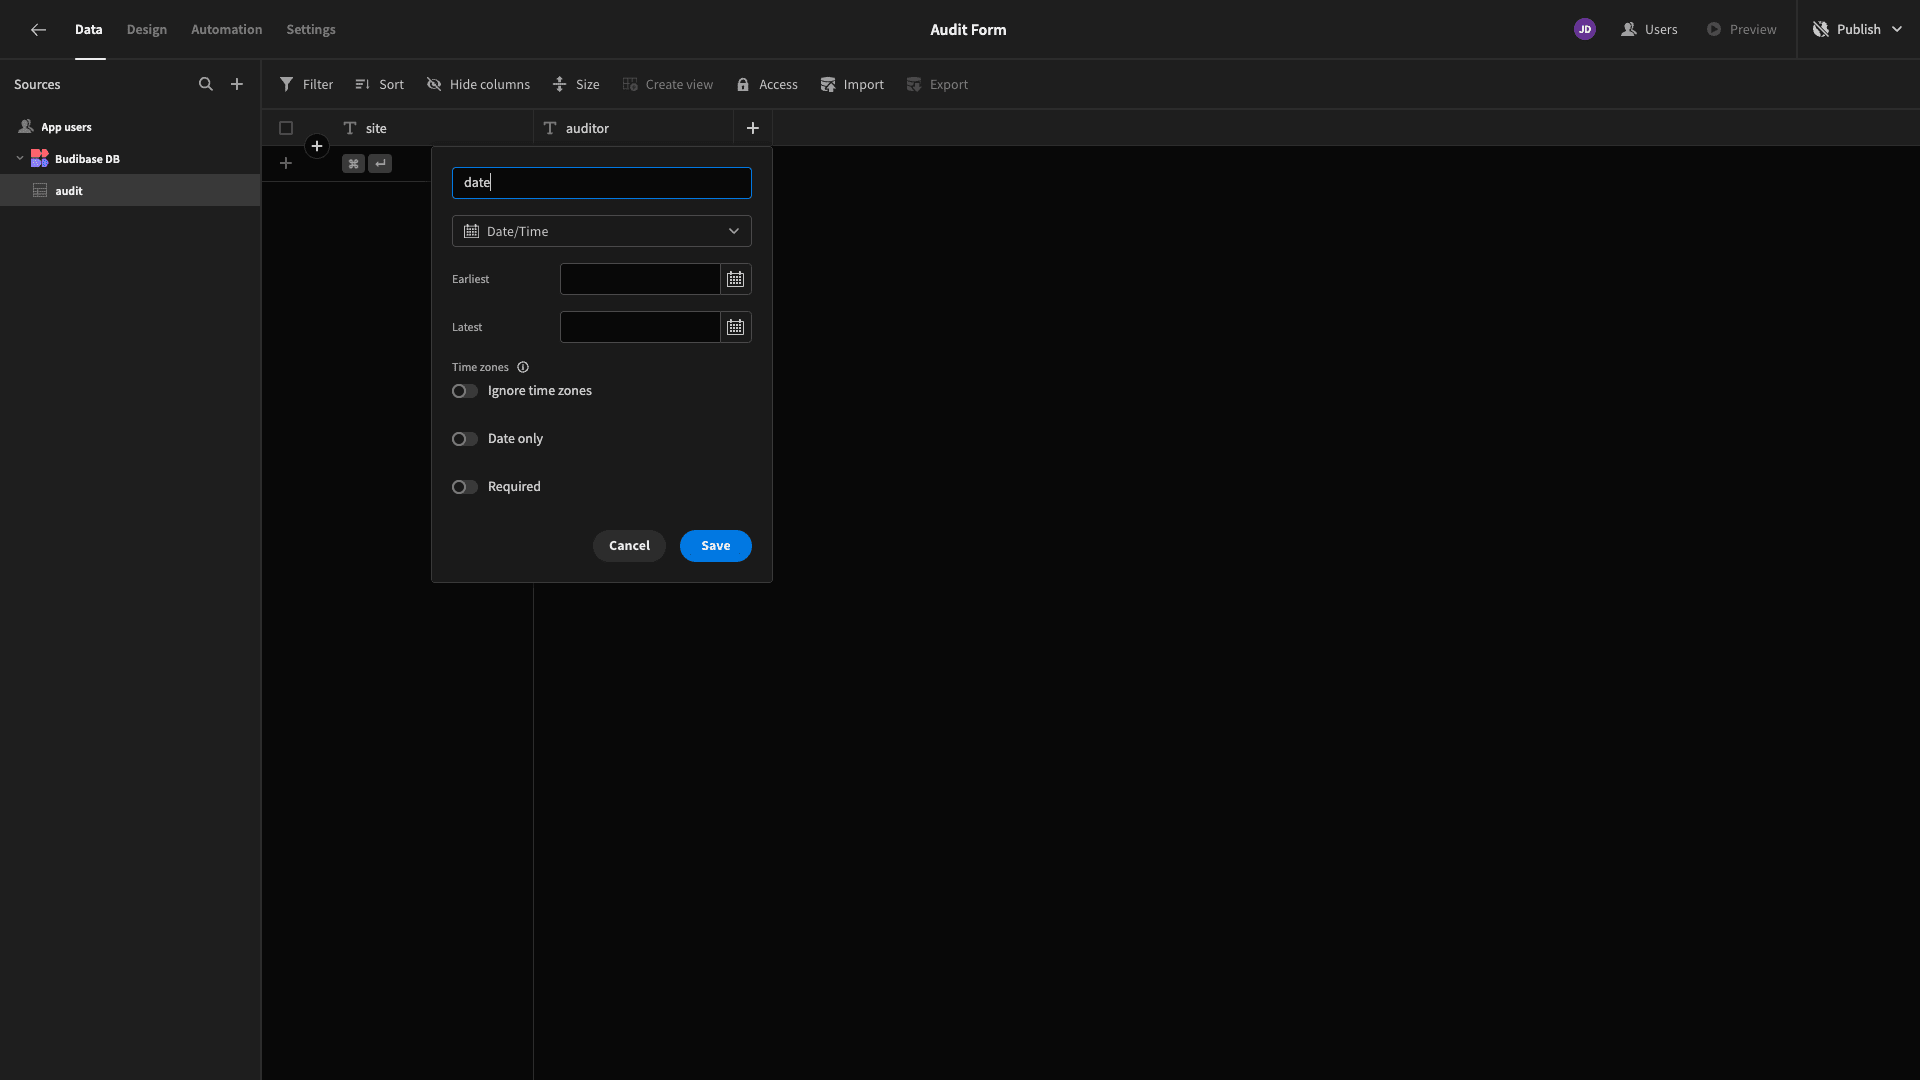
The assessment criteria for the audit itself will be represented by 10 columns, each with the boolean type.
These will be called:
- proper_illumination,
- suitable_ventilation,
- drinking_water,
- sanitary_bathrooms,
- clean_uncluttered,
- policy_written,
- policy_posted,
- waste_removed,
- fire_extinguishers,
- electrical_equipment.
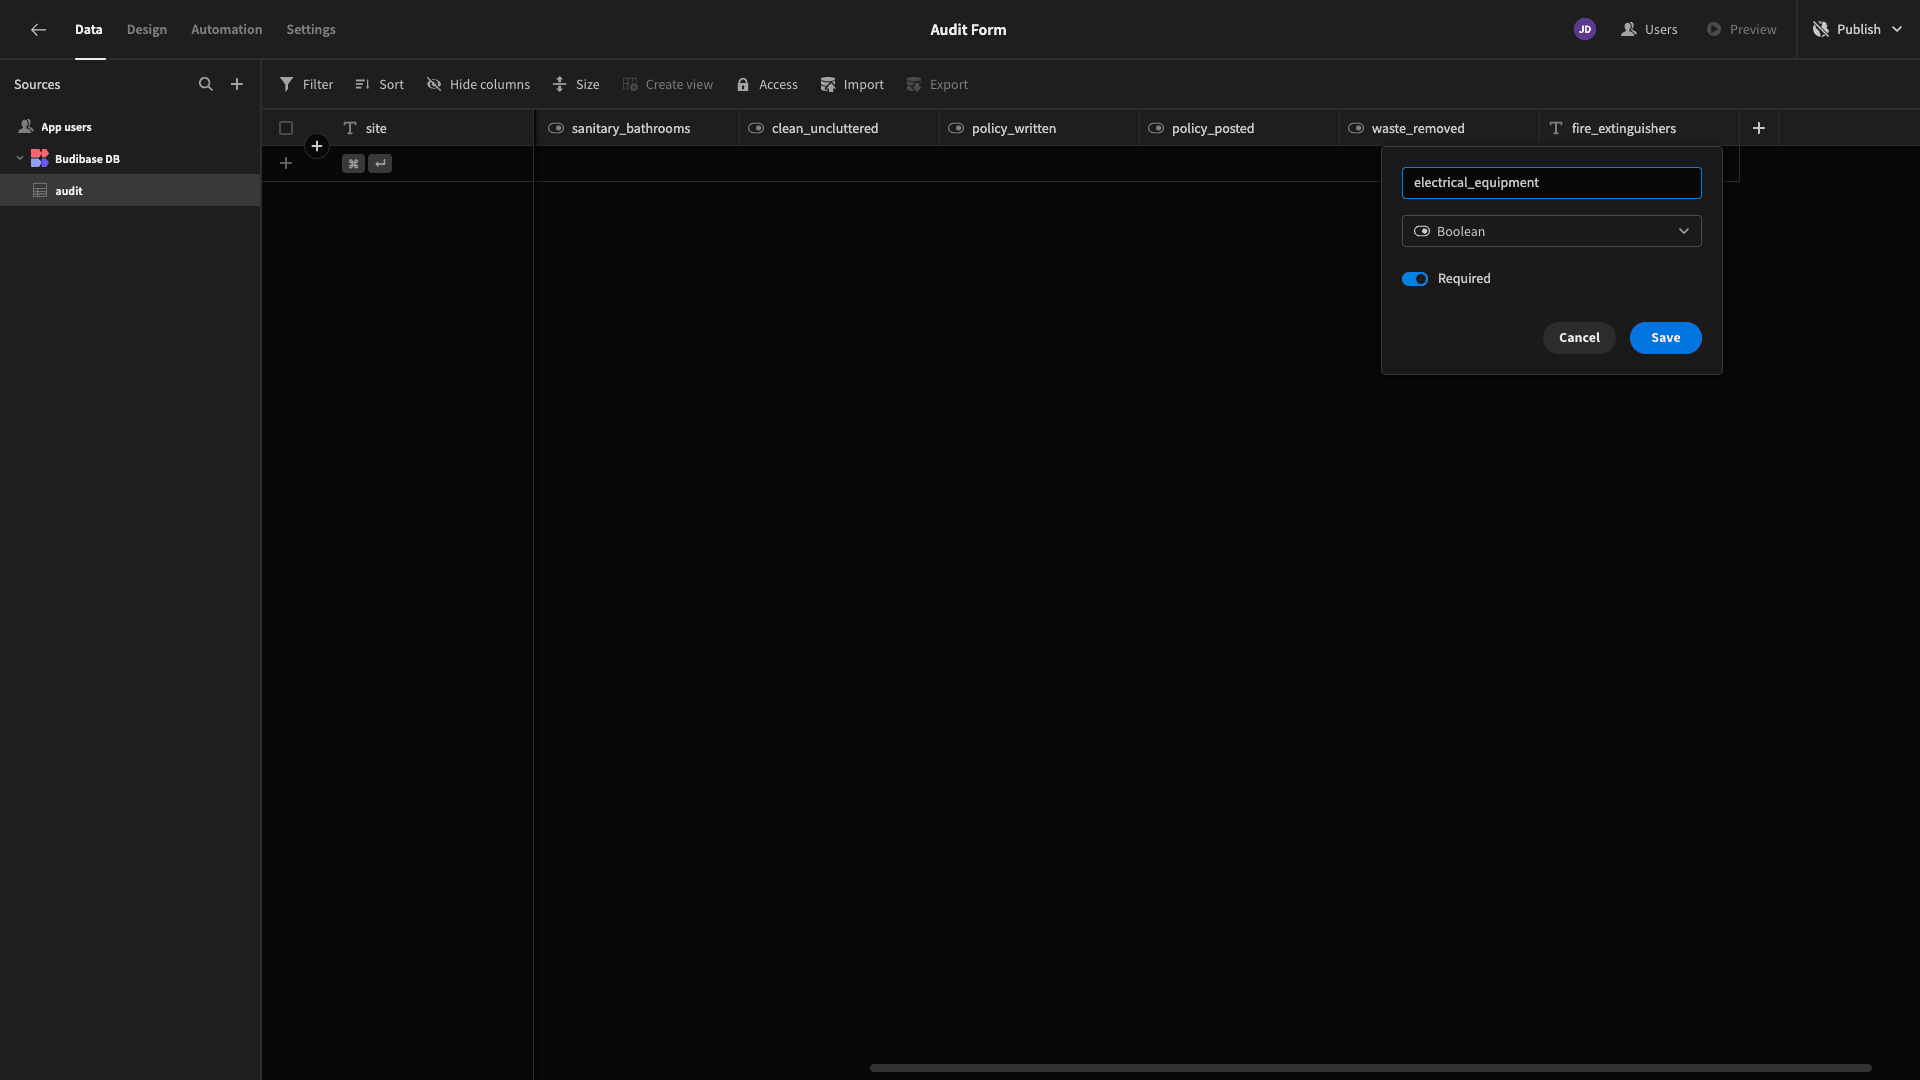
We’ve also enable the required setting on each of these.
That’s our basic data model completed. Now, it’s time to start building our audit form.
2. Add a multi-step form
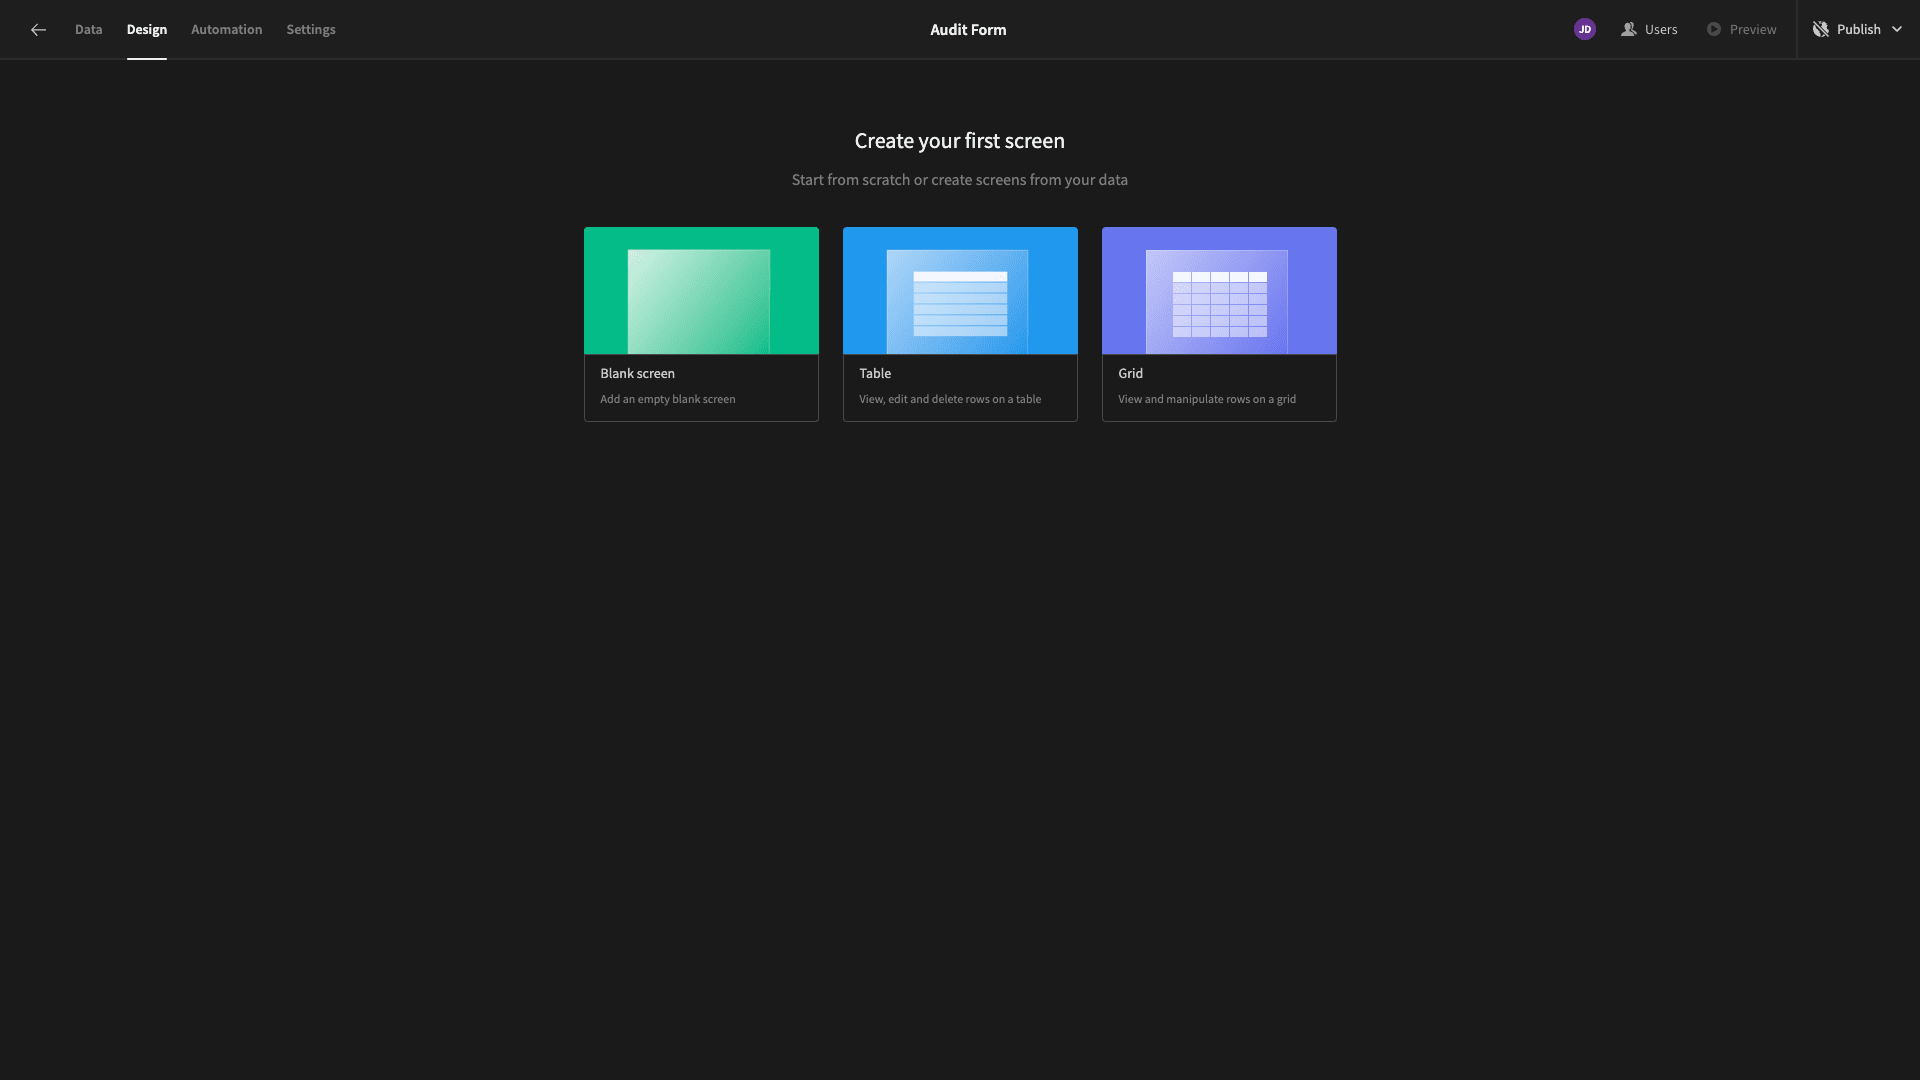
Head to the Design tab within Budibase and we’ll be offered a few choices for how we want to create our first screen. We can use the Table or Grid layouts to autogenerate CRUD UIs, but today we’re starting from scratch:
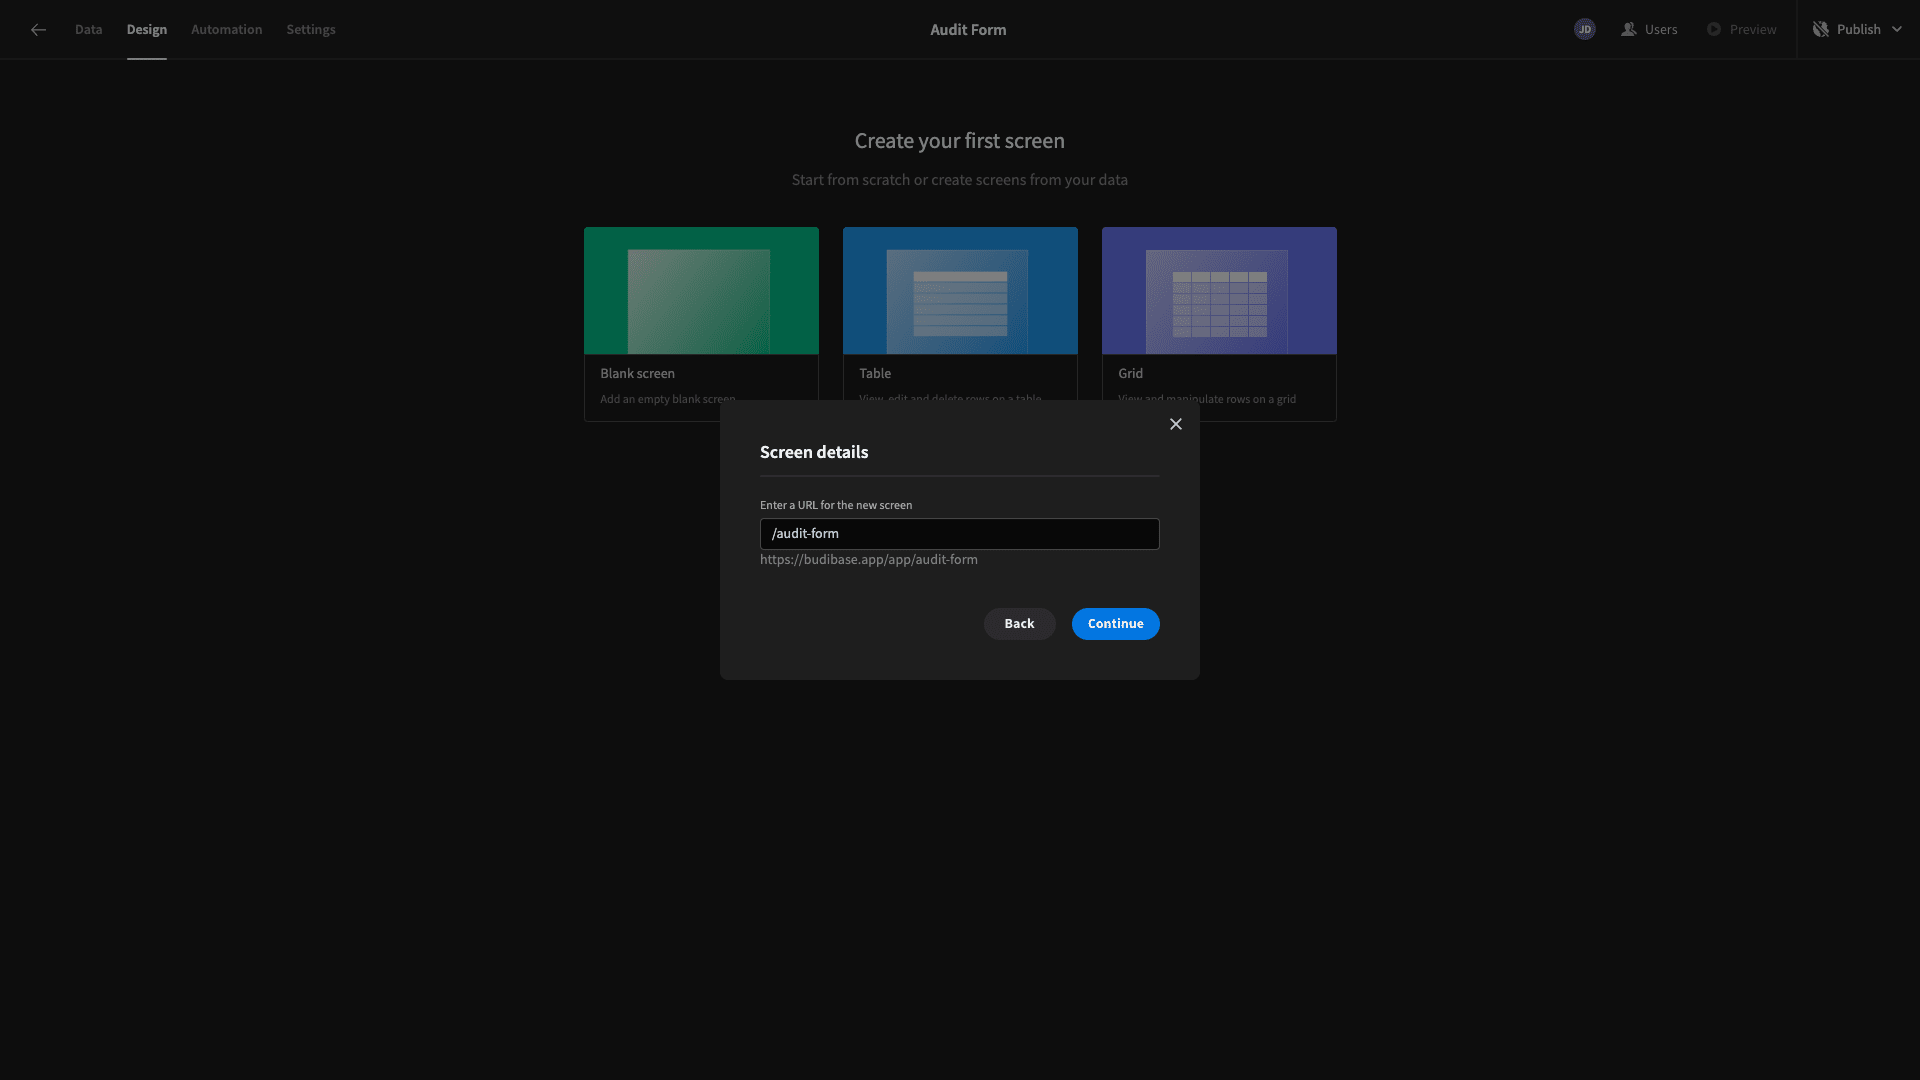
First, we need to choose a URL path for our new screen - although this will be a single-screen app, so it doesn’t matter what we choose:
Here’s our blank screen:
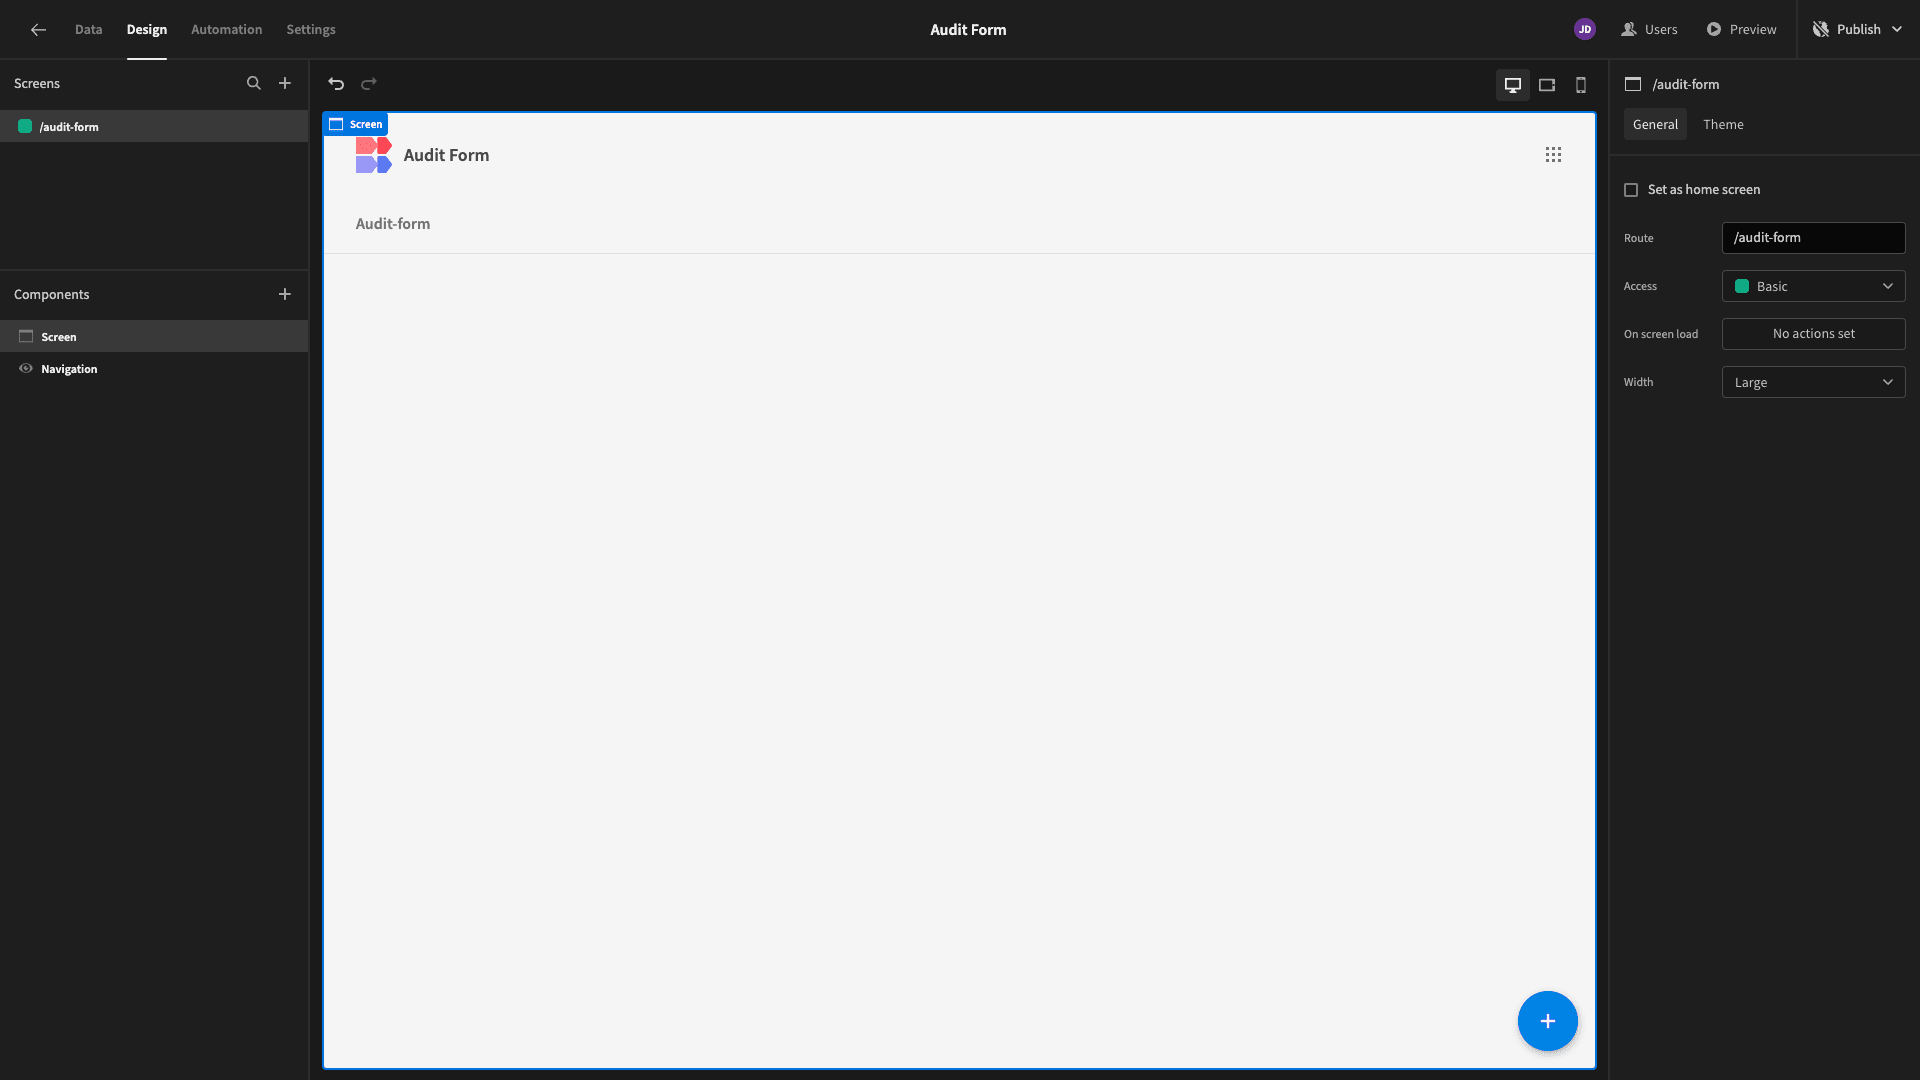
We’re only going to add a Multi-Step Form Block. This is a preconfigured set of components that will output a multi-step form based on the schema of whatever database table we point it at.
This is already set to our audit table, since it’s the only one in our app.
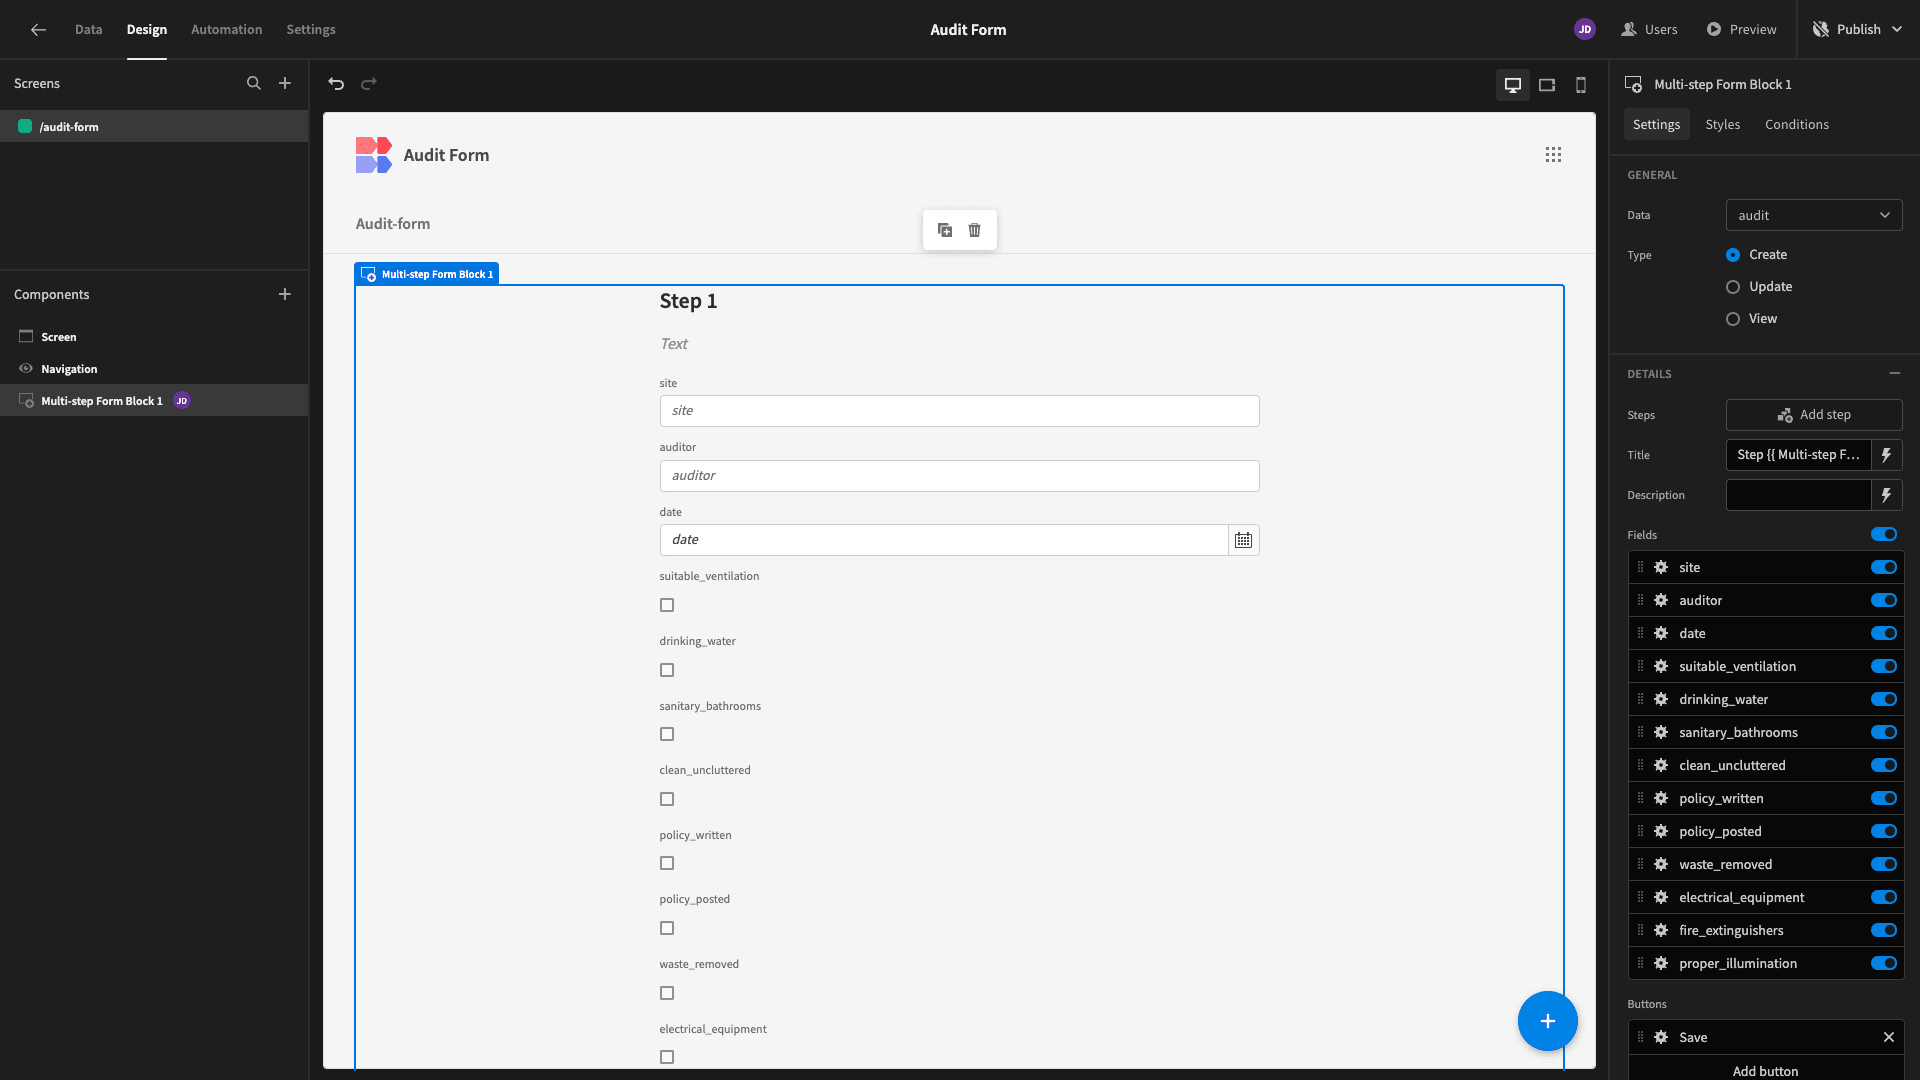
The main thing we need to do is configure which fields will appear on which steps of our form.
We’re going to break our form up into three parts. The first will have our site, auditor, and date attributes. The other two will each contain five of our boolean fields, broken up into broad categories.
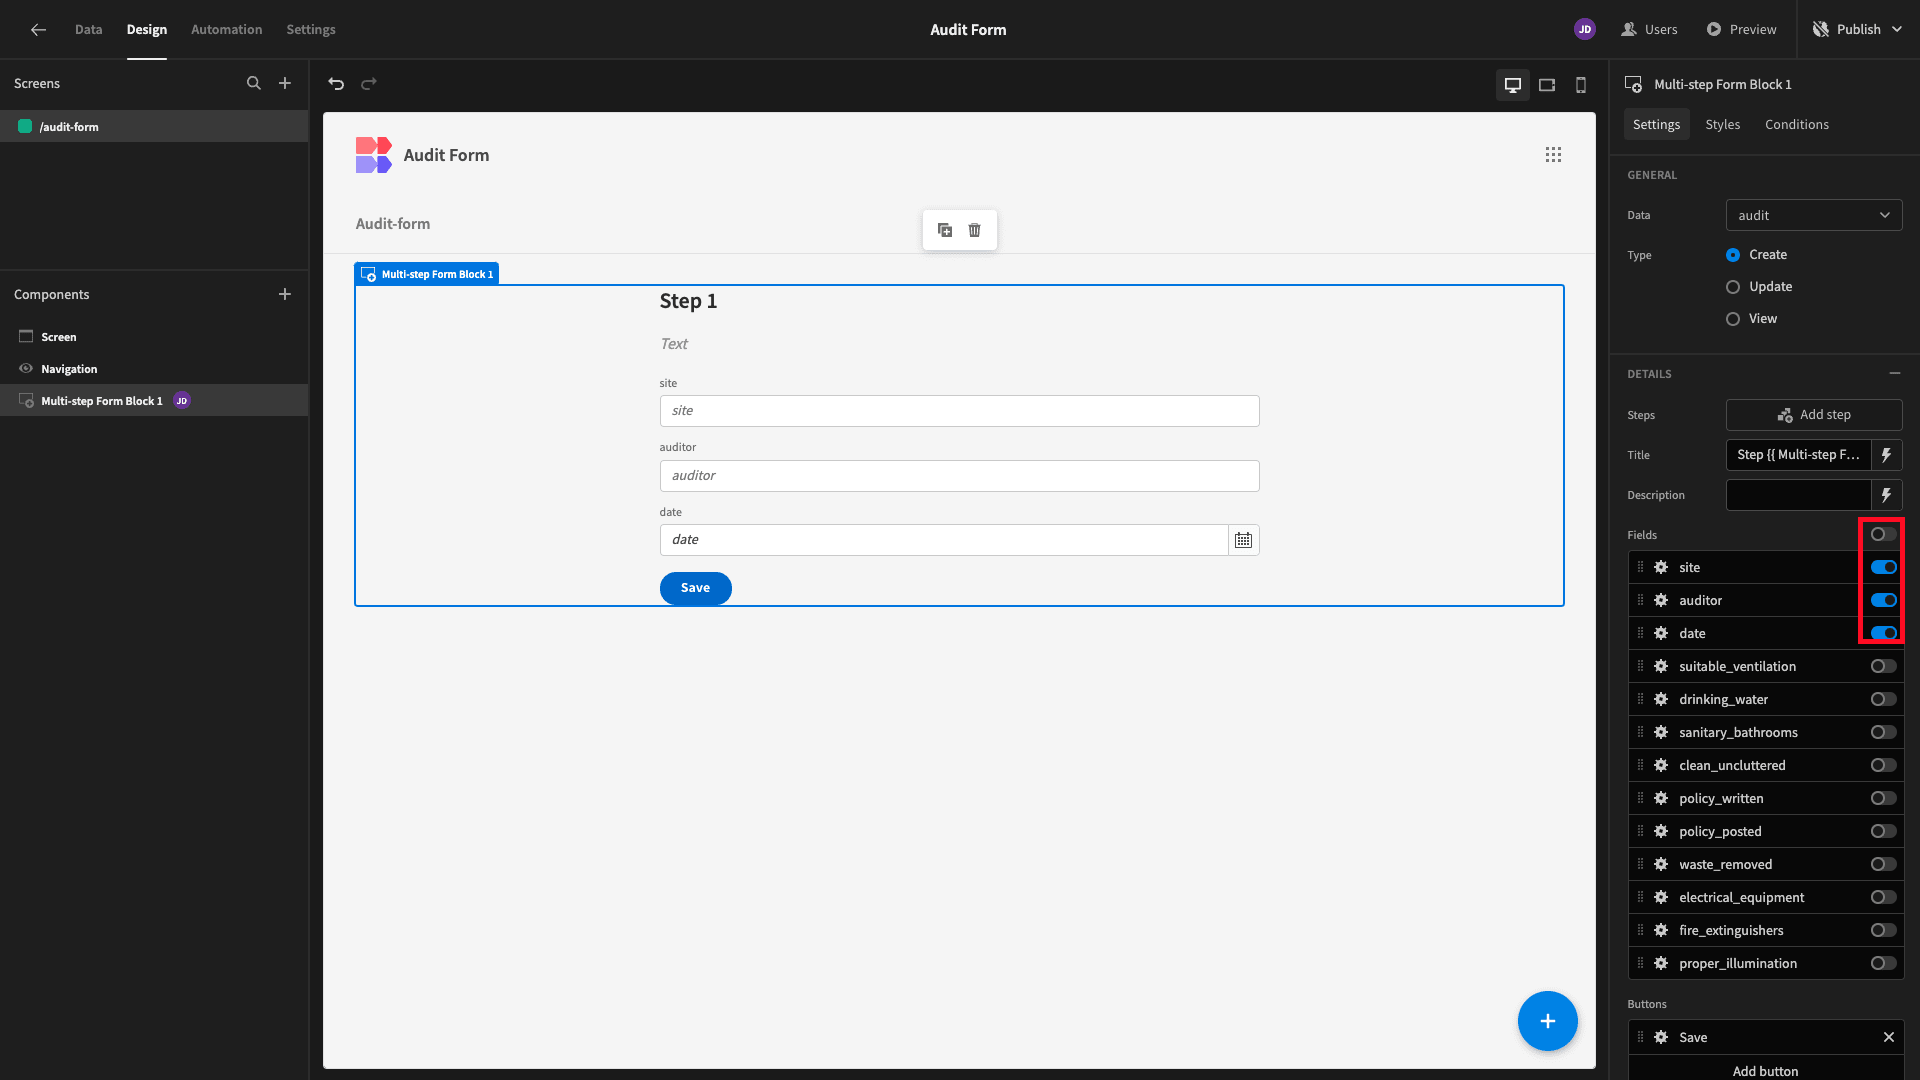
So, for our existing form step, we’ll deselect everything except the first three attributes:
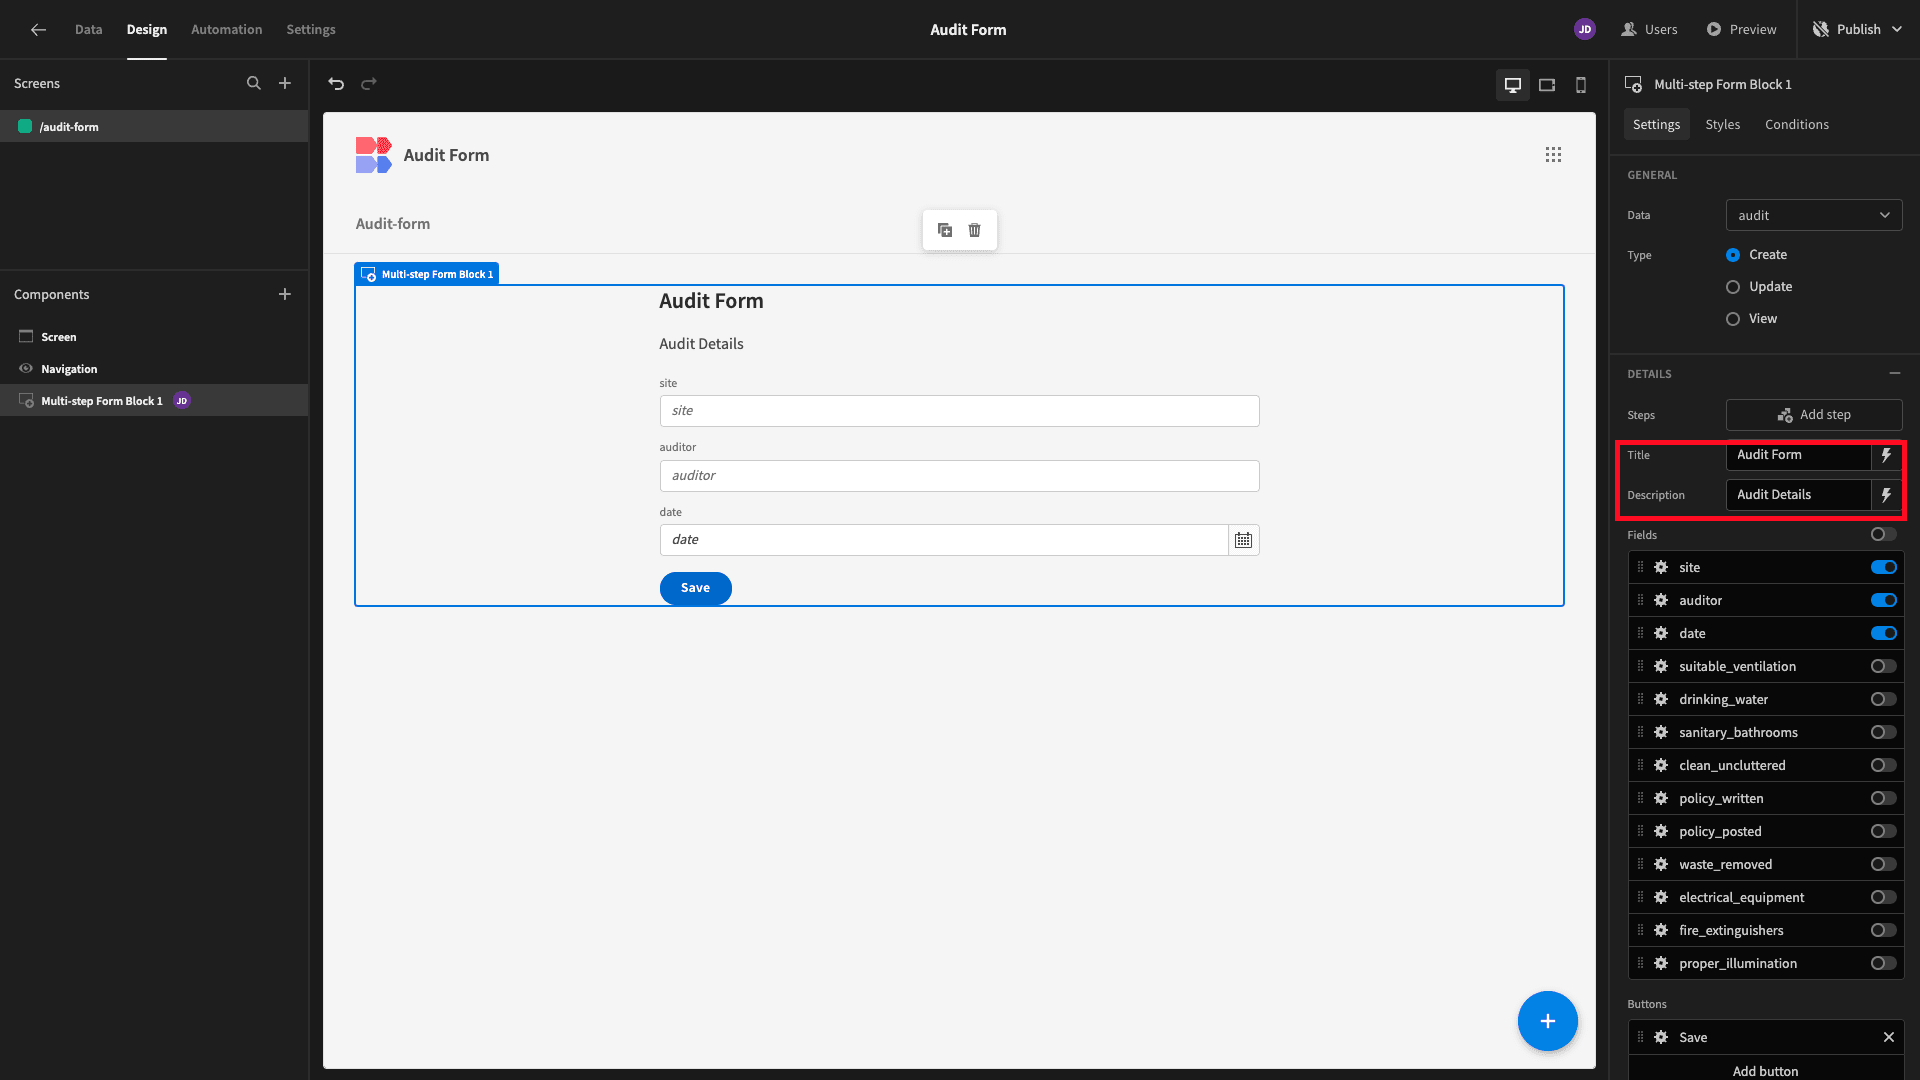
And we’ll also add some more descriptive text for our title and description:
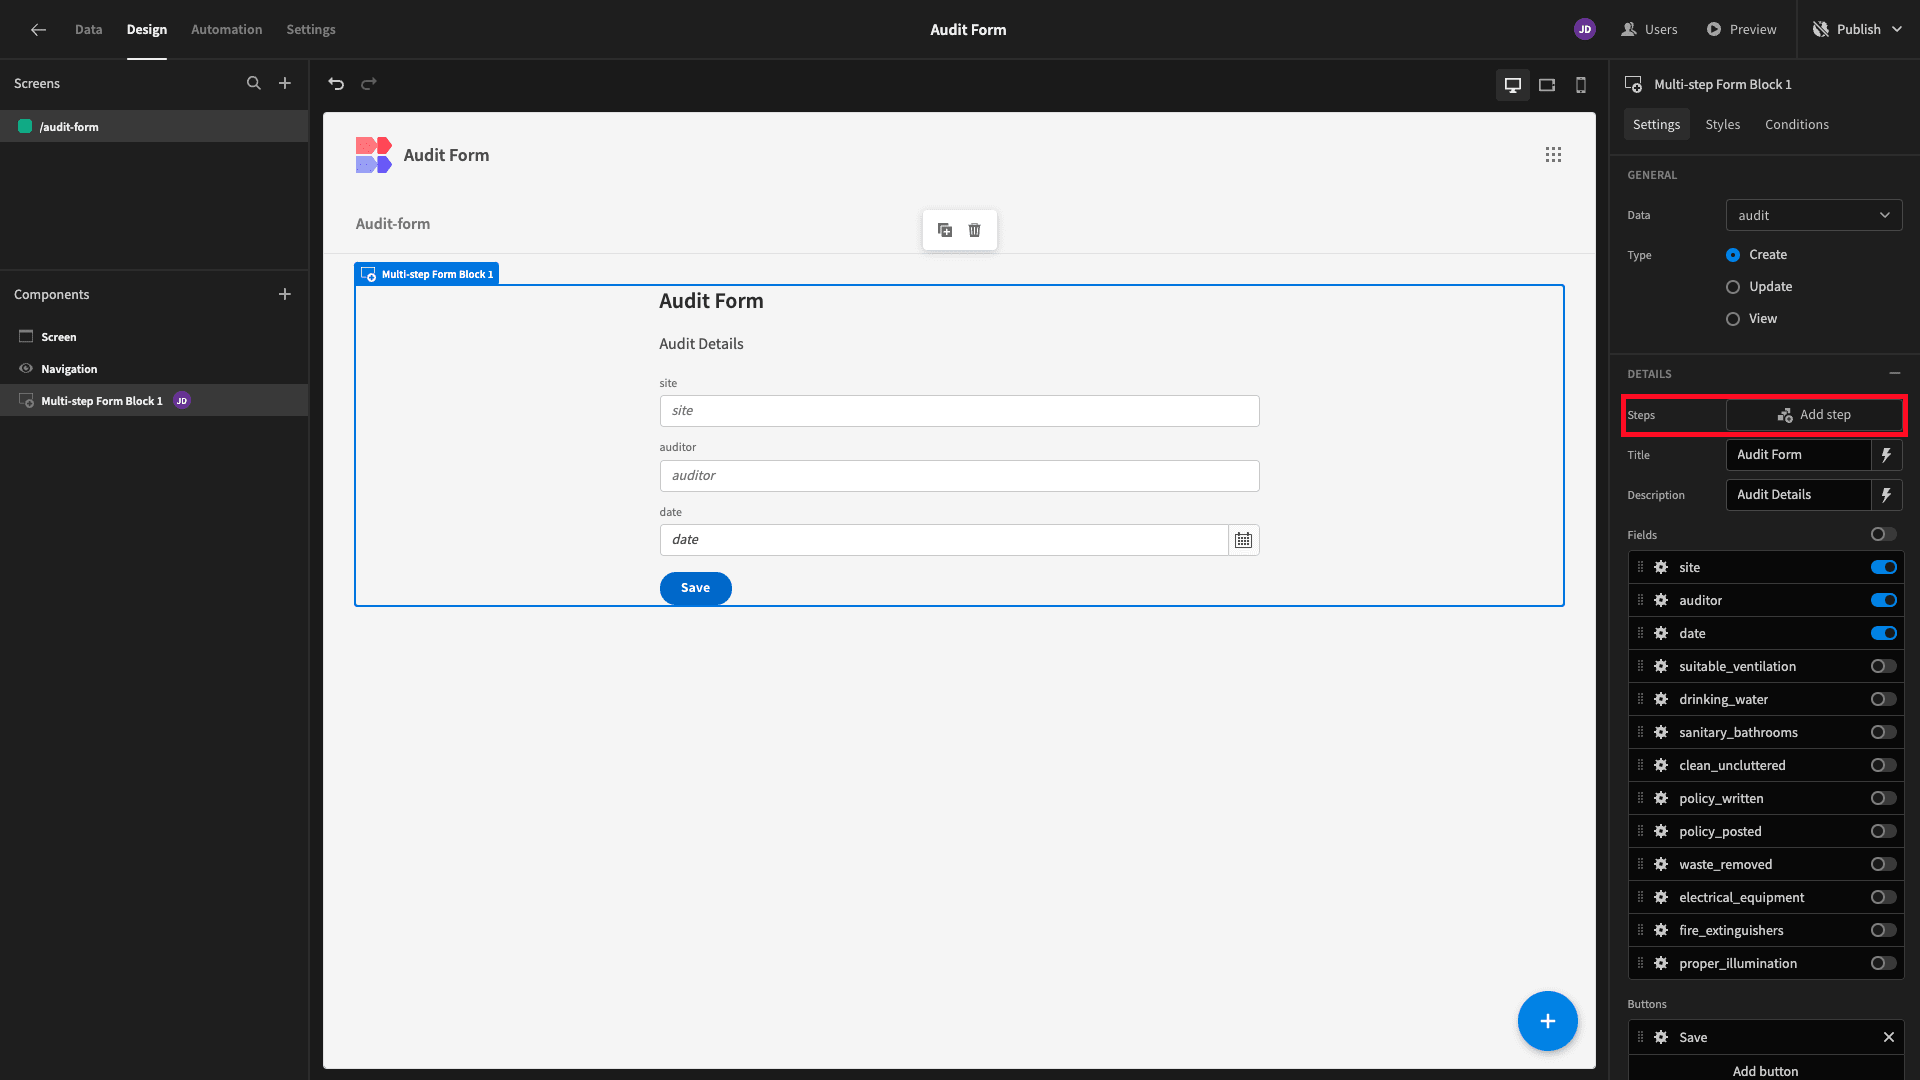
Next, we’ll hit Add Step:
This time, we’re deselecting everything except for our first five boolean fields. Again, we’re going to update the display text too:
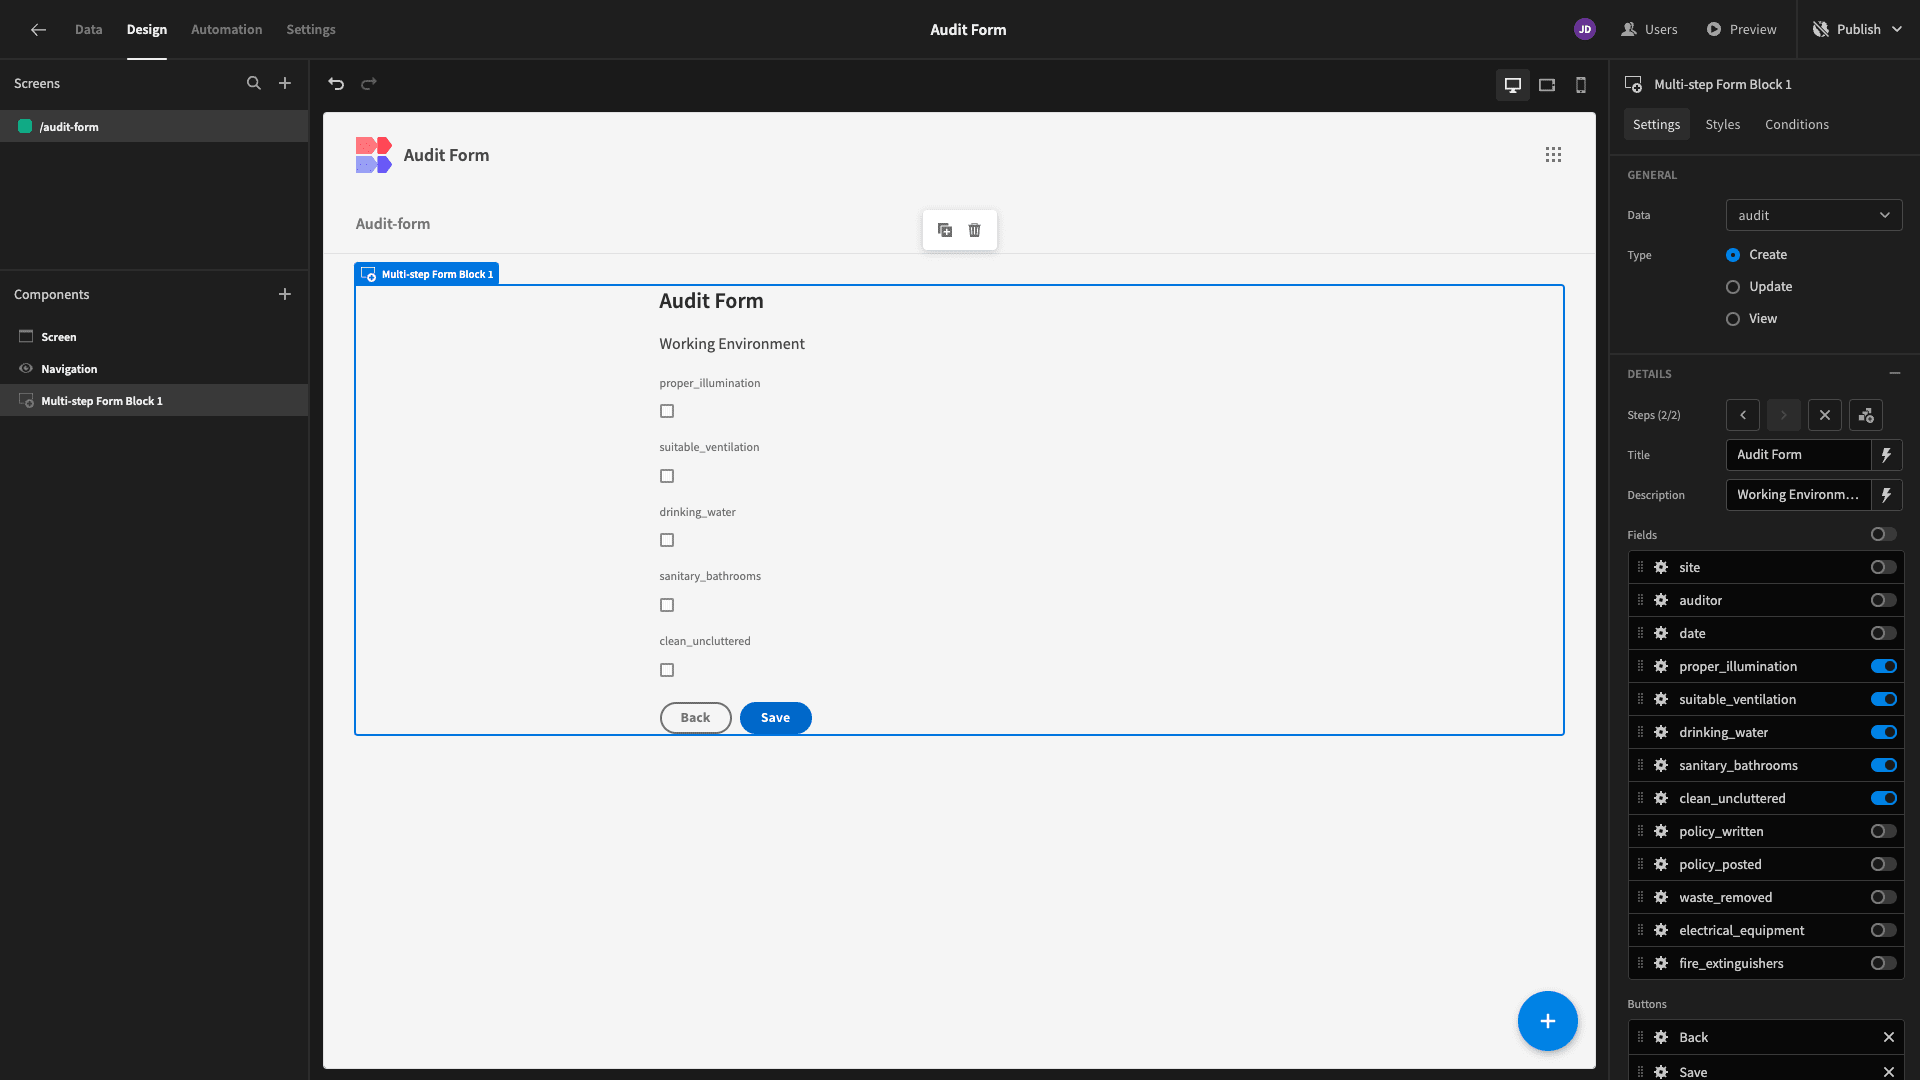
And, we’ll repeat this step to add our third form step with our remaining boolean attributes:
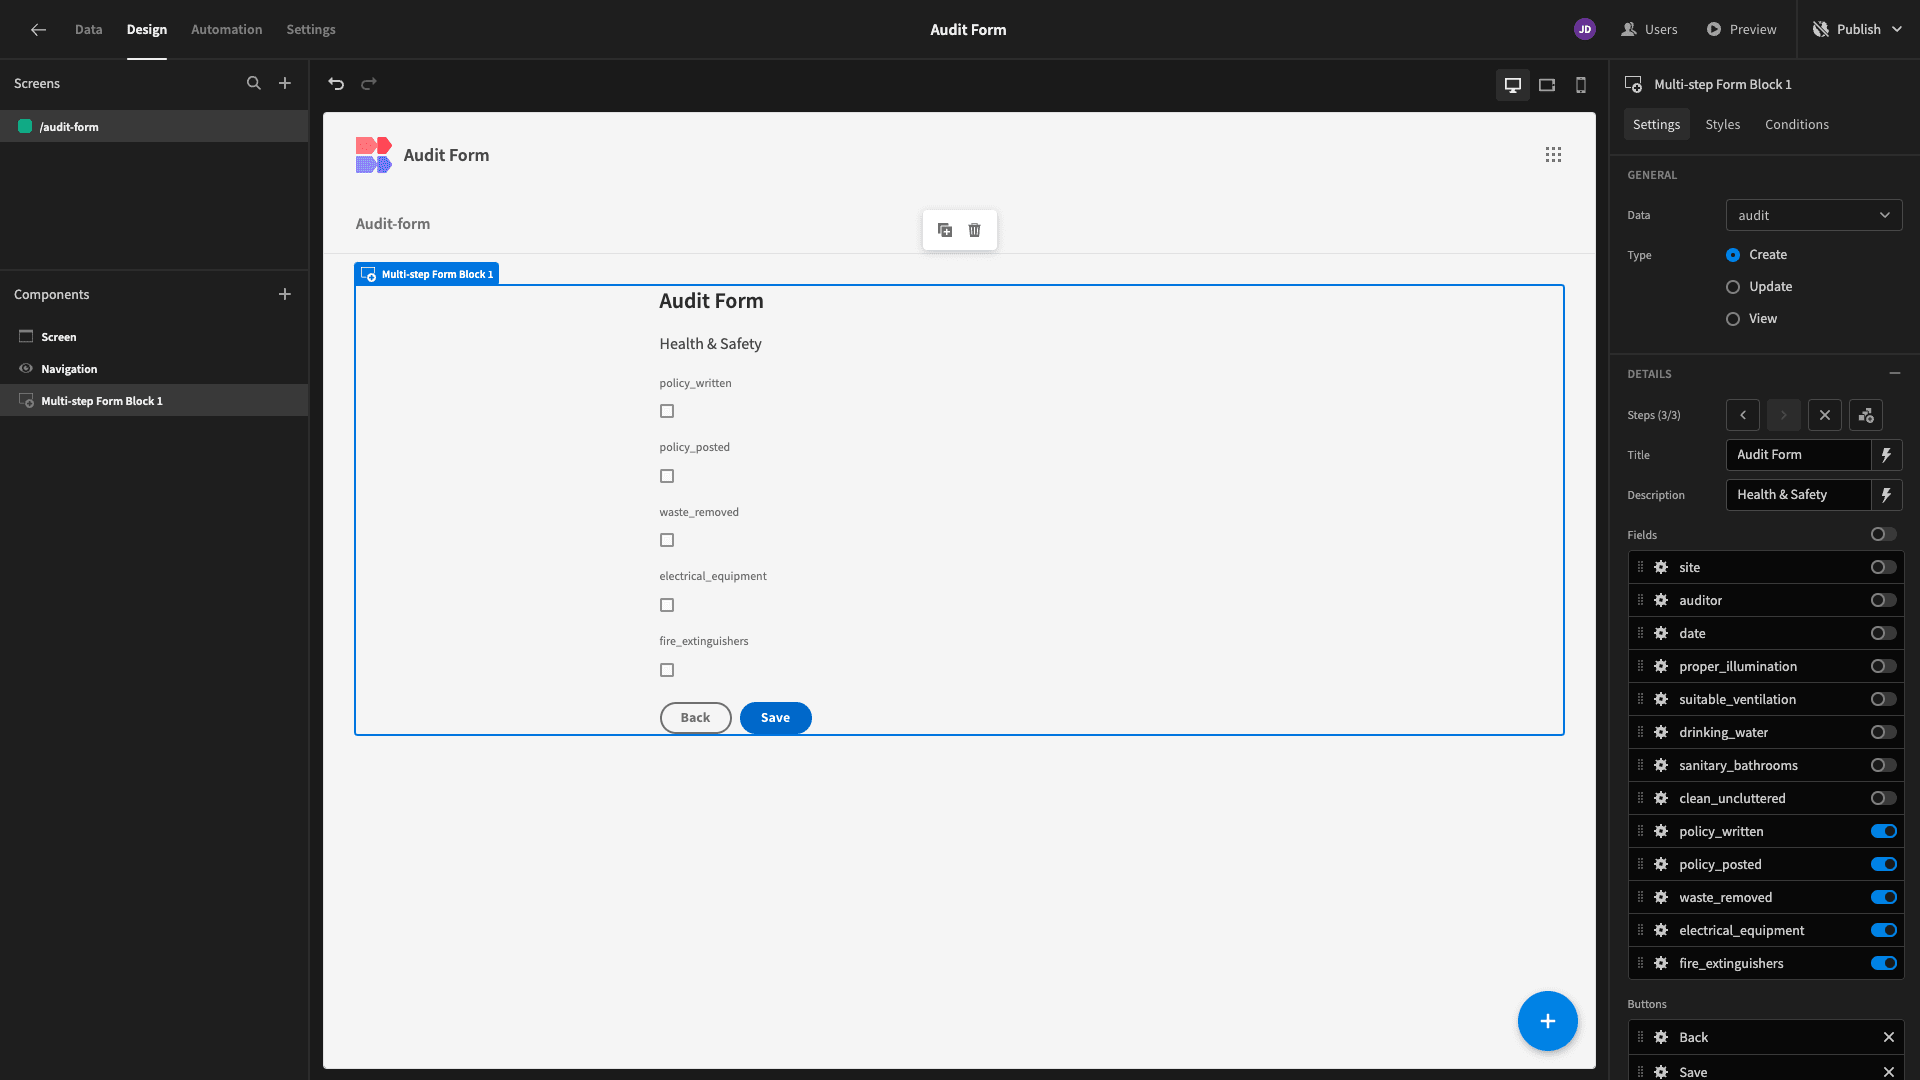
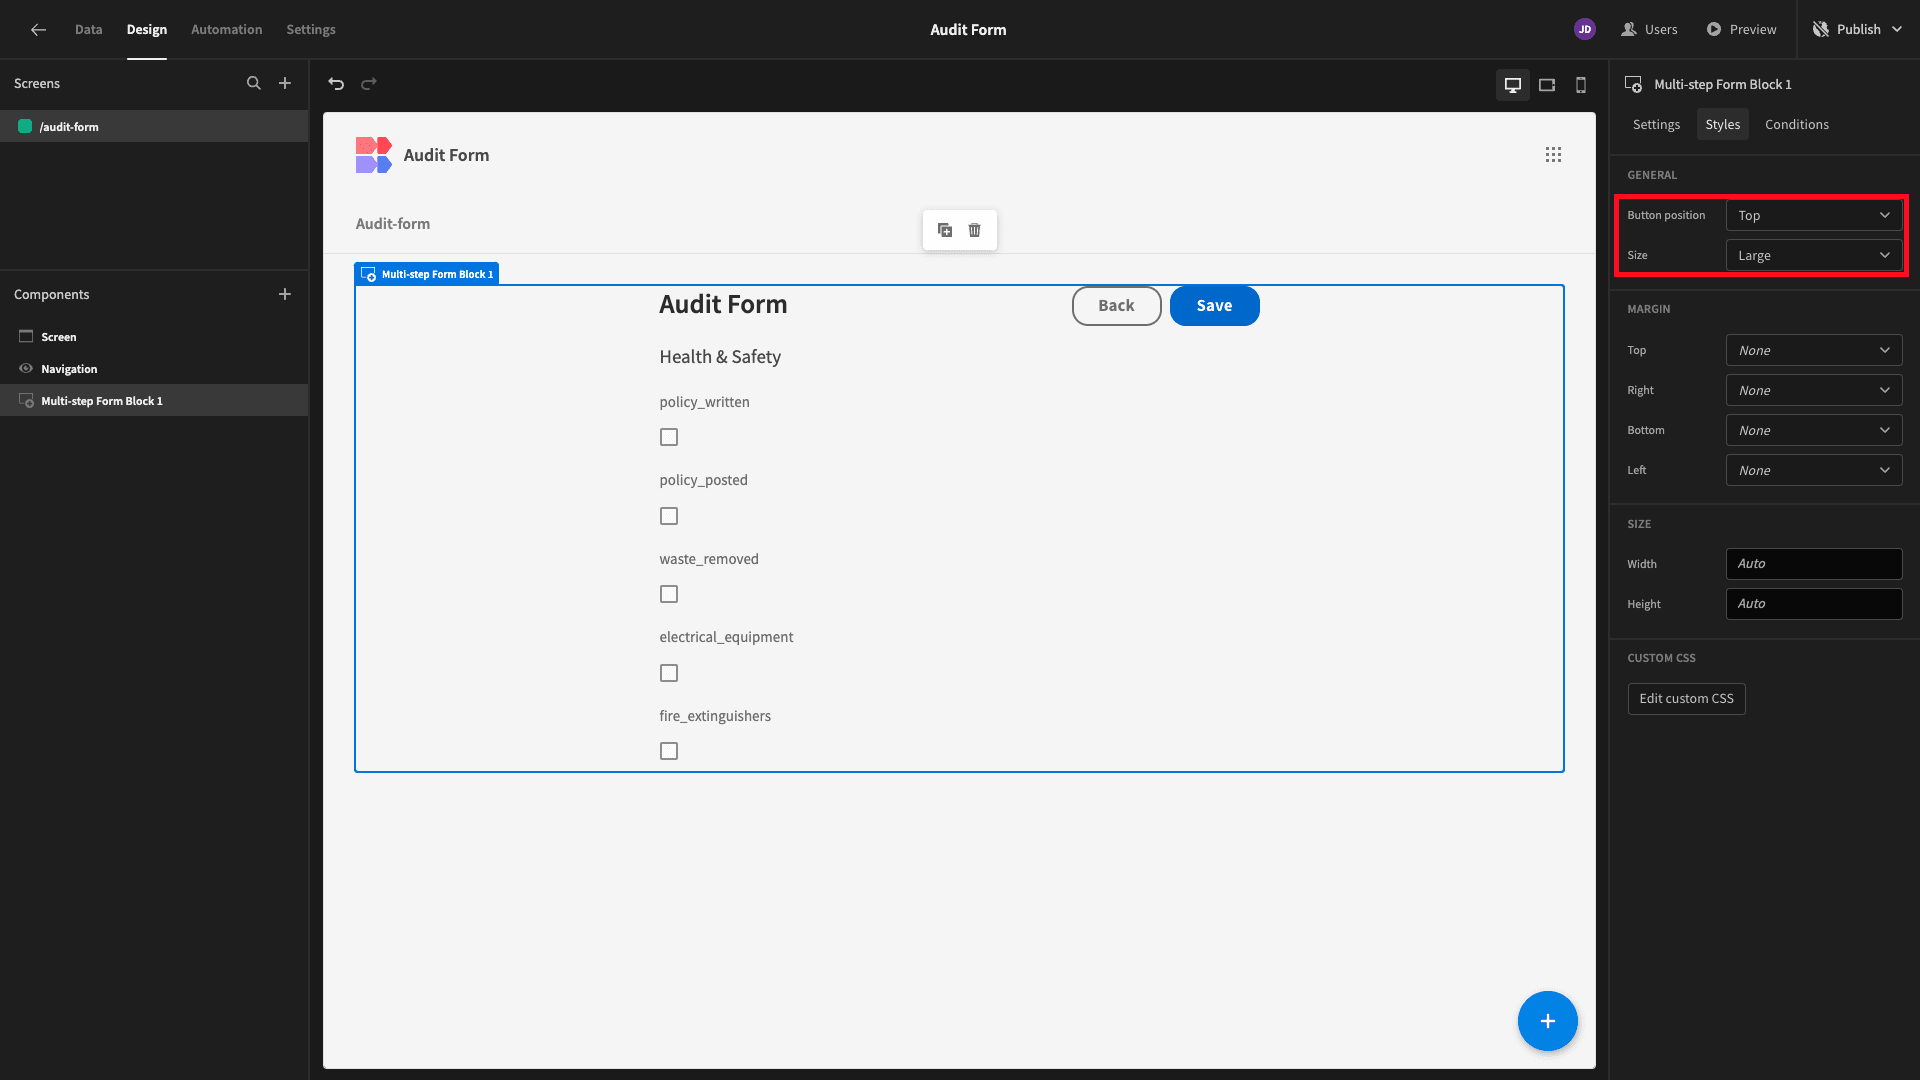
Lastly, under Styles, we’ll change our Button Position to Top and our Size to Large:
3. Updating field labels and UX
Now, we have a totally functional form UI, but it’s not particularly user friendly. For one thing, we’re not telling our users what each of the audit criteria actually means. That is, all we’re displaying is the name of the attributes in our database.
To fix this, we’re going to update the text that’s displayed for each of our audit form fields.
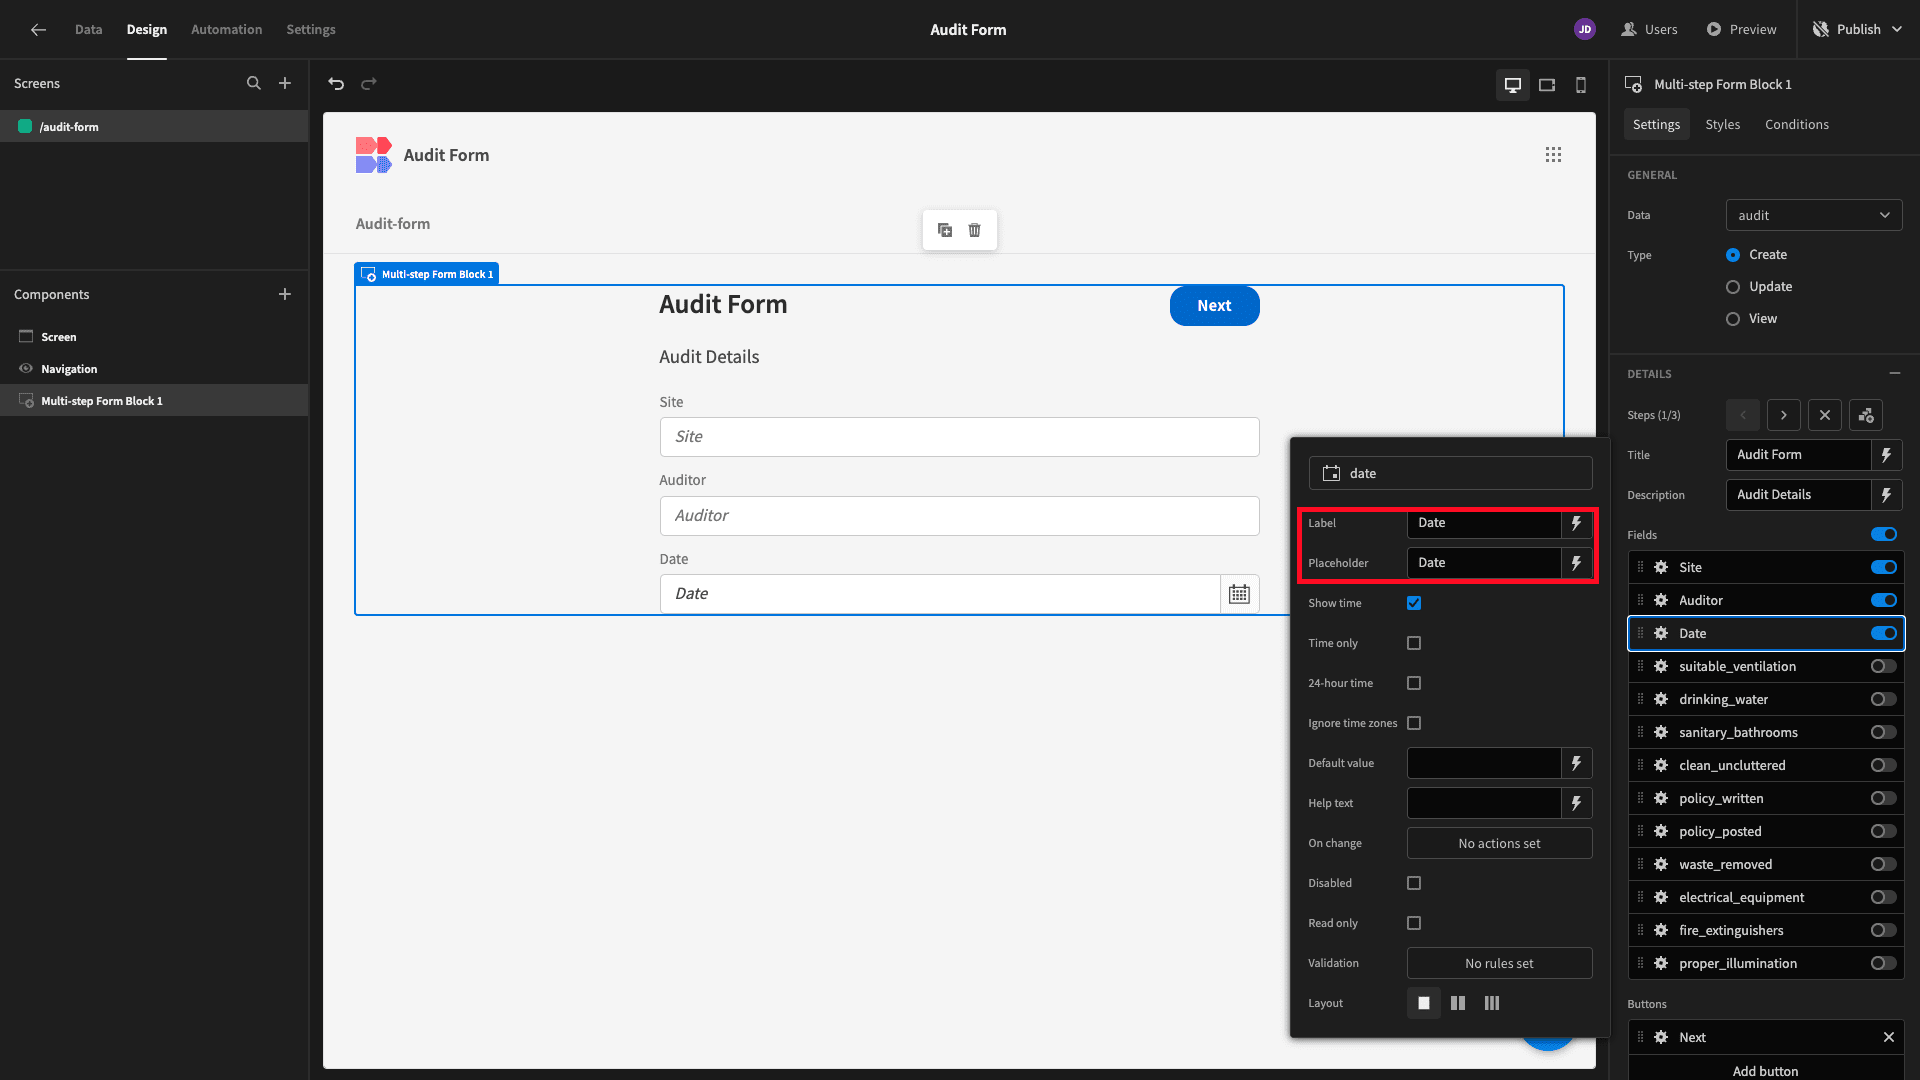
We’ll start by adding capitalization to the label and placeholder attributes for all three fields on our first form step:
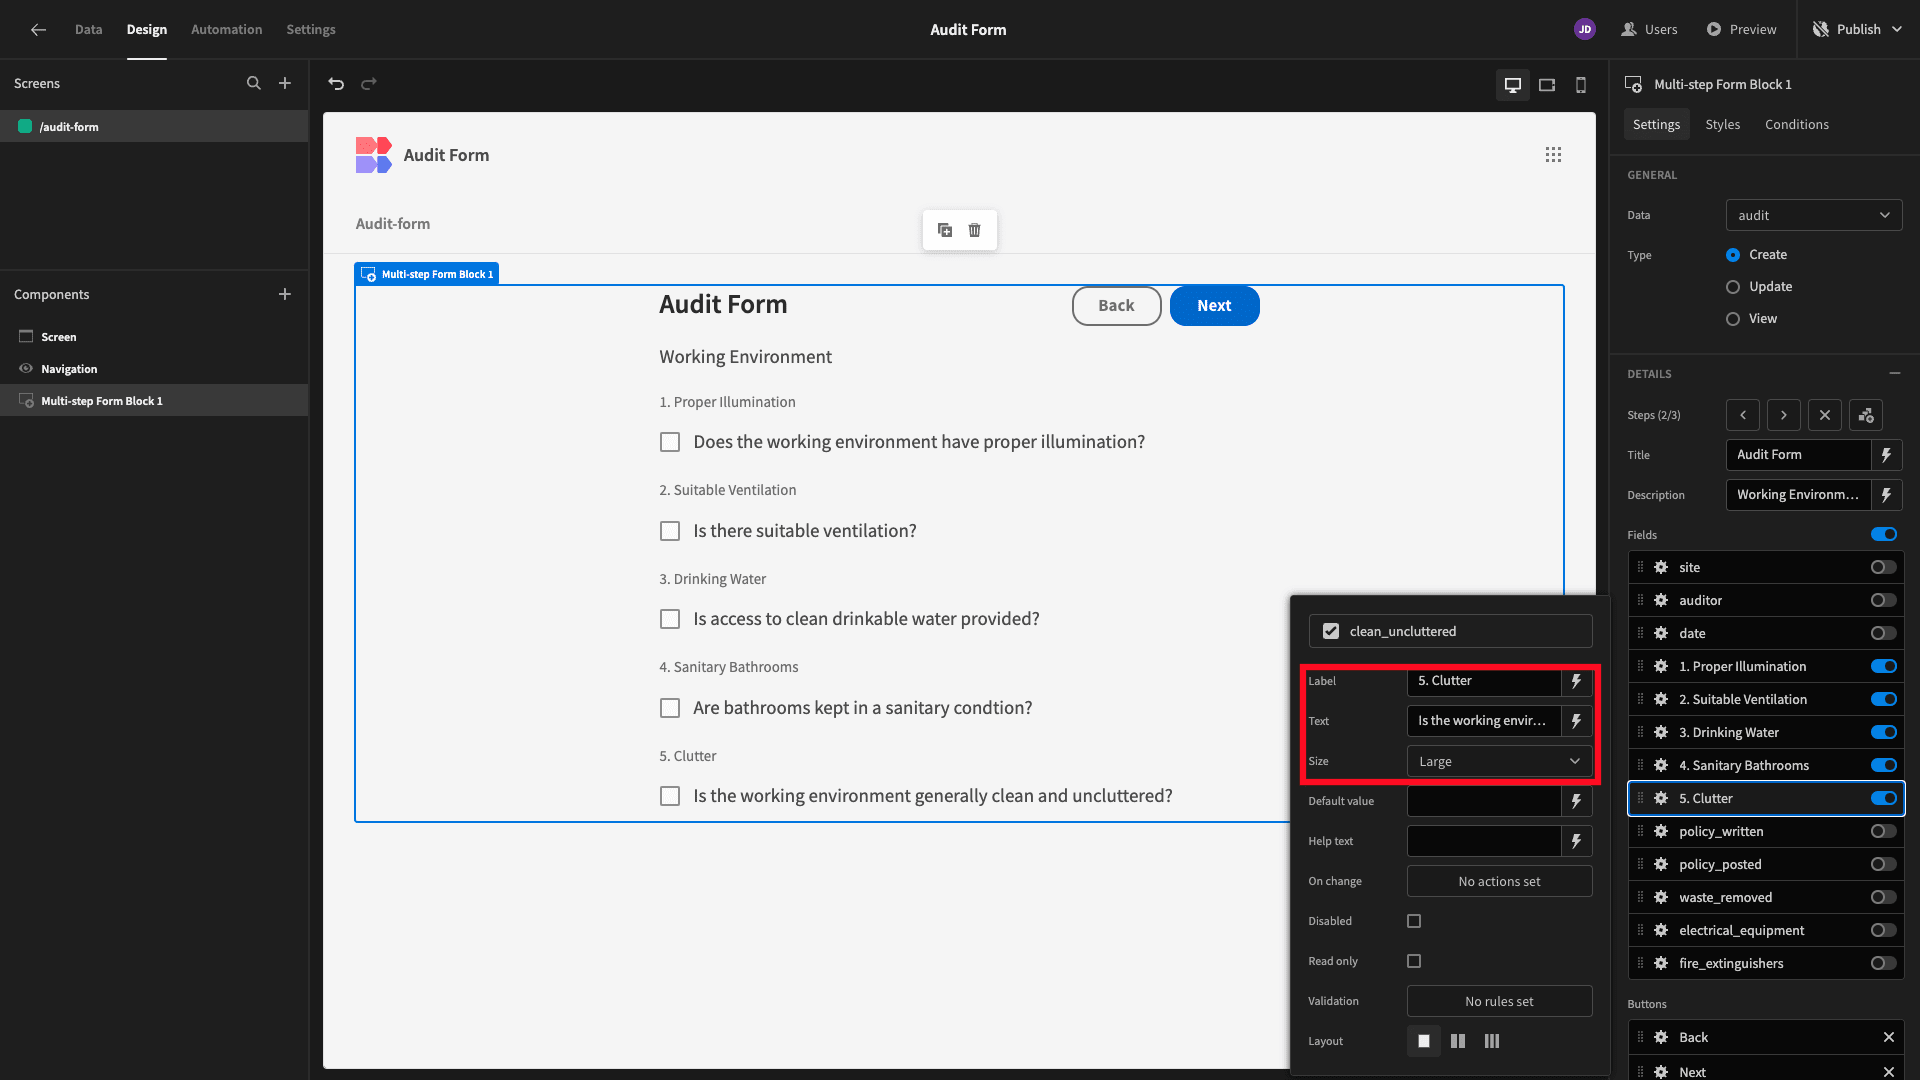
For our boolean attributes, we’re updating the labels to resemble a numbered list. These have a setting called Text, which we’re using to provide the criteria that applies to each field. We’ve also set their Size to Large:
And we’ll repeat this process for our remaining form step too:
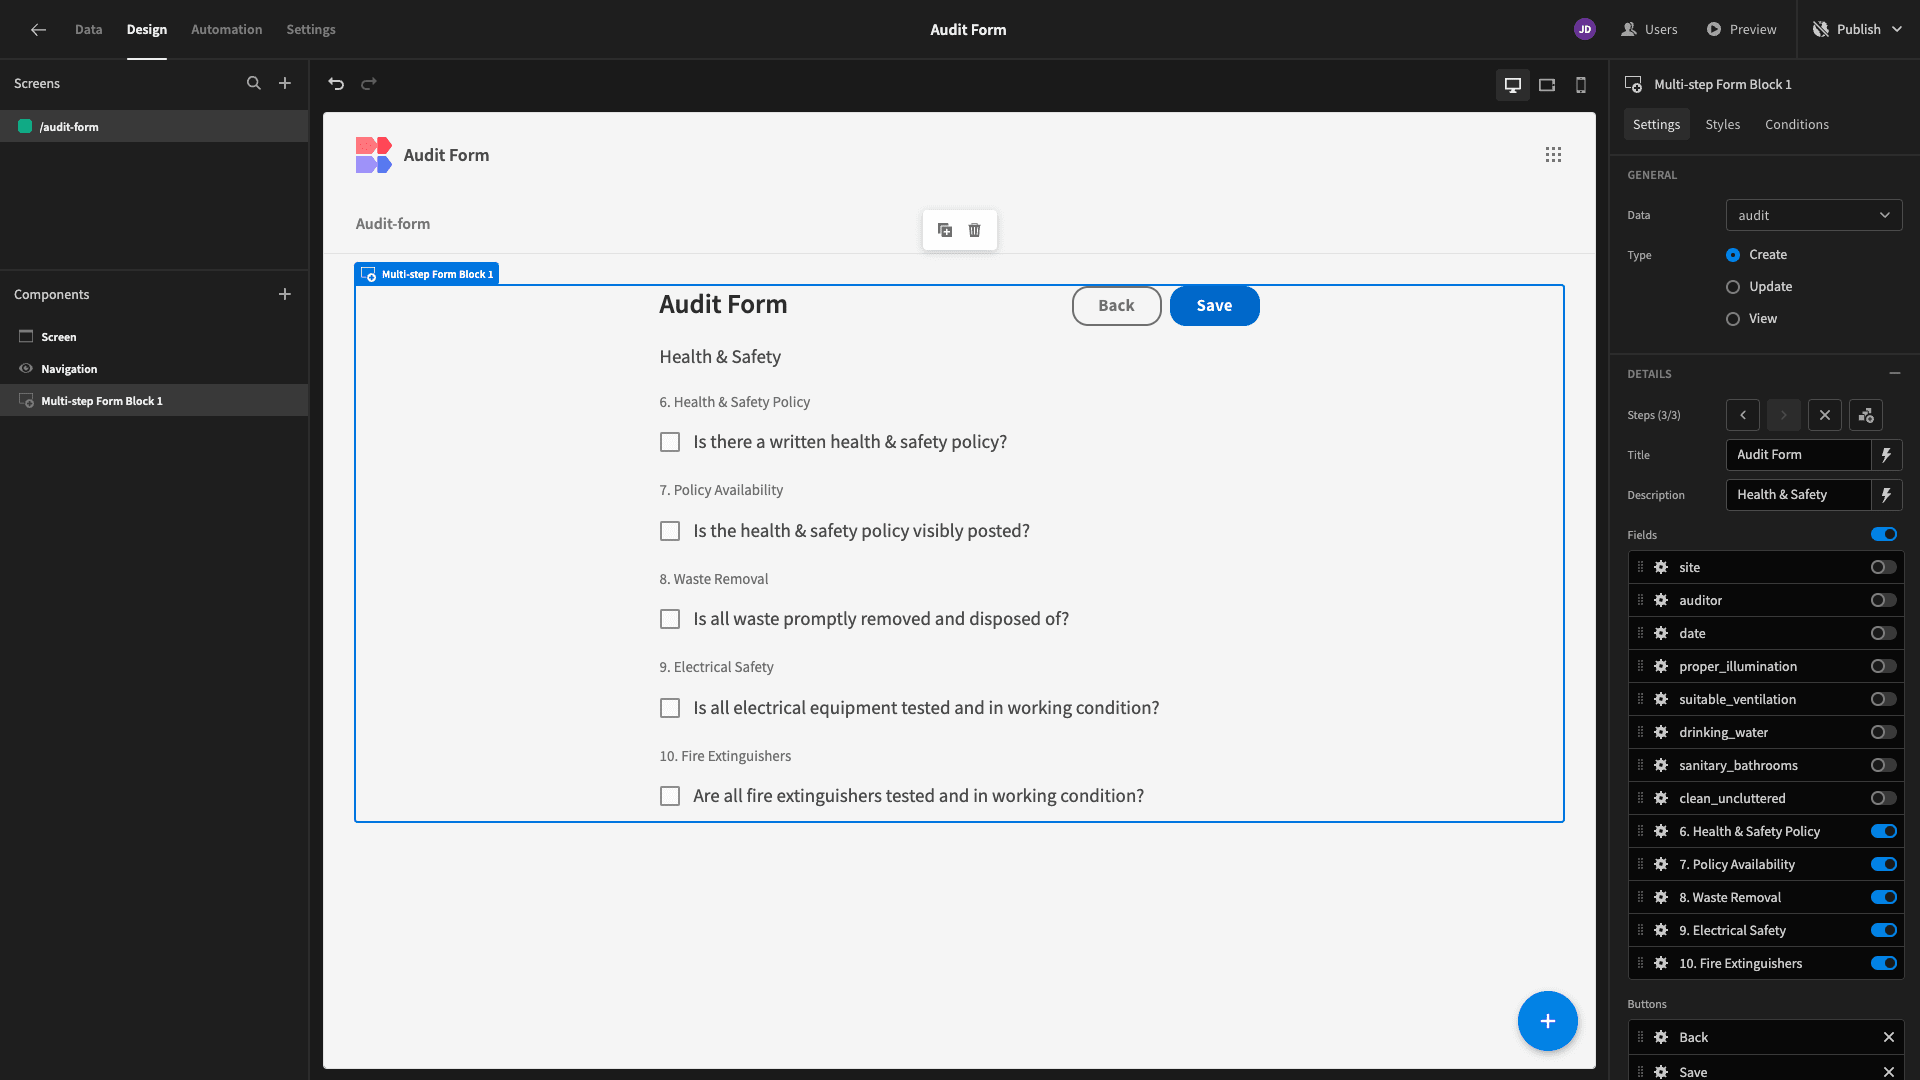
Now we have a working form with a UX that effectively guides colleagues through the process of carrying out an audit.
4. Adding scoring logic
Audit forms also typically include at least some functionality for collating or analyzing our results.
With extensive integrations, a built-in automation builder, and extensive design customization, Budibase offers enormous scope for achieving this.
Today though, we simply want to add some logic for scoring each entry that’s created when a user completes our audit form.
We’re going to achieve this by adding three formula variables to our database table to:
- Count the number of attributes from the first five boolean attributes that return a true value.
- Do the same for the next five boolean attributes.
- Count the total number which return a true value.
Budibase allows us to use custom JavaScript within formula variables. We’re going to achieve our scoring logic using a series of ternary expressions. We’ll also provide the required code below.
Start by heading back to the Data section and adding a formula variable. We’ll call this environment_score, since it deals with all of our working environment attributes:
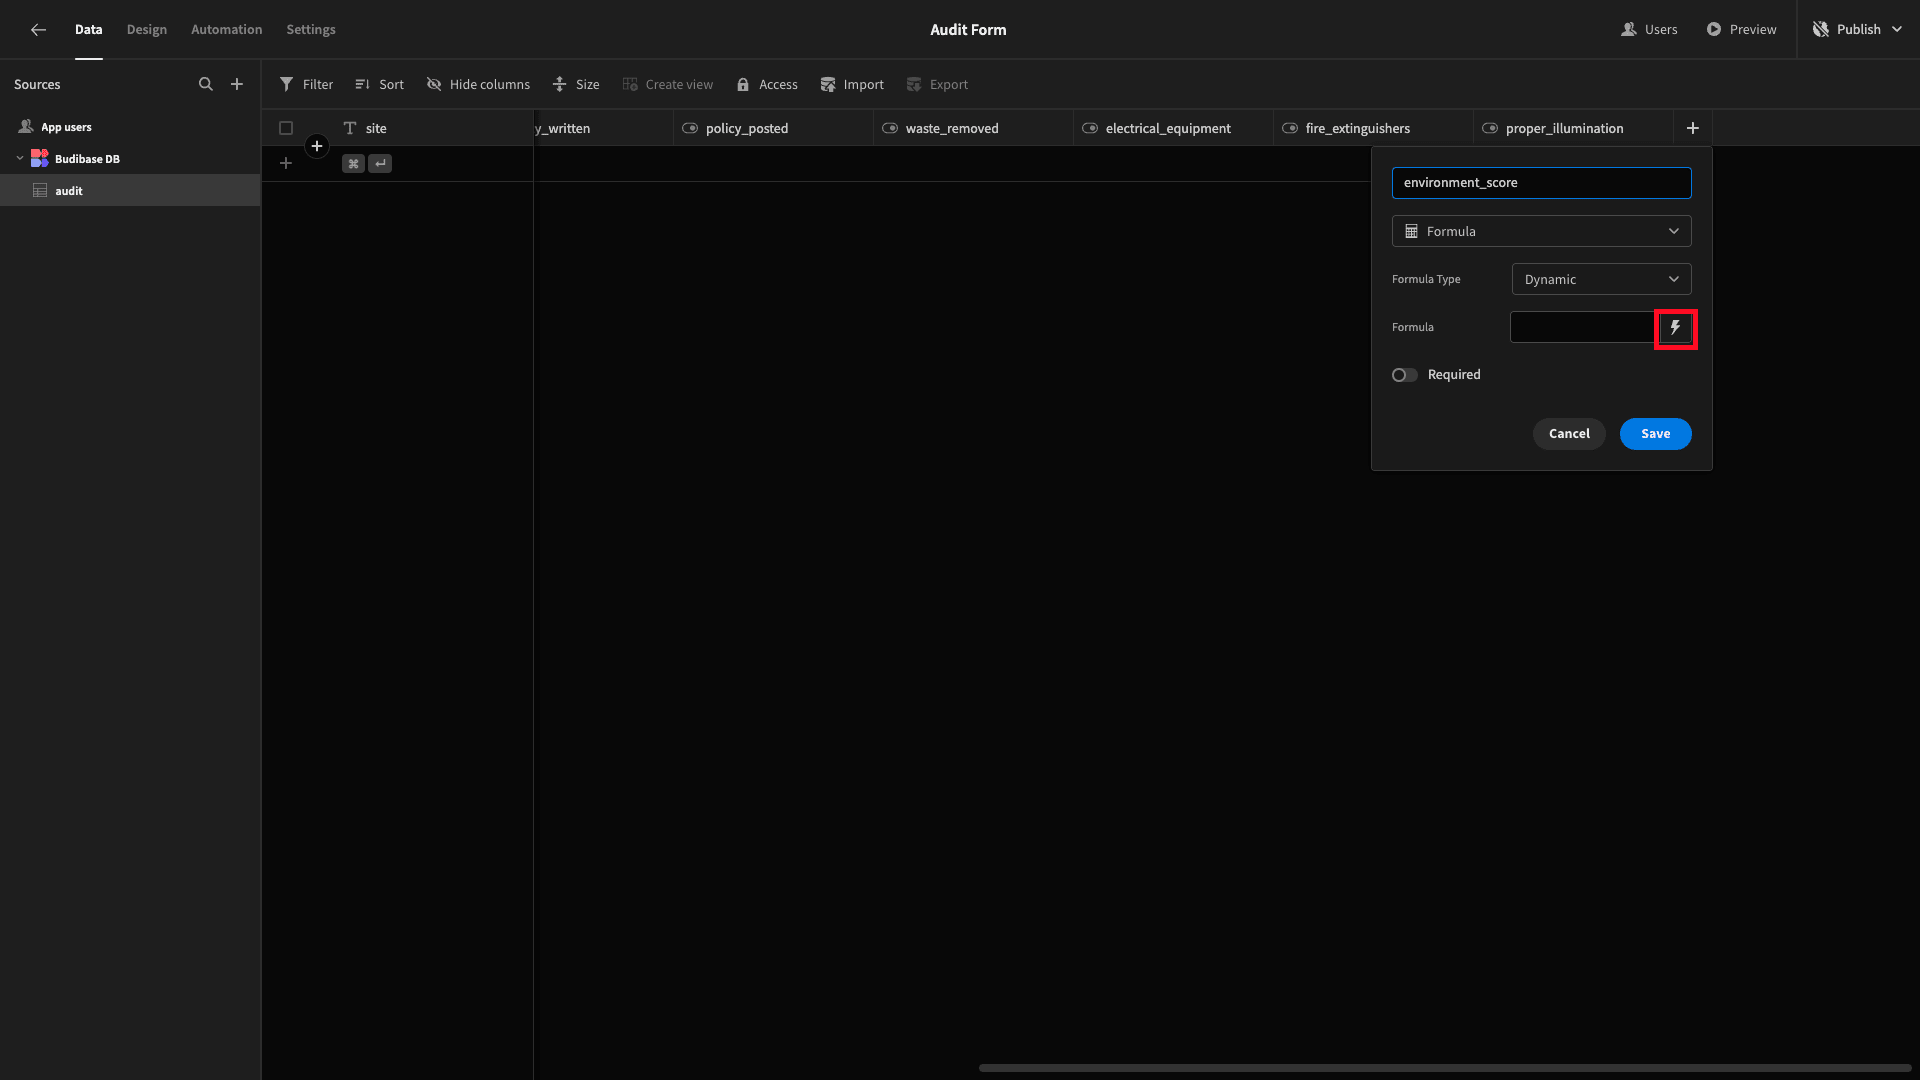
We can access the JavaScript editor with the lightning bolt icon highlighted above.
Our code will be quite simple. First, we’ll declare a variable called score and set it to 0. Then, we’ll assess each of the attributes in this category. Each time one evaluates to true, we’ll increment our score.
The final score is returned at the end.
Here’s our code.
 1var score = 0;
 2
 3$("proper_illumination") == true ? score +=1 : score = score;
 4
 5$("suitable_ventilation") == true ? score +=1 : score = score;
 6
 7$("drinking_water") == true ? score +=1 : score = score;
 8
 9$("sanitary_bathrooms") == true ? score +=1 : score = score;
10
11$("clean_uncluttered") == true ? score +=1 : score = score;
12
13return score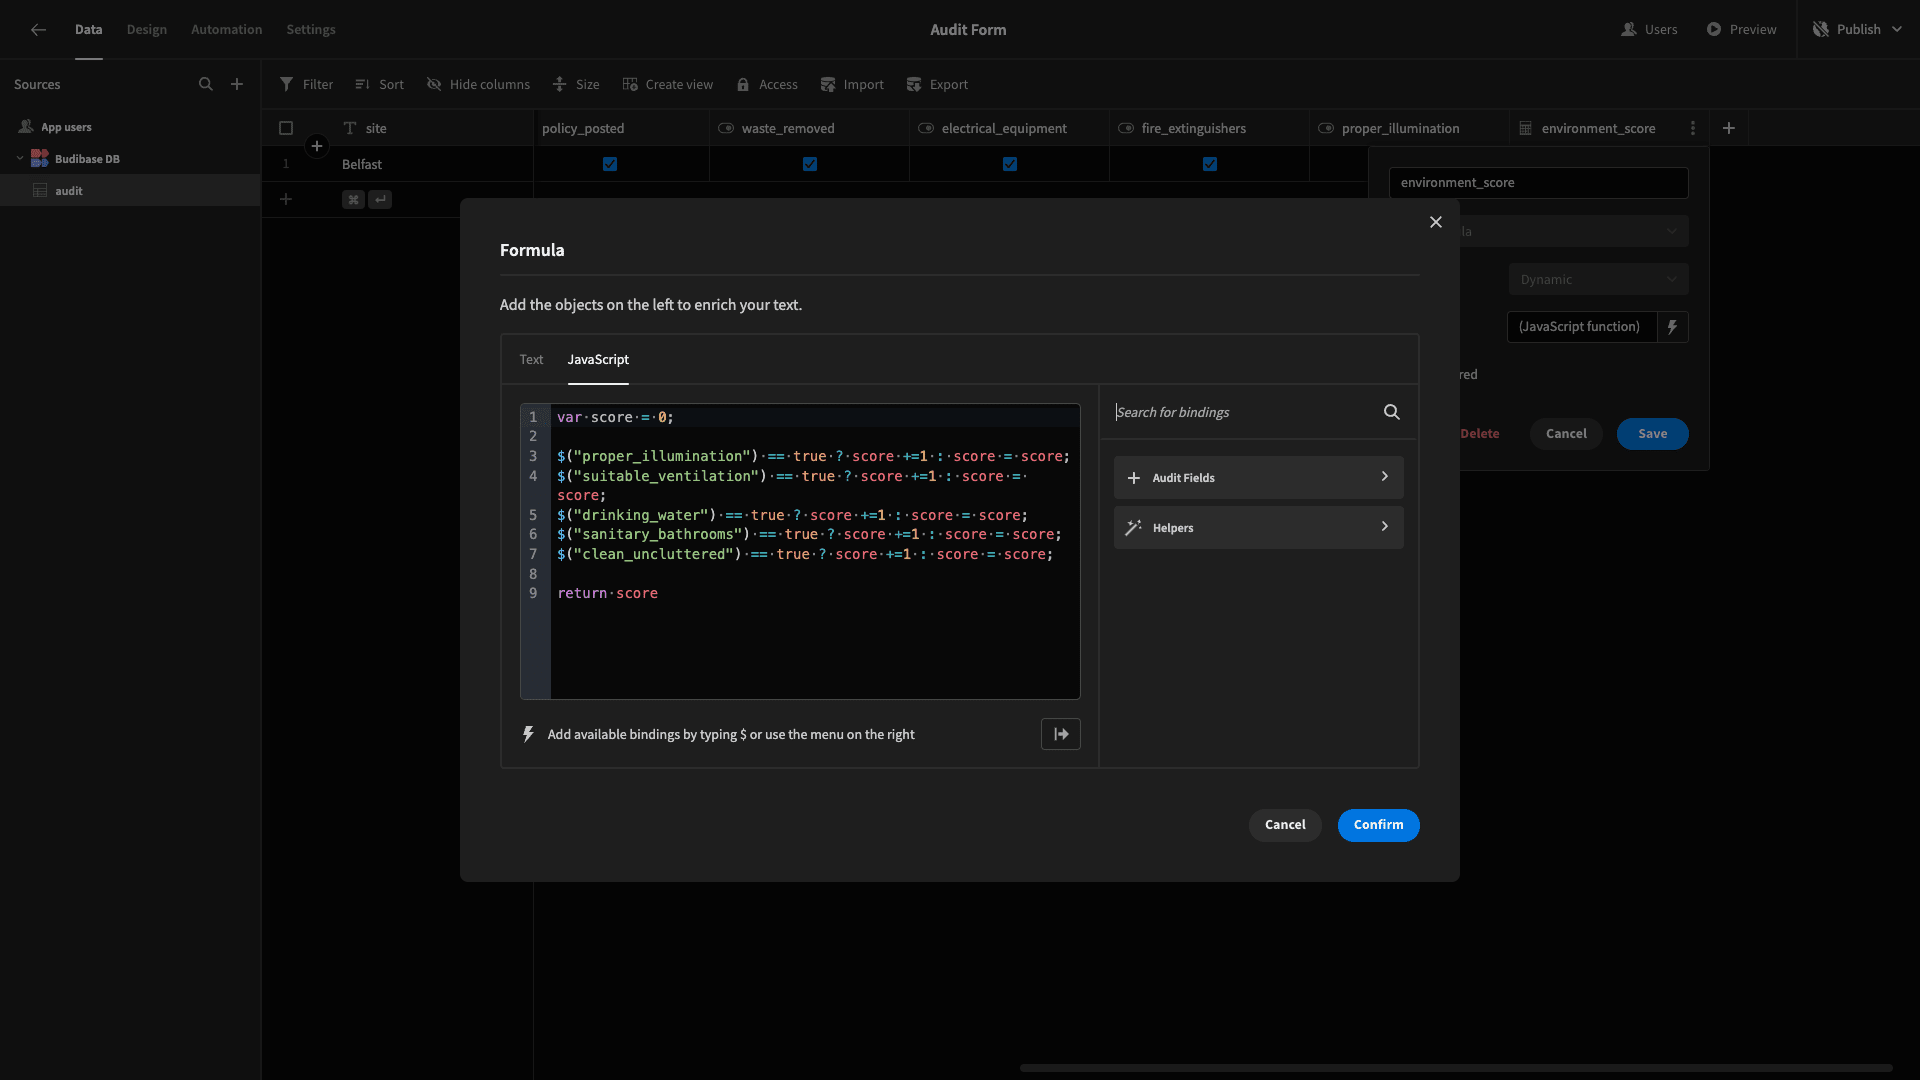
We’ve also added a row of dummy data to confirm that this works:
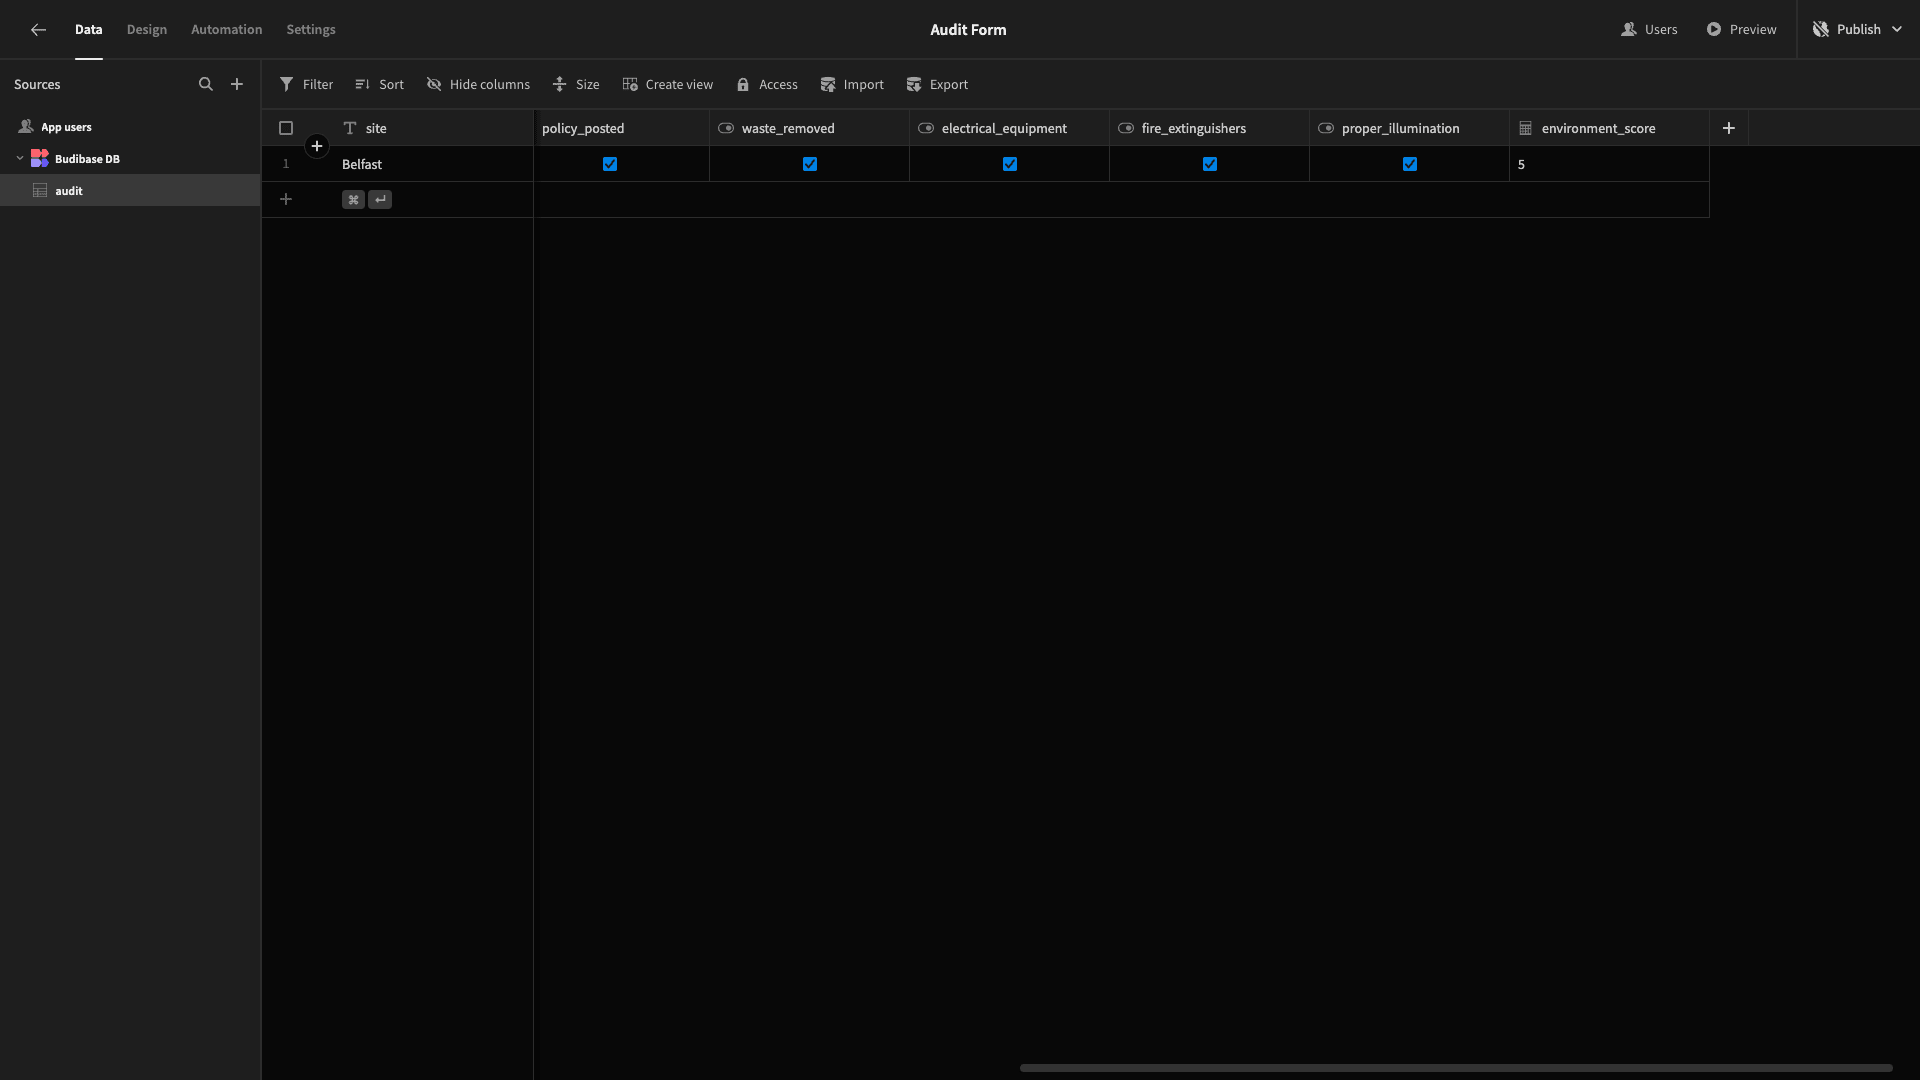
We’ll add two more formula variables using the same processes. First, one called health_and_safety_score with the following code:
 1var score = 0;
 2
 3$("policy_written") == true ? score +=1 : score = score;
 4
 5$("policy_posted") == true ? score +=1 : score = score;
 6
 7$("waste_removed") == true ? score +=1 : score = score;
 8
 9$("fire_extinguishers") == true ? score +=1 : score = score;
10
11$("electrical_equipment") == true ? score +=1 : score = score;
12
13return score
And another called final_score that combines our two existing expressions:
 1var score = 0;
 2
 3$("proper_illumination") == true ? score +=1 : score = score;
 4
 5$("suitable_ventilation") == true ? score +=1 : score = score;
 6
 7$("drinking_water") == true ? score +=1 : score = score;
 8
 9$("sanitary_bathrooms") == true ? score +=1 : score = score;
10
11$("clean_uncluttered") == true ? score +=1 : score = score;
12
13$("policy_written") == true ? score +=1 : score = score;
14
15$("policy_posted") == true ? score +=1 : score = score;
16
17$("waste_removed") == true ? score +=1 : score = score;
18
19$("fire_extinguishers") == true ? score +=1 : score = score;
20
21$("electrical_equipment") == true ? score +=1 : score = score;
22
23return score
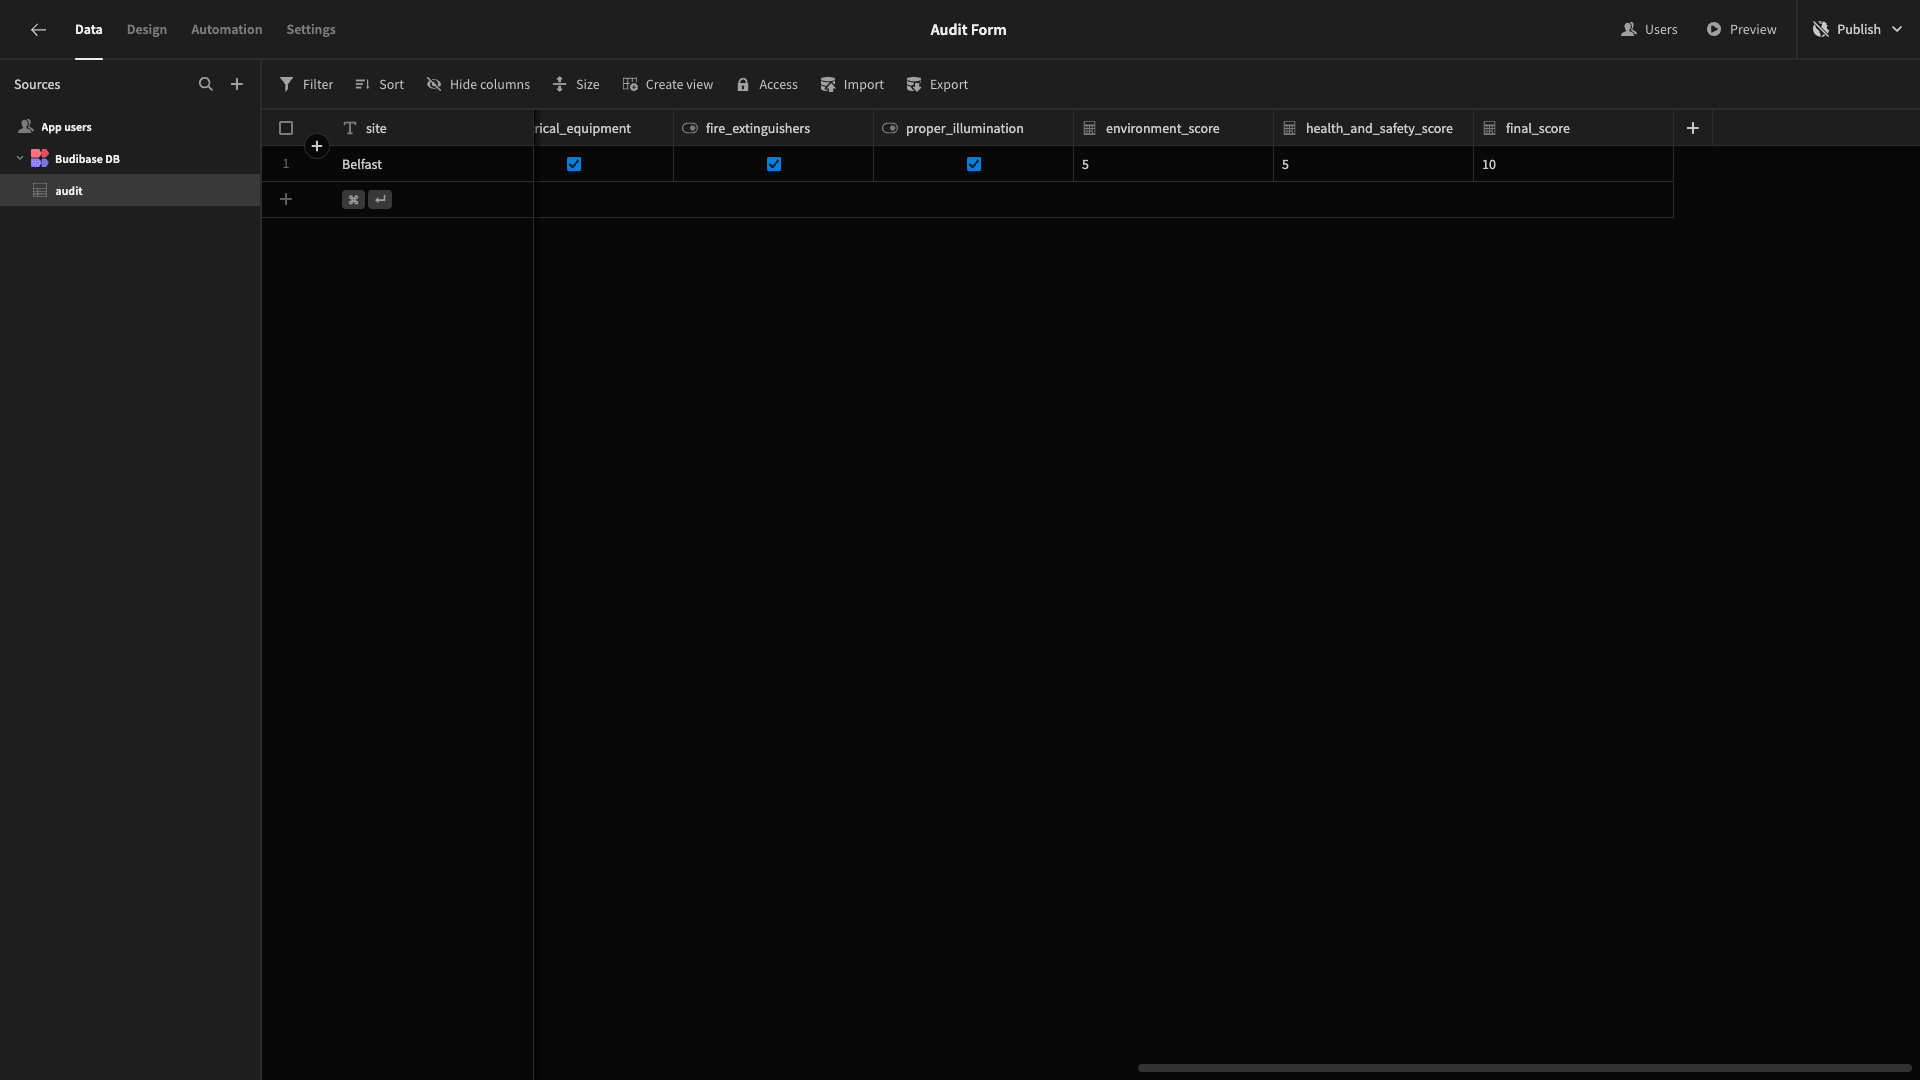
And again, we’ll confirm that these return the expected values:
5. Design tweaks and publishing
Before we push our audit form live to be used by real-world colleagues, we’re going to make a couple of final design tweaks.
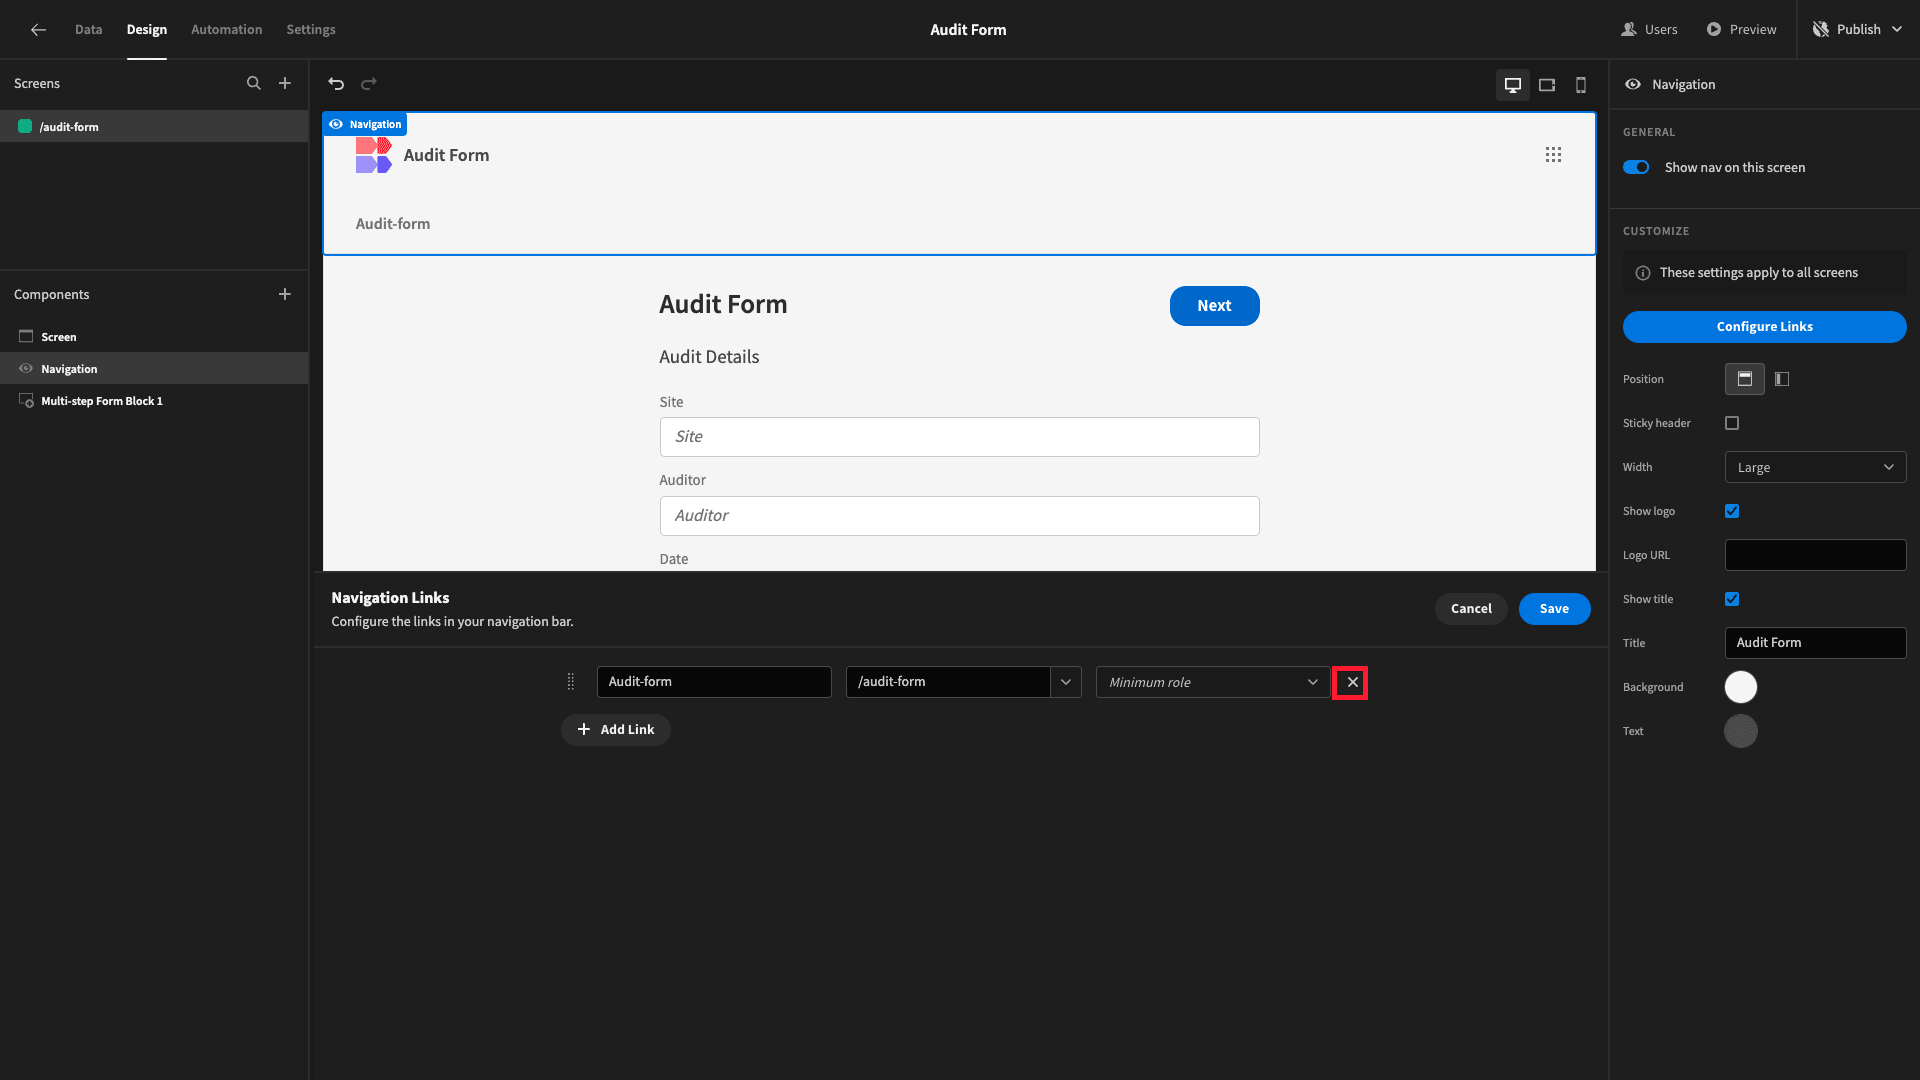
First, we don’t really need any in-app navigation, since we only have a single screen UI anyway. However, we want to retain the app name and logo.
Head to Navigation and hit configure links. Here, we’ll simply remove the one link that’s present using the X icon:
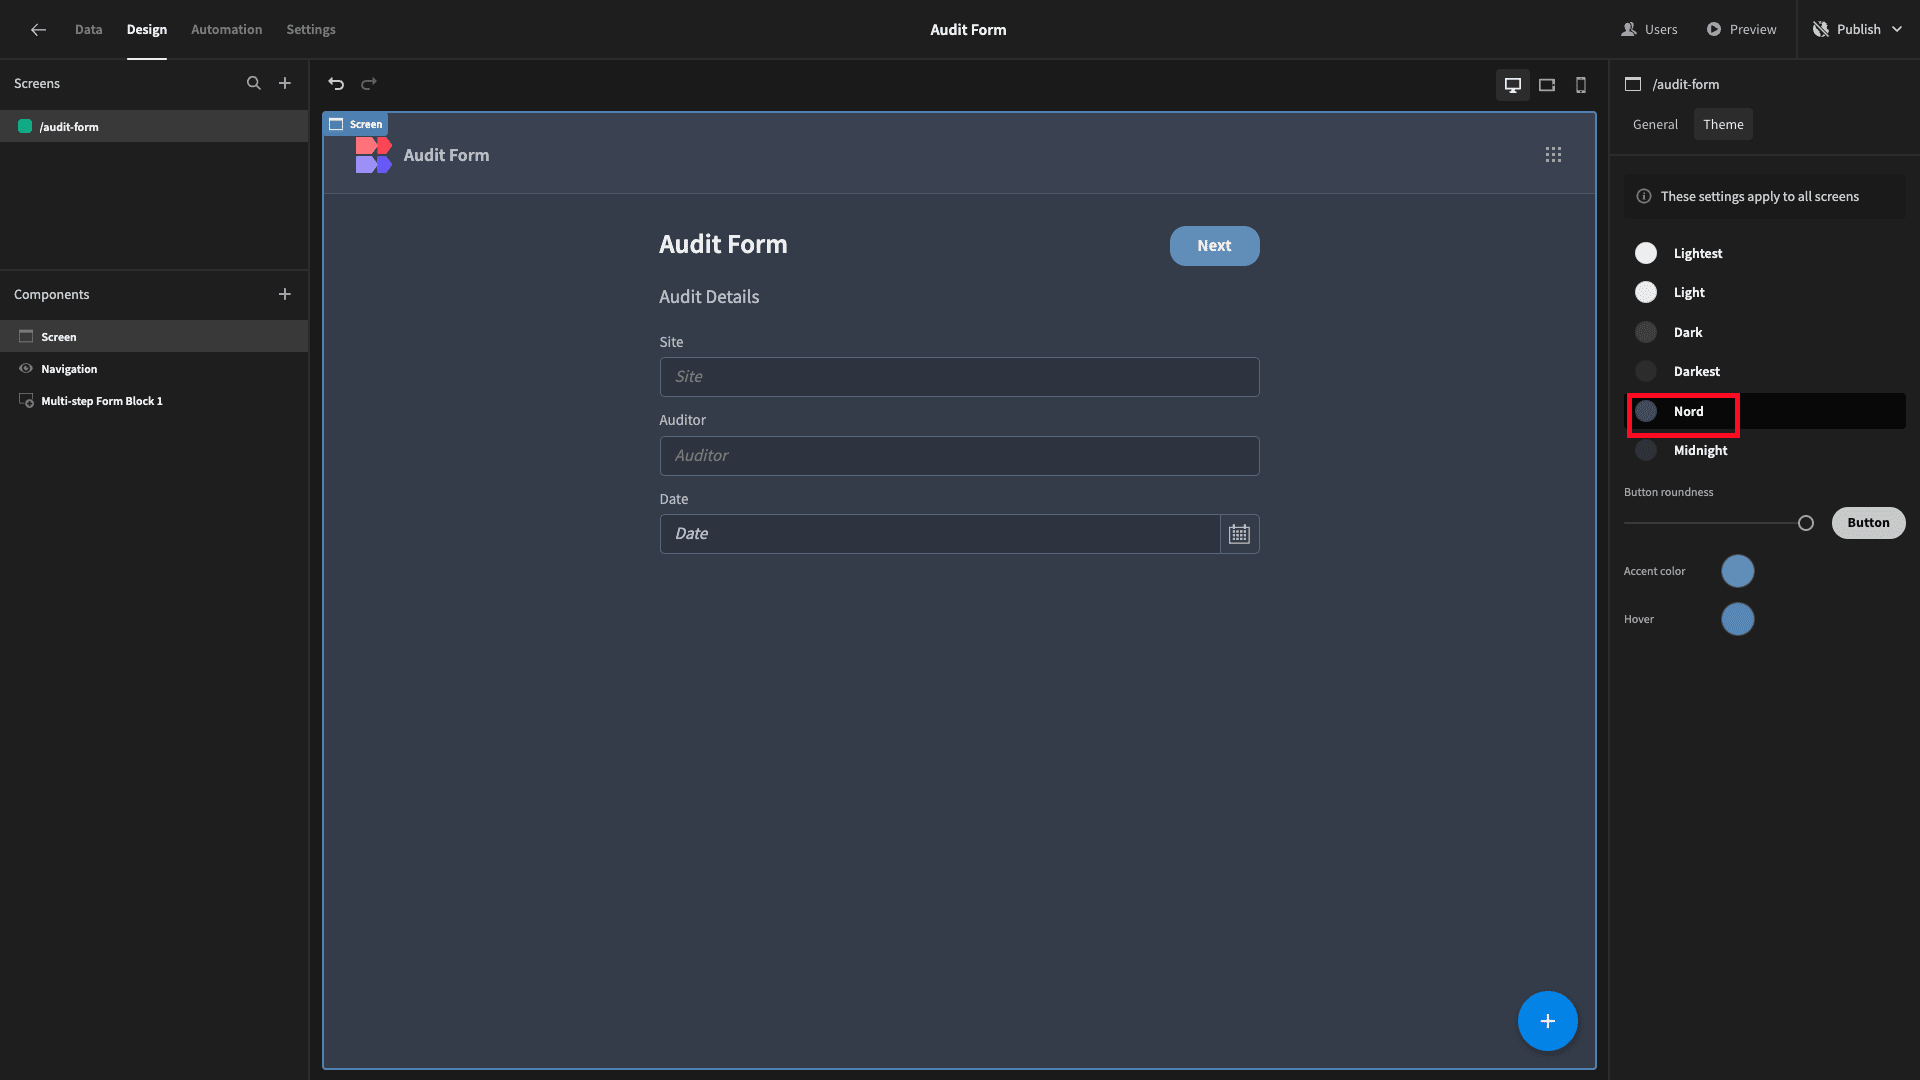
Then, under Theme we’re going to select Nord:
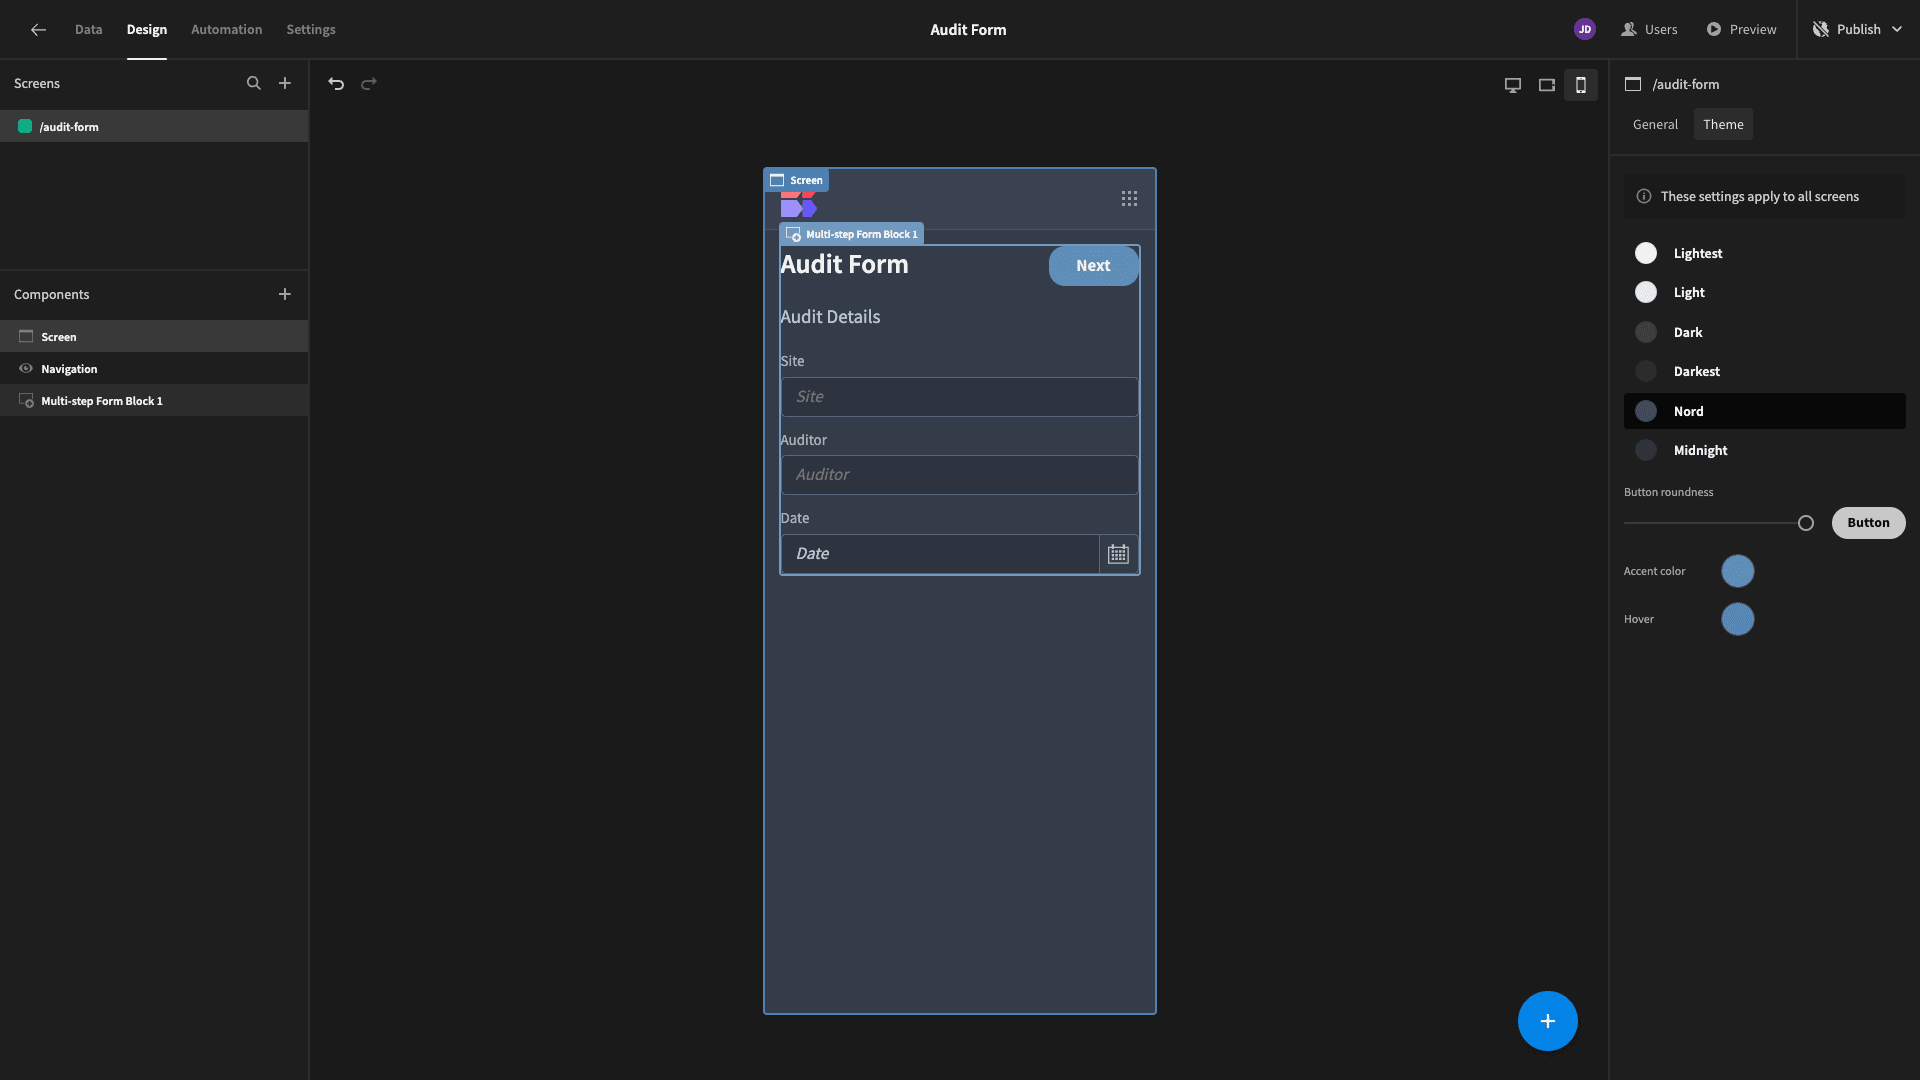
Before we publish, we also want to confirm that we’re happy with how our audit form looks on mobile devices, since this is probably how most users will access it in the field:
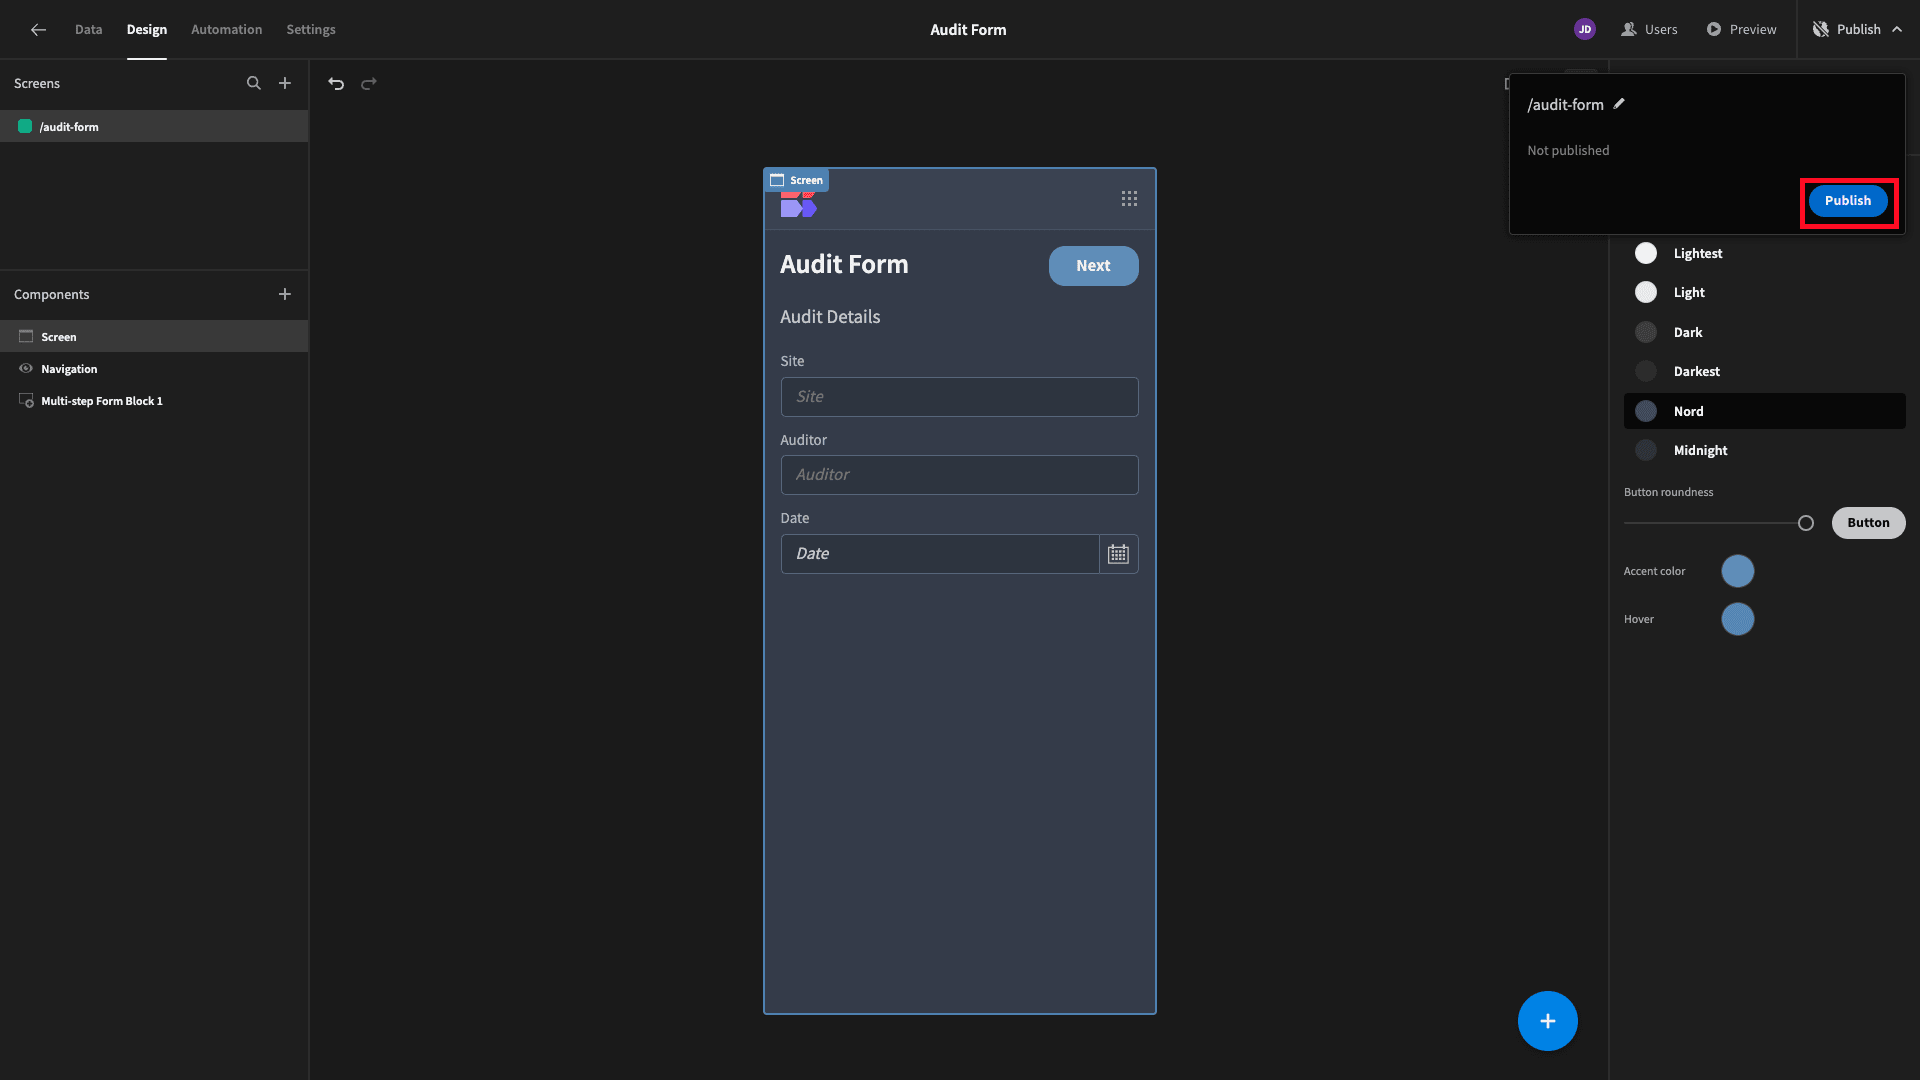
When we’re ready, we can hit publish to push our app live:
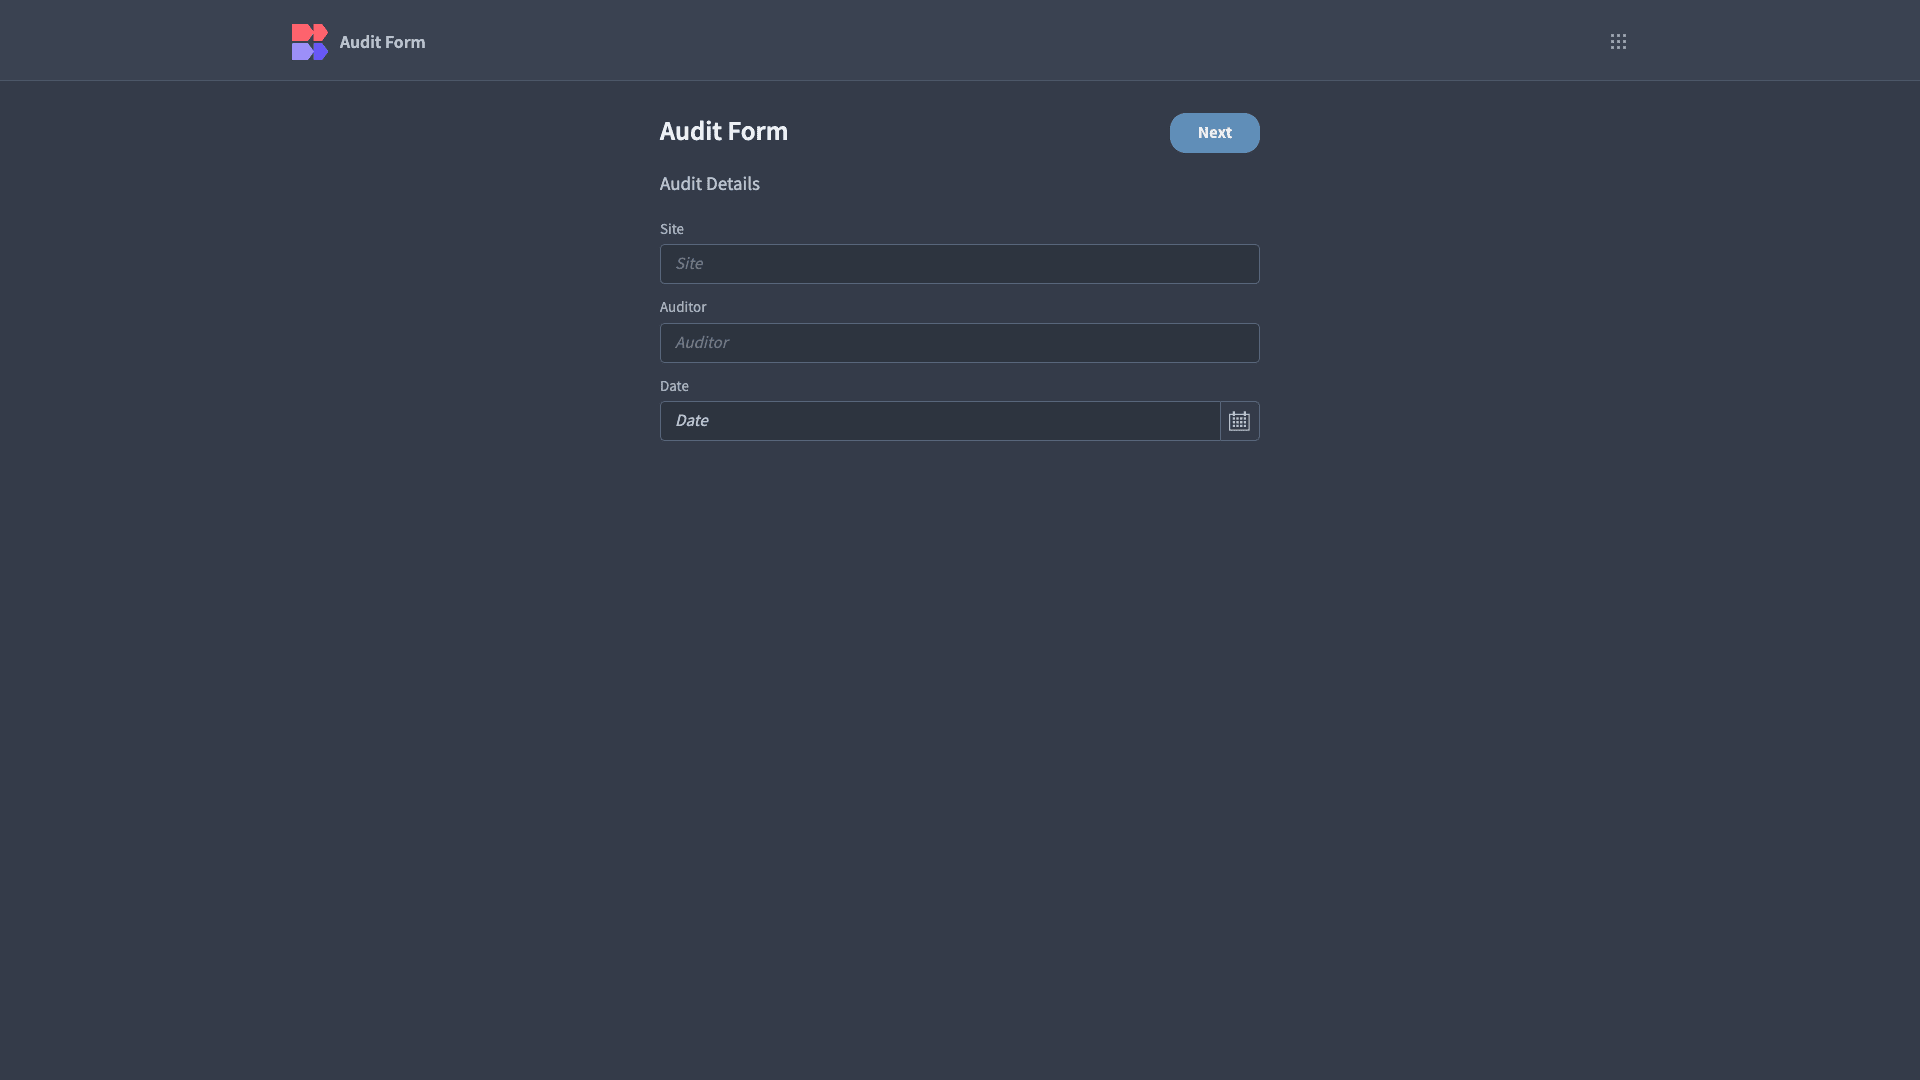
Here’s a reminder of what the finished audit form will look like:
Check out our digital forms page to learn more about how Budibase can be used for advanced data collection use cases.