8 Steps to Create & Optimize a Workflow Model
An effective workflow model is the foundation of all sorts of change, transformation, and optimization projects. Therefore, you’d expect this to be something that’s widely understood.
The reality is that many businesses don’t have such a clear idea of what workflow modeling is, what it achieves, or how to go about it in the real world. In turn, this undermines their efforts to improve their workflows - since they’re missing a crucial first step.
Today, we’re covering everything you need to know to create an effective workflow model.
We’ll start with the basics, including the role of modeling within workflow management, as well as the core benefits that this brings along. Then, we’ll explore the key use cases for workflow modeling and what it achieves in real-life terms.
Then, we’ll take a look at the concrete steps you can take to model workflows, and, finally, we’ll see how Budibase fits into the picture when it comes to implementing your model.
But first, we need to cover the basics.
What is a workflow model?
Basically, a workflow model is a theoretical plan for how a particular task is supposed to be completed in your organization. This includes the steps that must be followed, the order of these, and the rules that underpin them,
This is usually presented as a visual representation of the series of steps that are required to bring a task from start to finish. A workflow diagram is how we represent this abstract model.
On top of this, your workflow model governs who is responsible for each of these constituent actions for example, the specific competences within approval processes.
This is important for several reasons.
As we’ll see in a second, workflow models are central to all kinds of analysis, transformation, training, and other activities.
The goal of modeling is to provide a thorough, granular overview of how a task should be completed in its ideal form. This could be informed by the current way the task is performed or the model you’d like to implement.
We can also present this in different ways.
Remember, a workflow model is abstract. We’ll need to translate this into a workflow map to communicate it. Usually, this is a flowchart diagram representing the steps and logic that make up your model.
We’ll see more on this later.
Why do we need a workflow model?
As we hinted at a second ago, there is a wide range of different situations where workflow modeling is invaluable. In fact, this includes basically any scenario where you need a clear vision of what’s required to complete a task.
Take a look at our guide to the most common types of workflows .
We can break the use cases for workflow modeling into two categories:
- Descriptive purposes.
- Analytical purposes.
So, there are some situations where we only need a model to outline how the workflow operates. For instance, for training new employees, communicating changes, or simply documenting best practices and business rules.
More often though, we model workflows because we want to assess how effective they are or come up with ways to improve them. An effective model forms the basis of all kinds of workflow management.
We can then implement new models using workflow management software and other user interfaces.
For example, if we wanted to cut the costs associated with performing a particular task, we’d start by modeling it to find out where we can make efficiency savings.
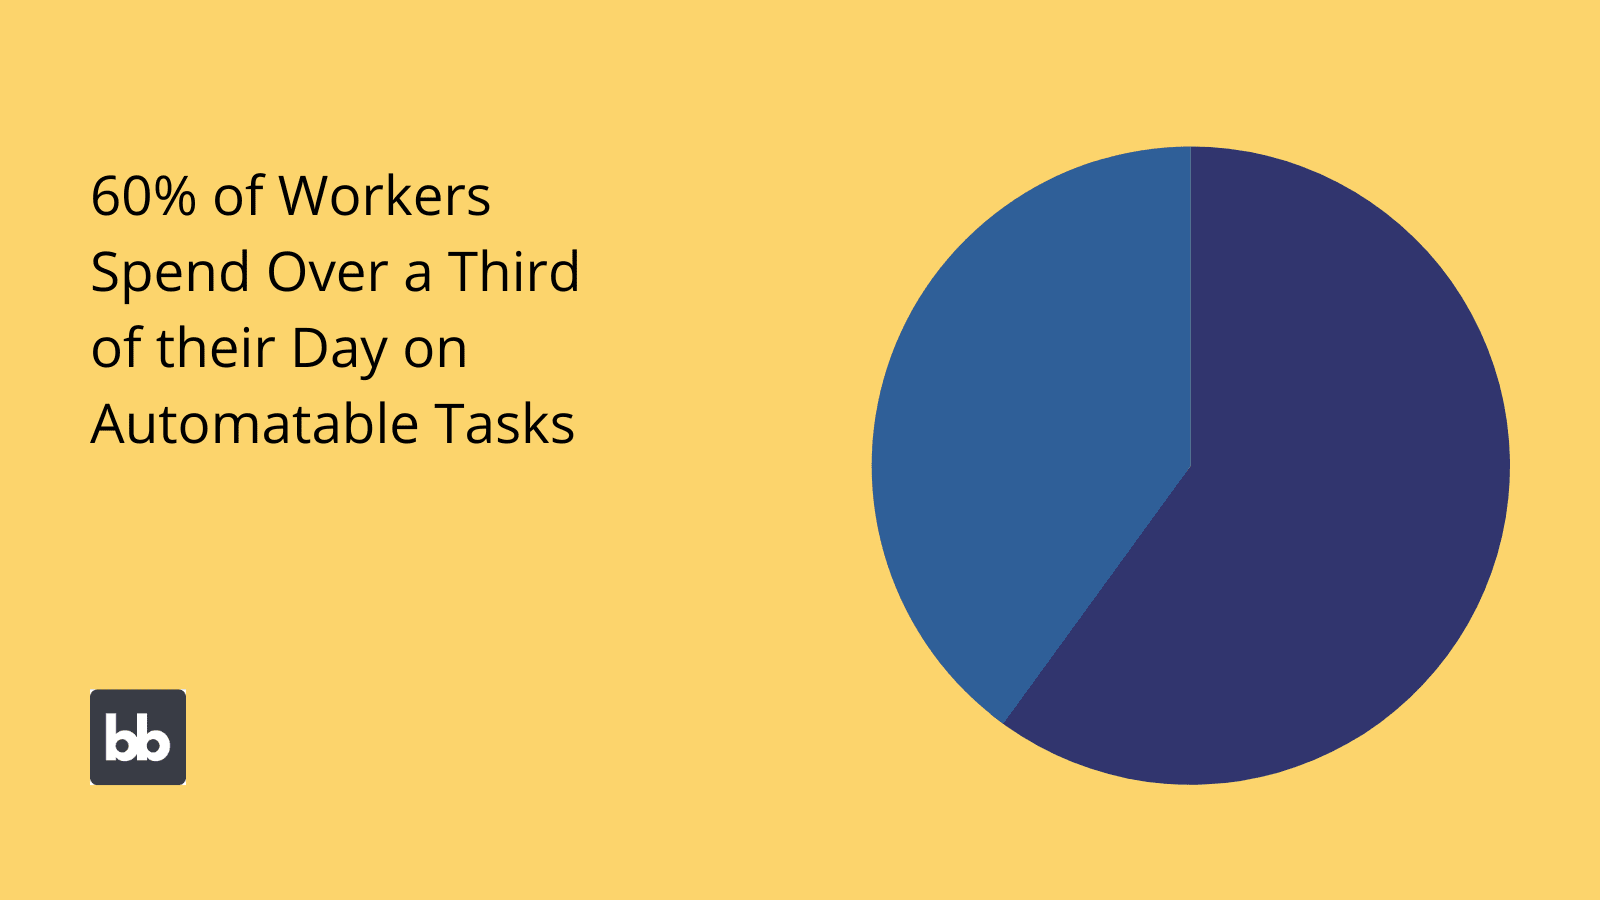 (McKinsey
)
Check out our guide to workflow management to find out more.
Types of workflow model
Before we look into the specific steps that you’ll need to follow to model a workflow, it’s going to be useful to familiarize ourselves with the different forms that workflows can take.
These are based on the type of logic that underpins them.
Here are the three broad categories of workflow models that we can create.
Sequential workflows
The most basic workflow models are based on a fixed sequence of steps. This means that decisions and actions follow a defined order. Every time the task is completed, the same sequence is followed.
There might be some basic variation within this, but the general principle is that this is kept to a minimum.
The majority of workflows are sequential.
So, each time a workflow is carried out, the exact same actions are taken in the exact same order.
Obviously, this introduces certain limitations.
For example, we would be unable to use the outcome of one step to decide what happens next. This means that we can only really use sequential workflows for codifying relatively basic business rules.
Common examples of sequential workflows include online order processing, simple approval requests, and any other tasks that don’t require branching logic or parallel actions.
Situations where sequential workflows would be unsuitable include more individualized orders, complex approval requests, or any task that requires us to follow different paths based on contextual conditions and rules.
State-based workflows
State-based workflows are much more complex and, therefore, useful for more complicated tasks. Rather than following a fixed order, constituent actions are tied to defined events and triggers.
These types of workflows can also be described in terms of states and transitions. Basically, resource transitions from one state to another based on external actions, system events, or user interactions.
State-based workflows are particularly easy to implement with computational workflow management systems.
Part of the appeal of this type of workflow model is that constituent steps don’t necessarily need to be carried out in any particular order. Rather, they can follow radically different paths to completion, based on how events unfold in the real world.
They can also happen concurrently, since we don’t necessarily need to wait for one step to finish before we can move to another.
As you might expect, this enables us to implement much more complex business logic within our workflow models. In many cases, it also empowers us to achieve a much greater degree of efficiency.
For example, we’d often use state-based models for workflows within client-facing projects or other commercial activities.
So say we wanted to model a workflow related to getting sign-off on a particular project. The states involved in this would be whether or not we have approval from relevant stakeholders.
It doesn’t necessarily matter what order this happens in, as long as everyone has their say.
The downside, of course, is that we’ll also encounter extra challenges with a more sophisticated workflow model. For instance, since actions don’t follow a fixed sequence, it can be hard to report on the status or progress of a task at any given time.
As such, we’ll need to take extra measures in order to ensure that we have sufficient transparency and oversight. For example, implementing dedicated dashboards or goal trackers.
Take a look at our uide to workflow management tools .
Rule-based workflows
Rule-based workflow models are really the natural halfway point between the two other options we’ve seen already. However, in terms of structure, it’s basically a variation of the sequential model.
The key difference is that, in a rule-based workflow, we can also implement branching logic between tasks and actions. In other words, the workflow still follows a defined sequence, but variations are built into this.
So, at any given juncture, there might be multiple actions that can come next. Which path is actually followed depends on defined conditions - hence the name rule-based.
The easiest way to understand this is to think about an example.
Say we were dealing with an approval workflow for equipment requests. One action within this would almost certainly involve checking if a particular device or piece of equipment is currently available.
Depending on the outcome of this check, the remainder of the workflow could follow two different branches. If the device is available, we’d reserve it for the employee in question and notify them of how and when to collect it.
If it’s not available, we might simply notify them as much, or we might place them on a waitlist or carry out some other series of actions.
This allows us to achieve a higher degree of sophistication in our workflows than we could with a sequential model, while also making it easier to ensure effective oversight and transparency.
As such, it’s a valuable approach to effectively managing workflows of all kinds. As we’ll see a little later, this is best leveraged in conjunction with automated decision-making.
You might also like our guide to business process optimization .
How to create a workflow model in 8 steps
Knowing the forms our workflow model might take, we can start thinking about how we’ll actually go about creating this. As ever, the key here is to use a repeatable framework to ensure maximum effectiveness, no matter the task we’re focusing on.
Here are the eight steps you can follow to create a workflow model.
1. Choose a workflow to model
Before we can do anything, we need to settle on a workflow to model. Of course, you might already have a clear idea of what you want to focus on, but it’s still important to understand the different decision points that we need to pay attention to here.
In an ideal world, you’d model every workflow in your business. That is, for any regular task, the benefits of proper documentation are the same.
Still, in the real world, we have limited time and resources. Therefore, we need a way to focus our efforts.
There are a couple of common scenarios here.
First, you might need to create a workflow model as part of a wider improvement or transformation effort. In this case, our target will normally be pretty self-evident.
However, in other cases, we might turn to workflow modeling to determine where change or improvement is needed in the first place. Or we might simply want to improve our internal documentation.
In these cases, there are different options for how we can prioritize.
If our goal is simply to improve documentation, we might start with the workflows that are most common, most central, or are related to areas of our business with the highest employee turnover.
Or, if we’re more focused on modeling workflows are a basis for transformation, we could prioritize the tasks that incur the greatest costs instead.
2. Document required actions
Once we’ve selected a workflow to target, the next step is to take stock of the required actions that it comprises. Our goal here is to be purely descriptive rather than analytical or prescriptive.
Remember, we might create a workflow model as a stepping stone to analysis. Or, we might have already analyzed our existing workflow and, therefore, require a new model to implement our findings.
In either case, the actual analysis is separate from the task of modeling.
For the moment, we also don’t need to concern ourselves with when each individual action occurs within a workflow. We’ll come to this in good time, but at this point, we’re only listing the actions that make up a workflow.
What we can do, however, is note which of these are always or if any of them only occur some of the time. The reason for this will be clear when it comes to applying a structure to our workflow model.
It’s also important to document what is involved in each constituent action. Rather than going into extraneous depth with each one, we can take a more high-level approach, by expressing each one as an input, process, and output.
So, the resource or data object that feeds the action, what happens to this, and the resource or object that is produced as a result.
3. Choose a structure
With a thorough picture of the actions and decisions that make up our workflow, the next step to building a model is to apply one of the structures we saw earlier.
A second ago, we said it’s worth separately noting actions that occur every time and ones that are only needed some of the time.
The reason for this is that doing so puts us in a stronger position to figure out the right structure for our needs. For instance, if we know that every step is needed every time, we probably won’t need a branching structure.
Similarly, if we have any actions that are only required in specific situations, we can rule out a sequential structure.
Besides this, we want to assess the basic logic that determines how and when different actions come into play. Is each step simply triggered by the previous one being completed or is there a more complex trigger?
Here are the scenarios we might turn to each of the three broad structures we saw earlier:
- Sequential workflows - All actions are always required and are triggered by another step being completed.
- State-based workflows - Some actions aren’t always required or are triggered by non-sequential rules.
- Rule-based workflows - Some actions aren’t always required but are still triggered by a previous step being completed.
Of course, this is only a theoretical framework. In the real world, we might encounter grey areas, fringe cases, or other scenarios where different structures could be equally valid.
Take a look at our guide to business process management tools .
4. Outline underlying business rules
Once we’ve decided on how our model is going to be structured, we can flesh out the underlying business rules that govern it. This works slightly differently under each type of workflow model - let’s take each one in turn.
First up, sequential workflows. Basically, all we need to do here is place each step in the right order. Since each step is triggered by the previous one finishing, the only other thing we need to know is when each one is completed.
Again, this should be easy, since we know the respective outputs for each step.
State-based workflow models are a bit trickier. Recall that these are based around state/transition pairs. Basically, this means that workflow steps can be triggered in any order when a defined condition is met.
Say we were dealing with a workflow for scheduling introductions to different team members for a new hire. The order of these is unlikely to matter much. Instead, the underlying logic would work by scheduling meetings based on when each person is available.
So, for any state-based workflow, the goal at this stage is to define the conditions that trigger each action.
Finally, for rule-based workflows, we need a combination of both approaches. So, certain actions will be triggered by the previous step’s output - but where the sequence branches off, we’ll need to define the rules that determine which way to go.
This can be based on the output of the previous step or on external variables.
For example, we might have a workflow for managing IT incidents. This might always follow the same initial steps for gathering information, but then move on to different actions based on the severity and nature of the incident.
So, where these variations occur, we’d need to outline the business rules that determine if an incident falls into a particular category or meets a severity threshold, for instance.
5. Measure costs and timelines
It’s also worth taking this opportunity to attribute resources to each step of your workflow. Again, we primarily want to be descriptive here - so, we’re not explicitly worried about whether this is the right resource allocation. That’s a separate question from workflow modeling.
Instead, we’re focused on providing indicative costs and timelines for each step.
This will be useful in a couple of key ways. First of all, if we’re using our workflow model as a training resource, this is a helpful way to clarify expectations.
Second, if we’re going to use our model for analytical purposes, we’re going to need to come up with this information anyway, in order to assess if we’re using appropriate resources.
Of course, the exact nature of this is going to depend on your more specific needs. For instance, you might need to express it in terms of the relevant labor hours, costs, or both.
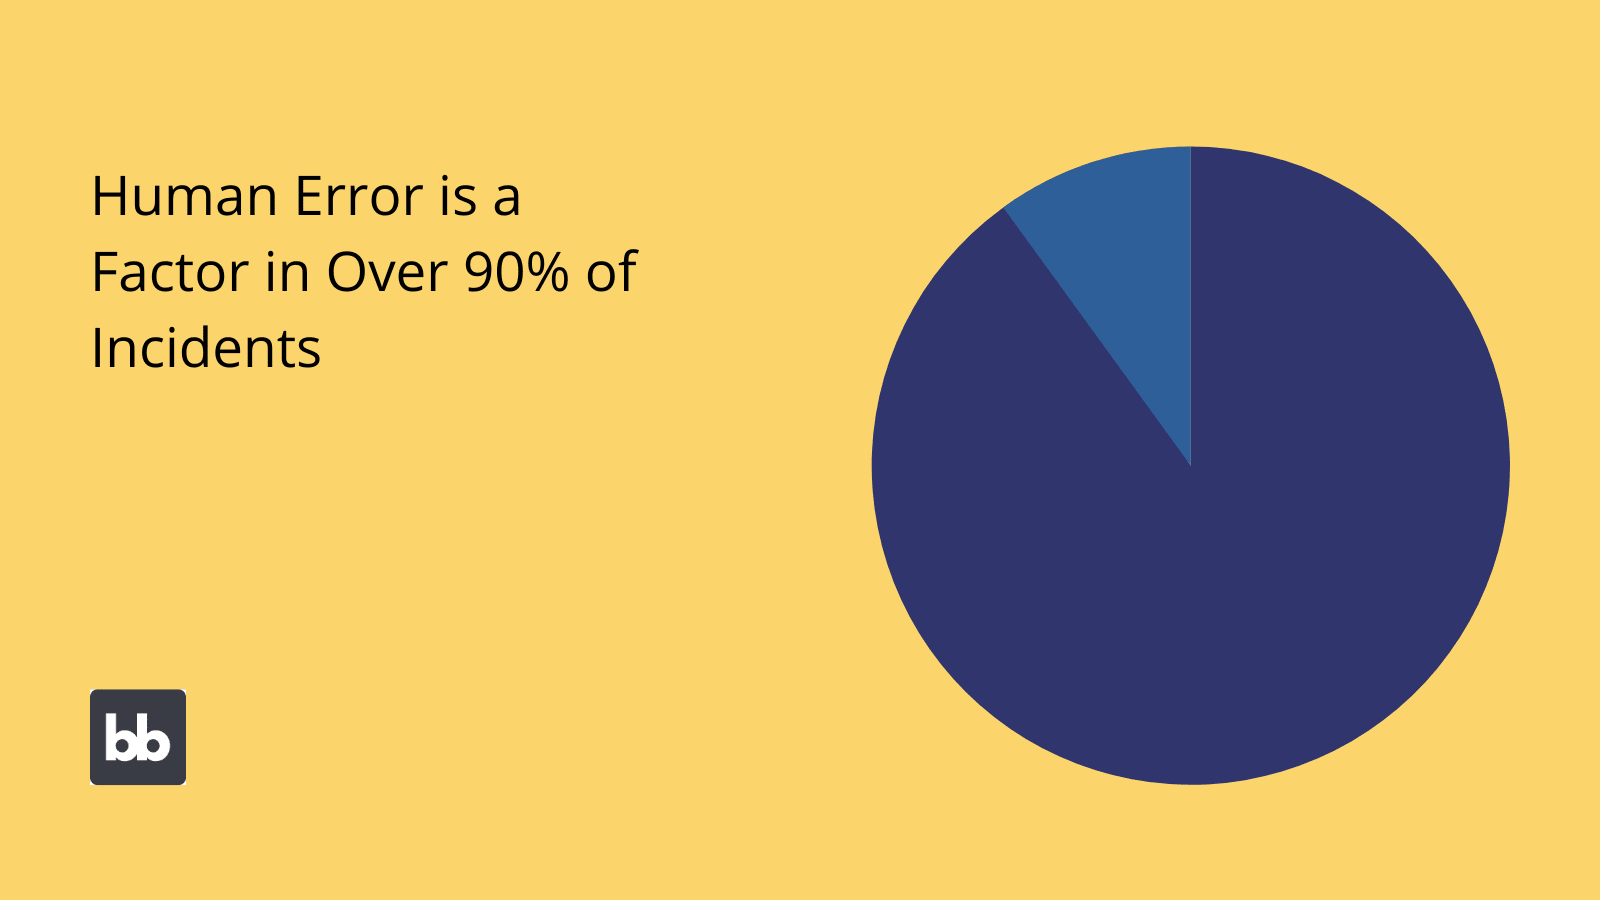
VentureBeat
6. Manual vs automated actions
Next, we can start thinking about how different actions are to be completed within our workflow model. Nowadays, the most important element to this is considering what’s automatable and what needs to be done manually.
In many cases, the more a workflow can be automated, the better.
So how do we know if something can be automated? Besides this, how can we tell if it’s worth automating?
For most workflow automations, we’re looking out for a handful of key issues. This includes a given action’s:
- Consistency - Are the same decisions always made based on the same variables?
- Computability - Can the variables in question actually be assessed by software?
- Frequency - Is the action required often enough to warrant automation?
- Dependencies - Can we automate an action without encountering excessive scope creep?
- Technical issues - Can our current systems facilitate automation?
- Integration - Do the actions in question require separate systems and data sources?
- Development issues - Do we have the internal resource to automate a task?
It’s worth noting that we’ll often need to balance competing concerns here. For example, we may have a clear need for automation but limited resources for achieving it. We’ll return to how Budibase can help bridge the gap here a little later.
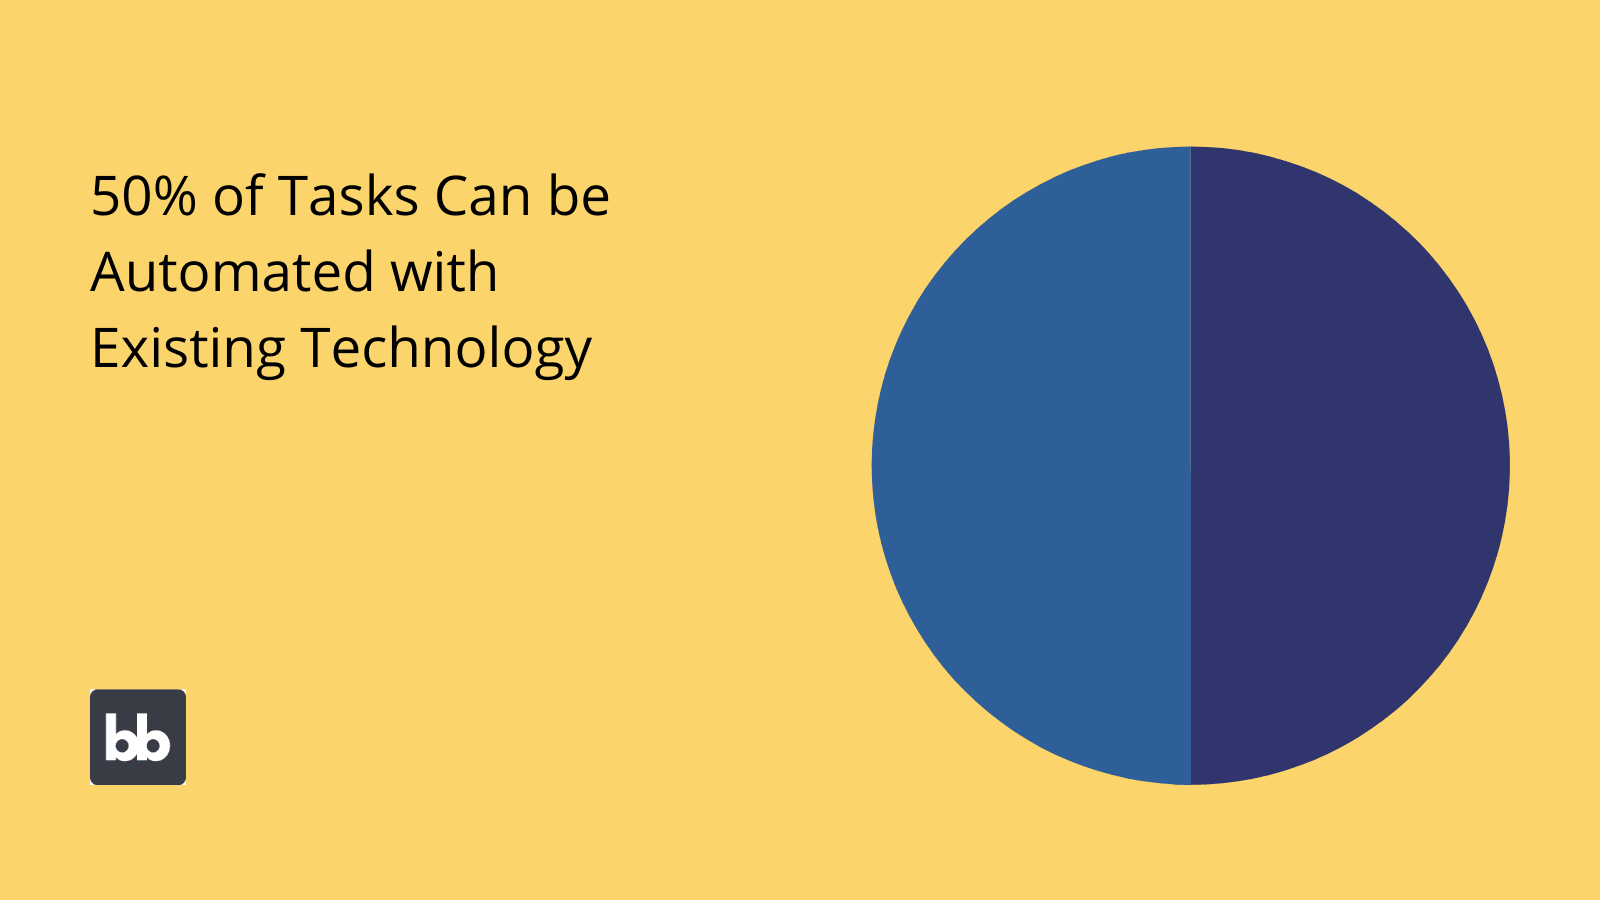
(McKinsey )
7. Define internal roles and responsibilities
Our workflow model must also account for how responsibility for different steps is delegated amongst actors. One of the key tenets of workflow management is providing a clear separation of concerns.
This leads to several concrete benefits.
These include improving accountability, oversight, accuracy, oversight, and more within your daily tasks.
So how do we define roles for our workflow model?
We can start by grouping involved actors in terms of their responsibilities within a workflow. So, some users might be involved in certain steps and not others. Or, they might have different permissions within specific steps.
Then, we need to think about how our roles relate to each other. For instance, it could be a hierarchy or a flat structure. For instance, creating separate roles for basic users and admins would be a hierarchy. Creating roles for different departments would be a flat structure.
Check out our ultimate guide to role-based access control .
8. Workflow mapping and implementation planning
At this point, we’ve got all of the theoretical work out of the way. The final step is translating our workflow model into a more actionable format.
There are a couple of different elements to this.
The first is to create a visualization of our model so that it can be easily communicated. This involves creating what’s known as a workflow map. Most often, this takes the form of a flowchart diagram.
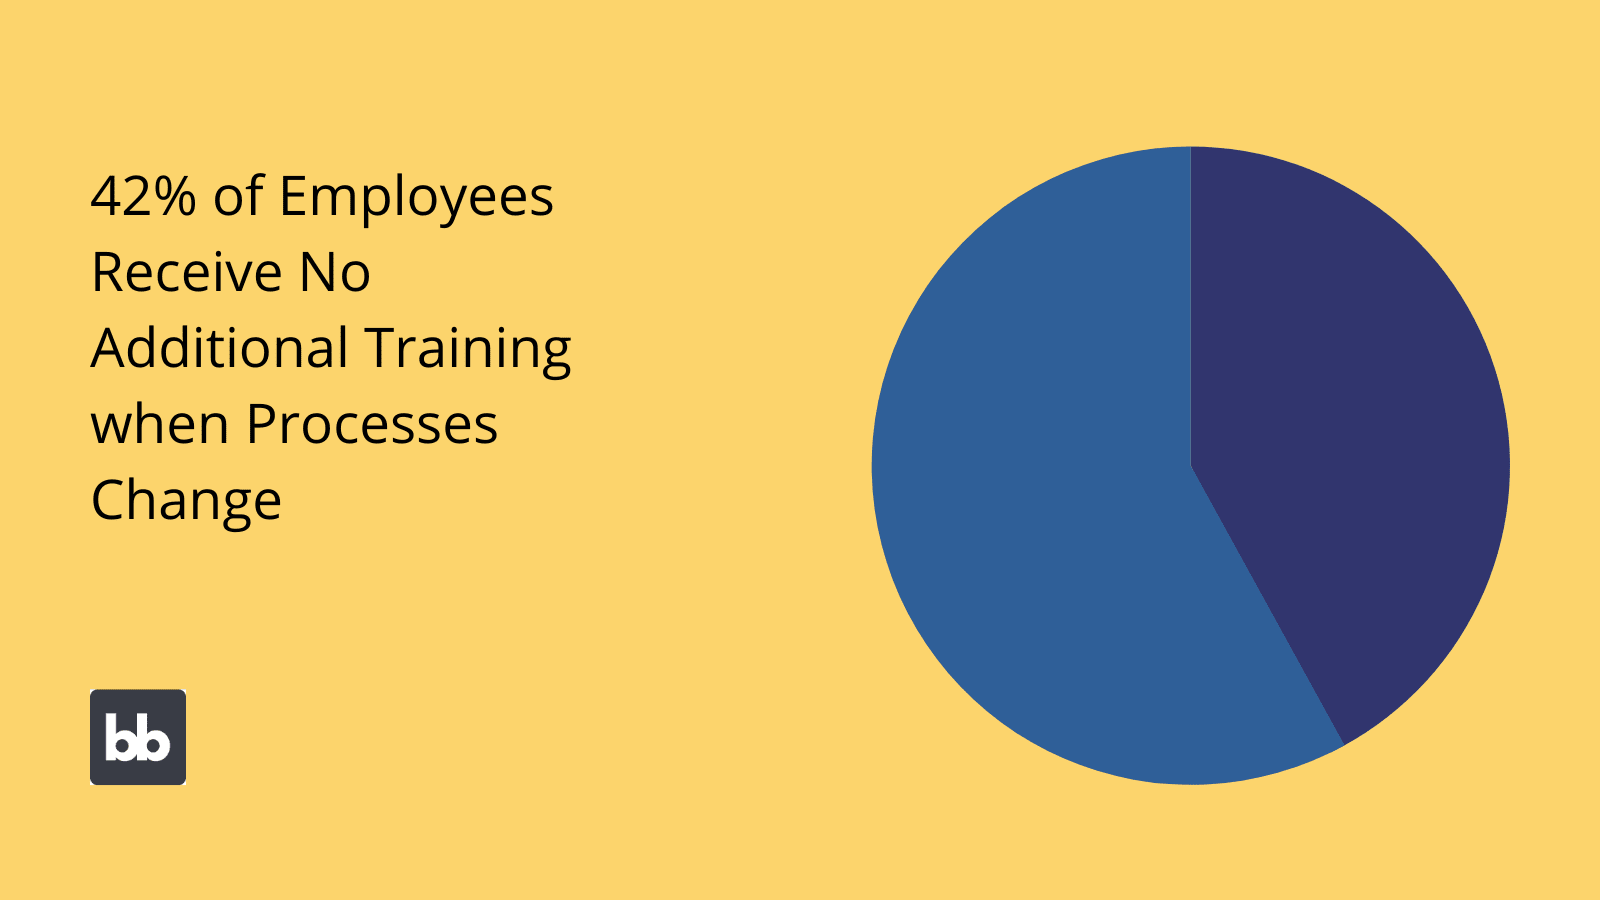
(BP Trends)
As we said earlier, this plays a couple of important roles - including for employee onboarding, training, workflow analysis, change management, and more.
Besides this, we’ll also need a plan for turning our model into a reality.
This is called an implementation plan. Creating this requires us to think about an array of technical, operational, cultural, financial, and other issues. For instance, we might need a combination of training initiatives, investment, and new technologies.
As such, we need a clear strategy and roadmap in place.
The key is to ground our implementation decisions in our overarching strategic goals, and then choose the most cost-effective methods for reaching these.
Check out our guide to business process optimization to learn more.
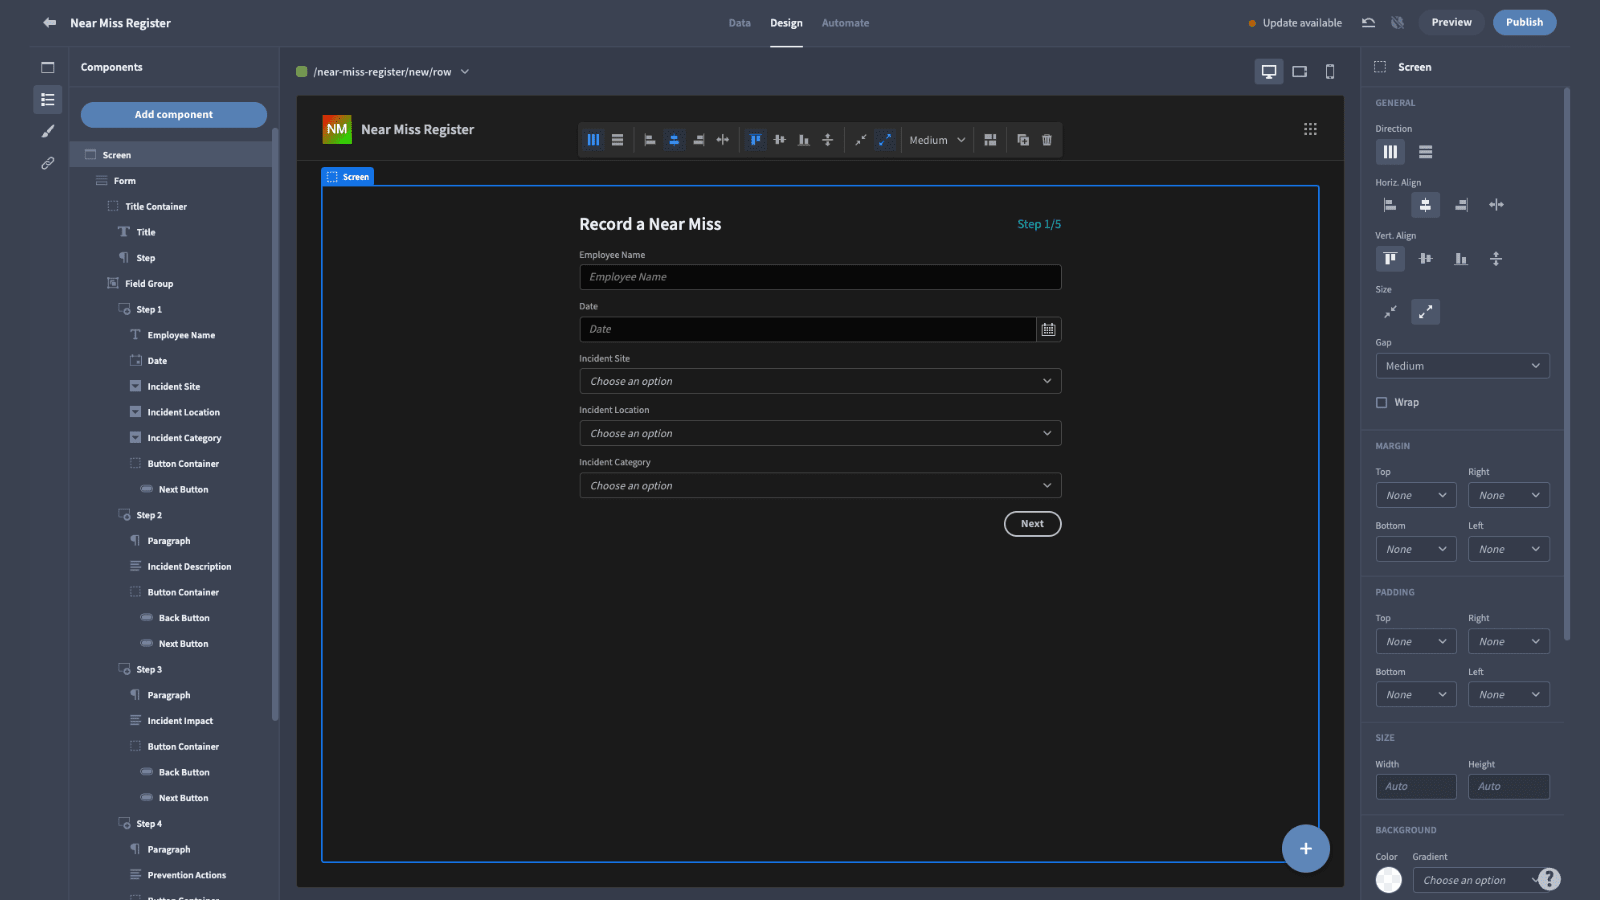
Budibase for workflow management
Creating an effective workflow model is almost inevitably going to lead you to some form of digital transformation. Whether this means creating efficient UIs for specific actions or background automations, you’re going to need the right digital transformation tools.
Budibase is here to help.
Our platform is the smart, cost-effective way for busy IT teams to build all sorts of custom solutions. From bespoke internal tools to cross-platform automations, businesses choose Budibase to build better tools in a fraction of the time.
Let’s take a look at what makes Budibase the leading option for companies that need to build secure, performant solutions, quickly.
Simplicity by default
Our guiding principle is simplicity by default, and extensibility when you need it. With Budibase, you can connect your data, build professional UIs, digitalize processes, and launch working solutions, in as little as a few minutes.
Check out our features overview to learn more.
Plug-in your data
Budibase won’t be bested for external data support. We offer dedicated connector UIs for SQL, Postgres, Airtable, Mongo, Couch, S3, Oracle, REST, Google Sheets, and more. It’s never been easier to build solutions for managing data, wherever it’s stored.
We also offer our own built-in database, BudibaseDB. Import CSV files or build a data layer from scratch to get your app build off the ground without writing a single line of code.
Self-hosting
Enterprises and security-first teams love Budibase for the ability to self-host their solutions. Deploy Budibase tools to your own infrastructure with Kubernetes, Docker, Docker Compose, Digital Ocean, and more.
Or, you can use Budibase Cloud to publish your apps in just one click. Check out our pricing page to learn more about both options.
Flexible RBAC
Budibase offers configurable role-based access control. Grant permissions and assign users to the appropriate role at the press of a button. Restrict or allow access at the level of data sources, queries, screens, or individual components.
Combine our flexible RBAC framework with conditional UIs to maximize security and efficiency in your app builds.
Integrate & automate
Streamline all sorts of workflows with Budibase. Our platform offers a dedicated, flowchart-based automation builder, with a wide range of built-in trigger and action blocks. Build custom automations with minimal manual code.
We also support a huge variety of third-party integrations through Zapier, WebHooks, REST API, and more. Check out our integrations page to learn more.
Custom plug-ins
With Budibase 2.0, we’ve launched custom plugin-ins. Use our dedicated CLI tools to build your own components and data sources to leverage across all of your Budibase tools. No other low-code platform comes close for customization.
Check out our plug-ins documentation to learn more.
50+ free app templates
We think that Budibase is the ideal solution for building tools to manage and improve all sorts of workflows. Tens of thousands of businesses around the world agree with us.
But, we’d rather show you what our platform can do. That’s why we’ve created more than 50 free, fully-deployable app templates to get you started.
Sign up to Budibase today to build custom applications the fast, easy way.